POS Hardware System Installation
Standard Operation Procedure (SOP) of POS System Installation
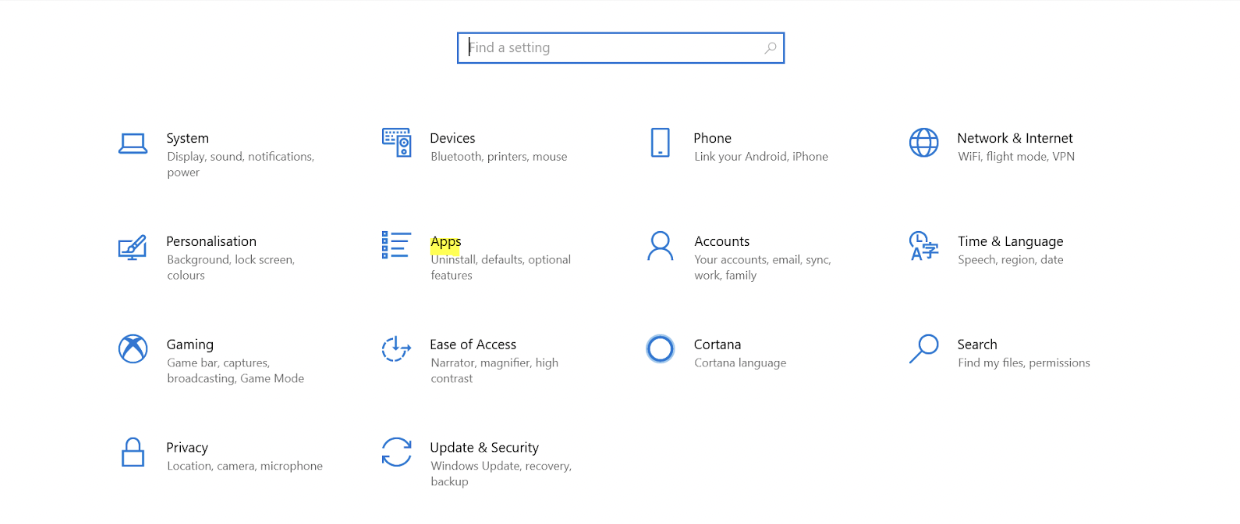
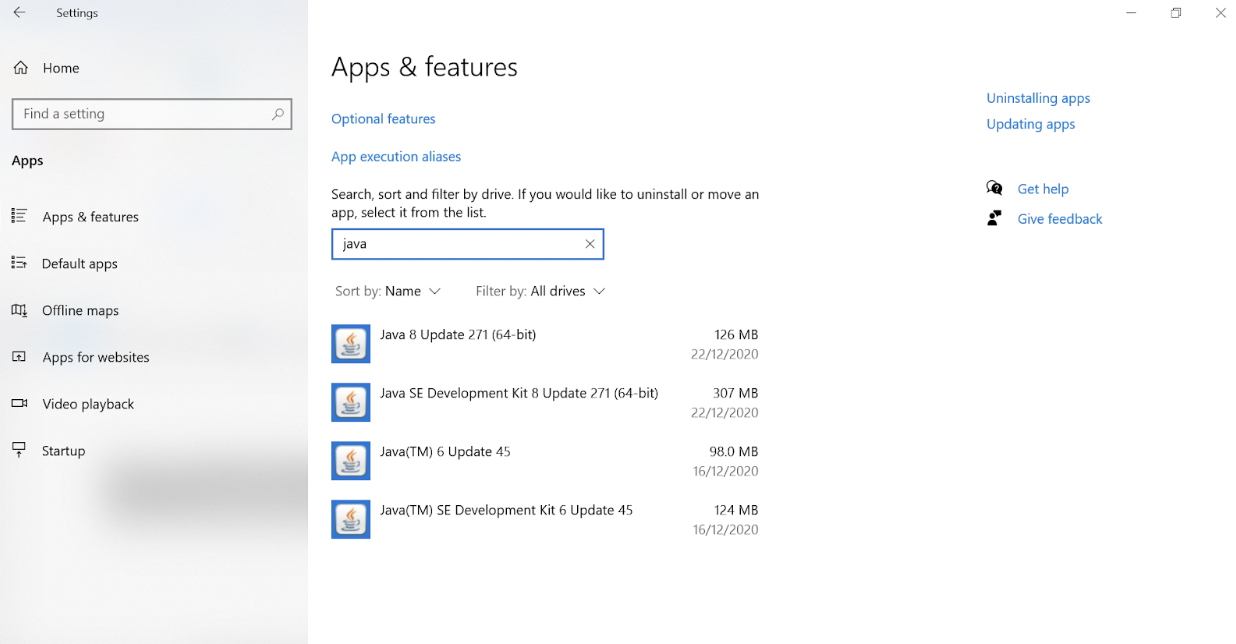
Please make sure the java is uninstalled before proceeding to the next step. (Optional)

Set-Up:
1.Installing Java
Install latest java 64-bit https://www.java.com/en/download/ or download from here https://barcode-software.s3-ap-southeast-1.amazonaws.com/jdk-8u231-windows-x64.exe .
Double click on the exe file downloaded.
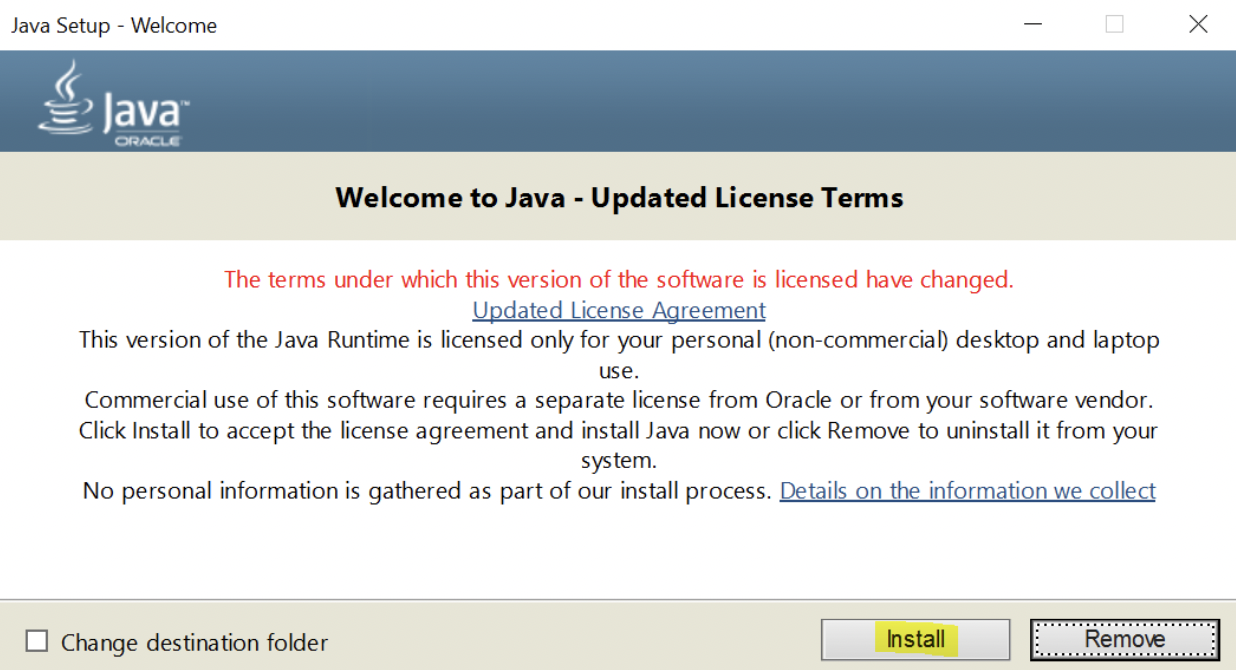
Click Install. Wait until the installation is done.
Check for the java version.
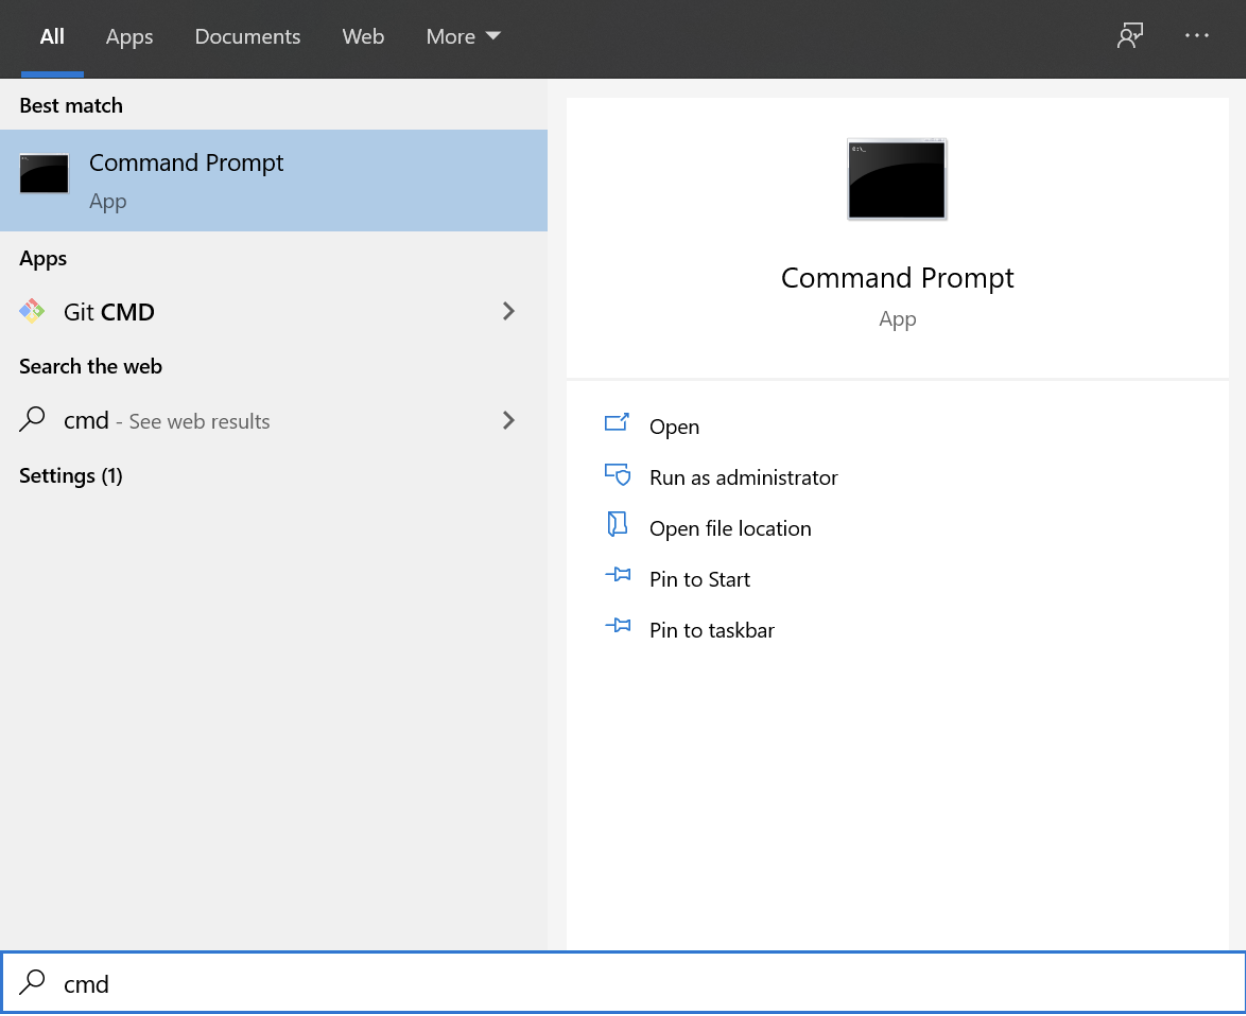
Search for cmd in windows search bar.
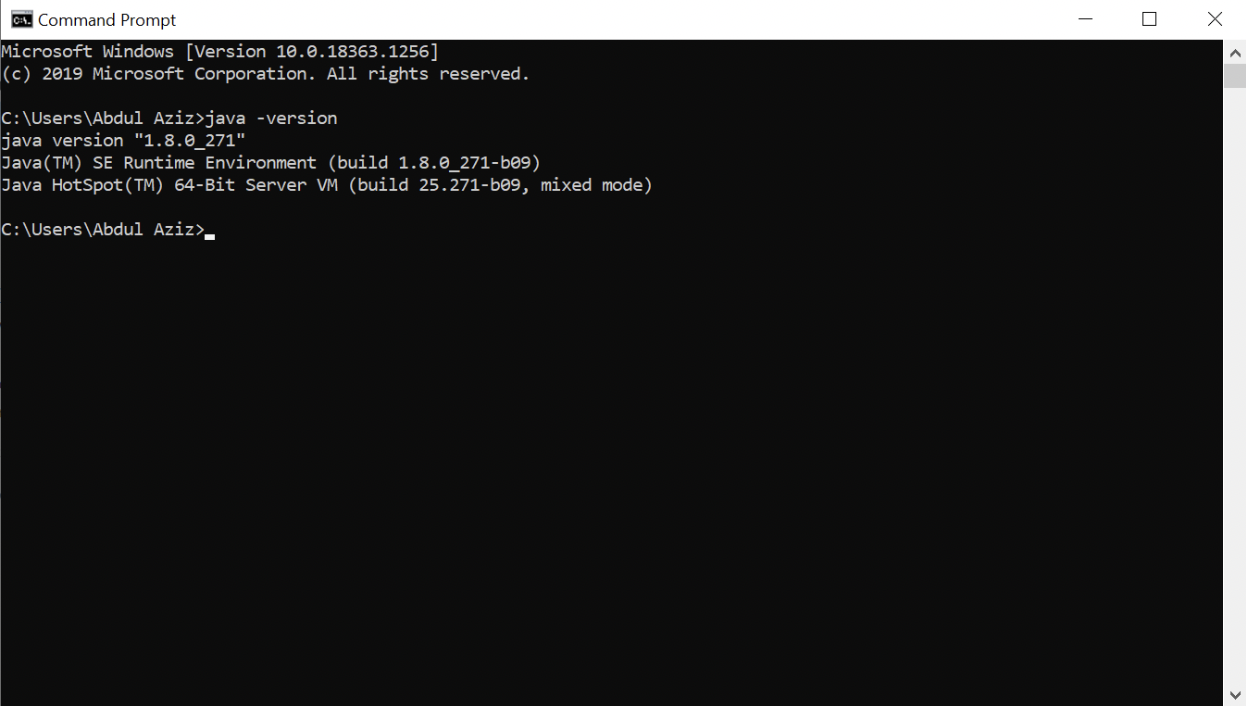
Type java -version. Make sure the java version 1.8 is used.
Extract the file and move the extracted folder to the desktop.


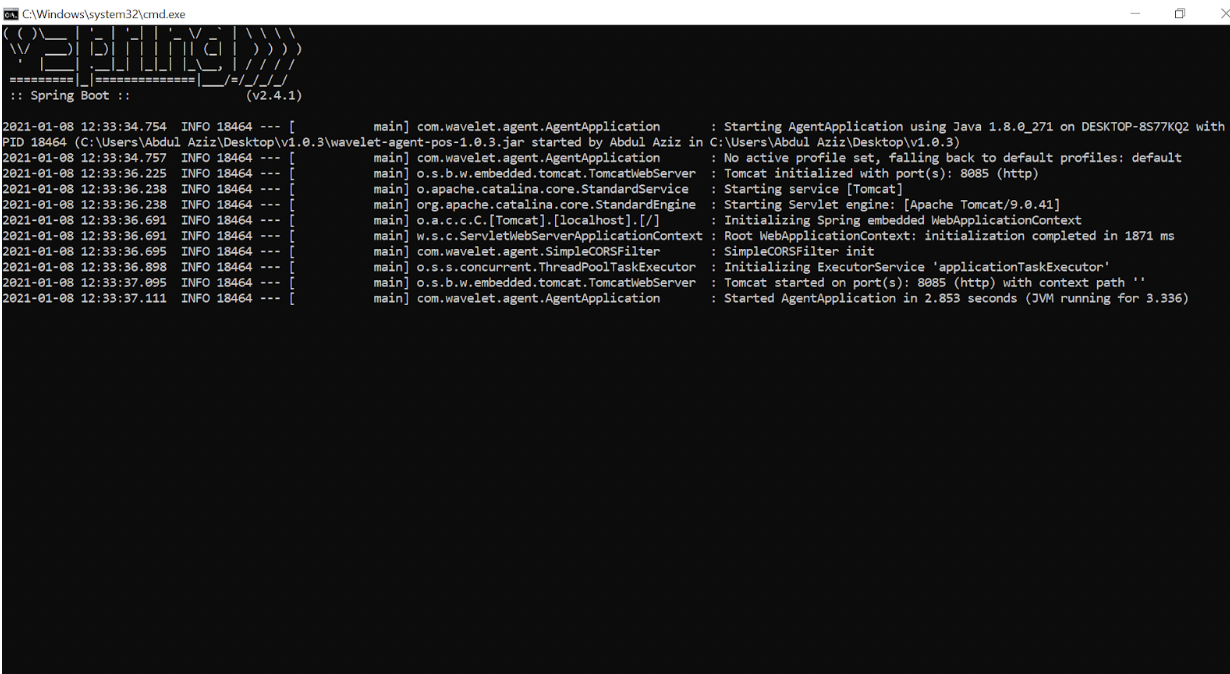
Double click on run default. You will have a cmd window opening. This step needs to be done every time the PC is restarted or closed. Do not close this window. IF accidentally close please run the run default again.
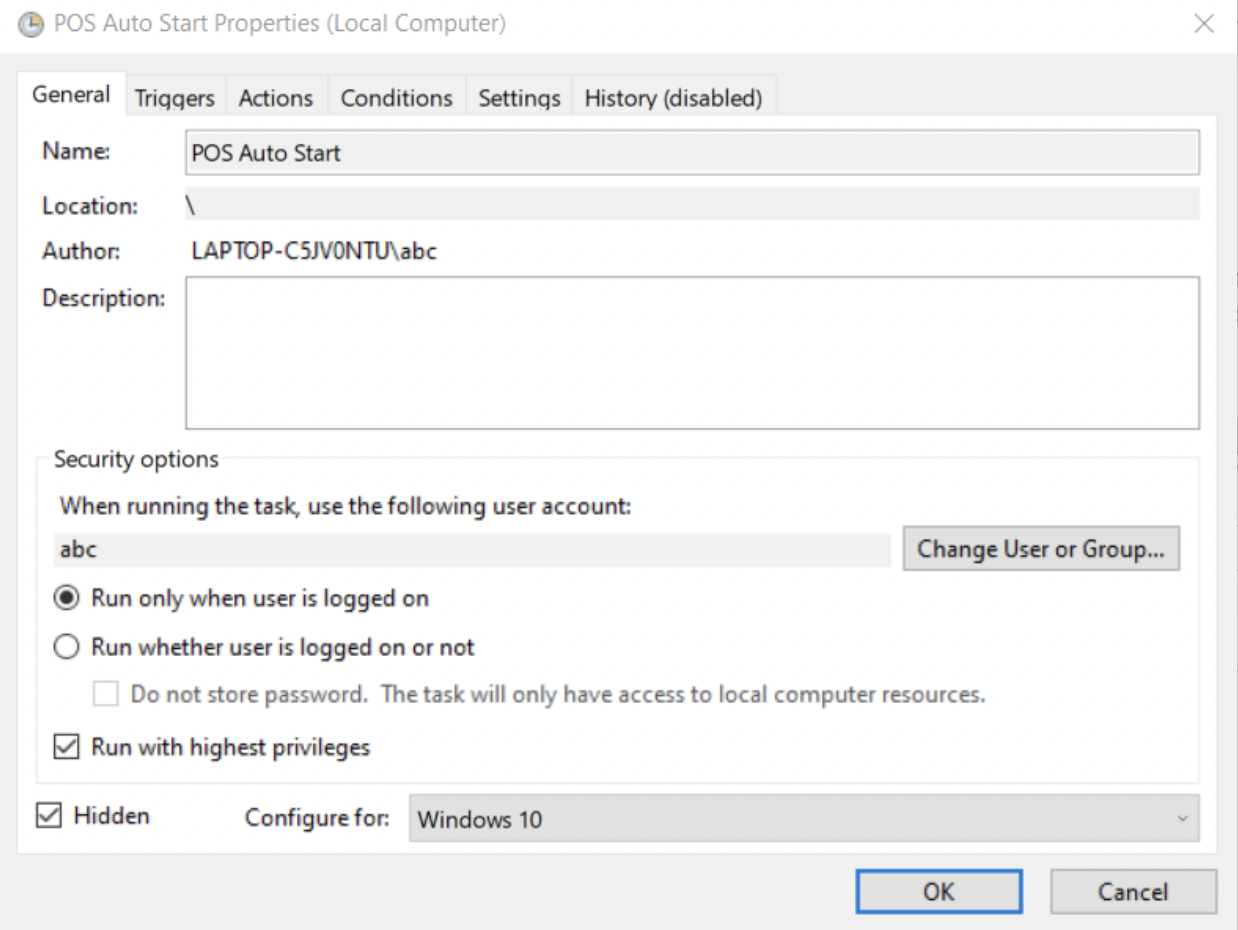
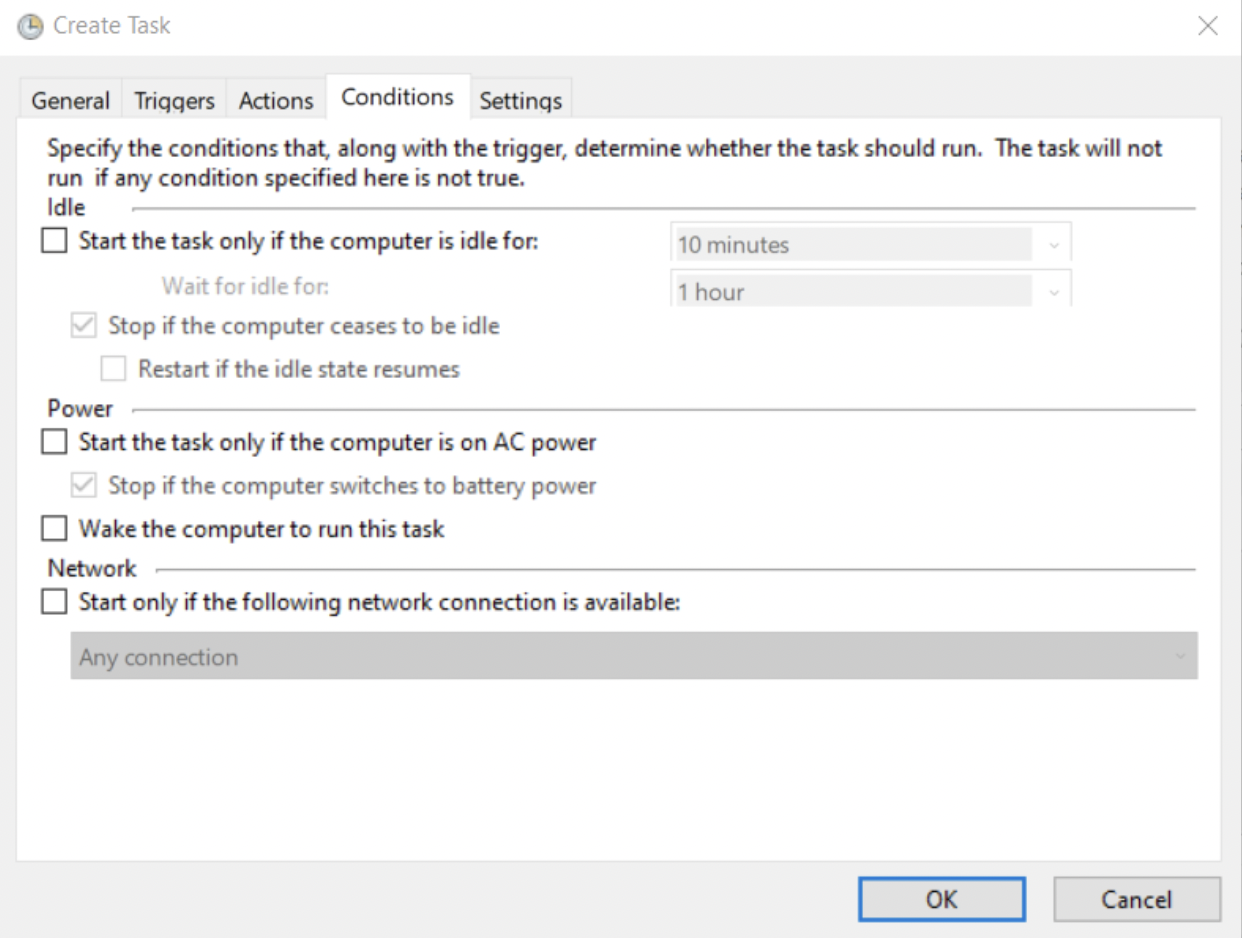
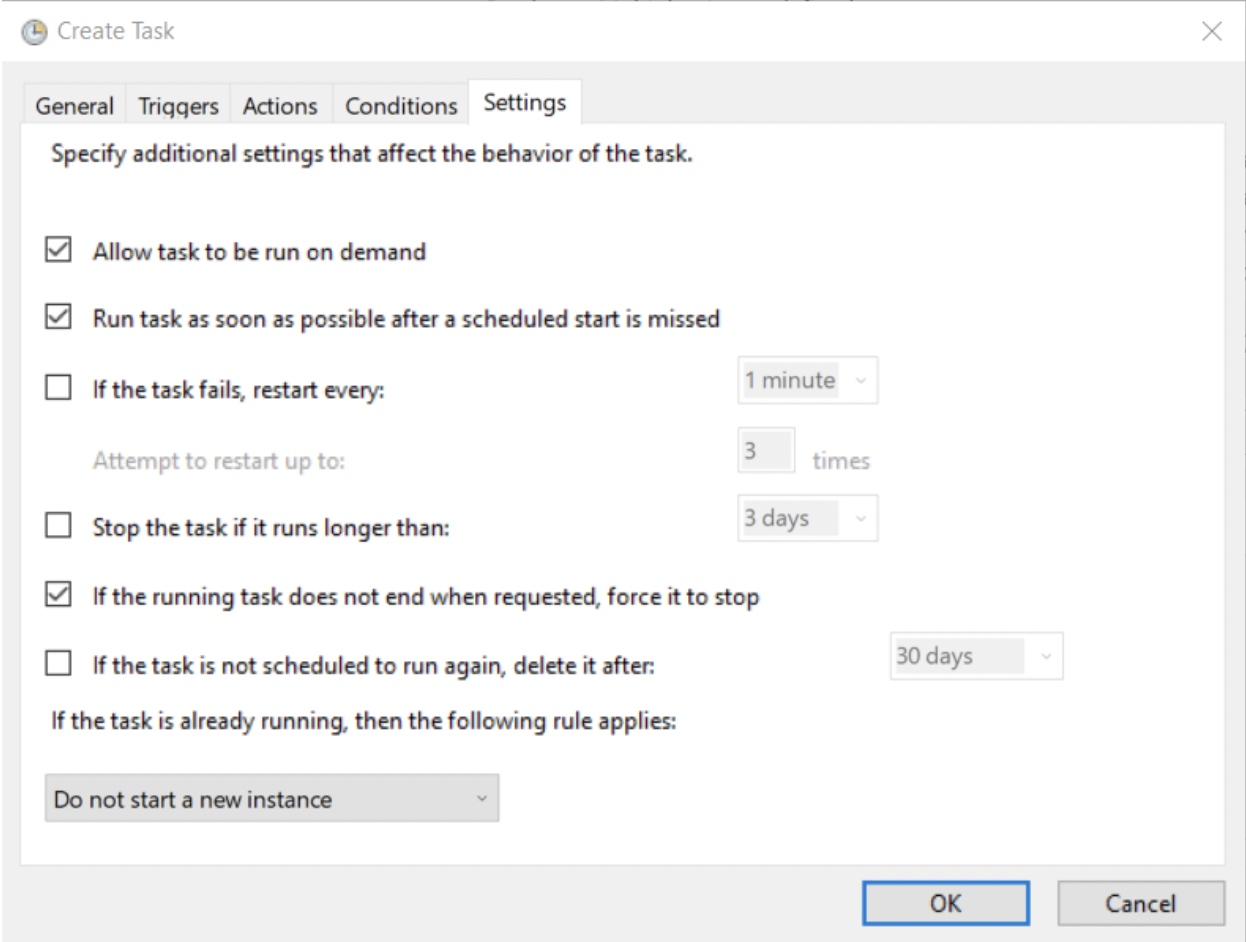
If want to set the system to run the file in default, need to set in task scheduler.
Task Scheduler → Create Task
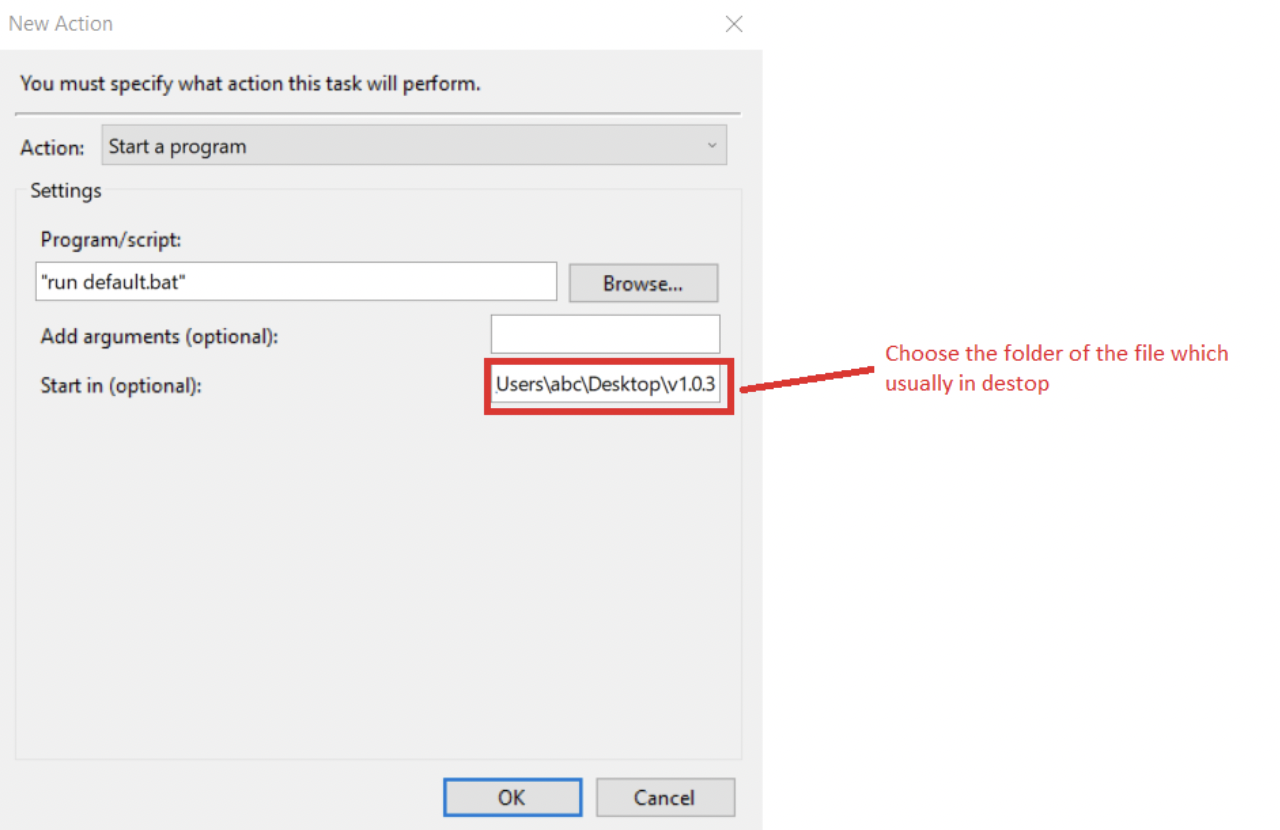
Extract the file in C:\Users\(username) example C:\Users\abc .

4.Check if it detect the POS system
Restart the PC. Then, after 5 minute, in the browser, run the following address:
Should be, will get some reading as following:
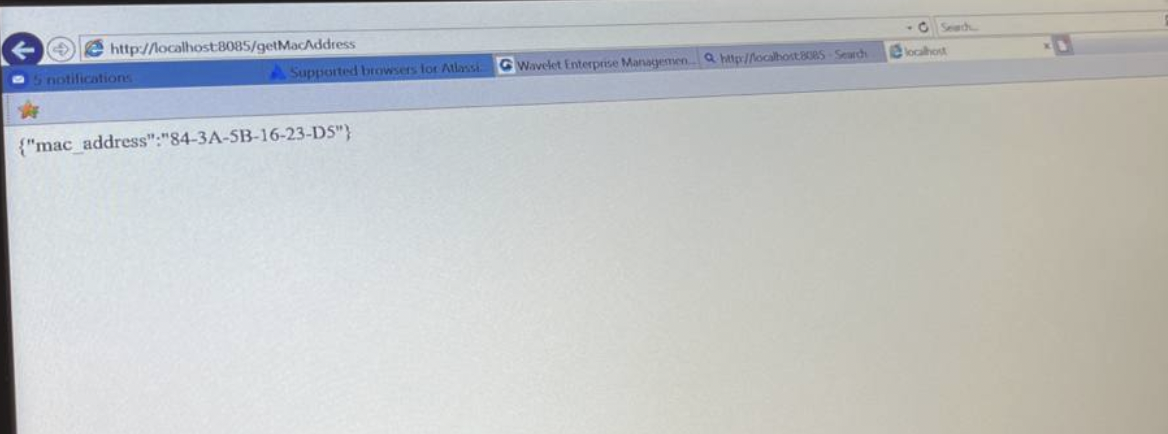
If it did not get the reading, it needs to check if the “run default.bat” is running or not.
5.Printer and scanner setup
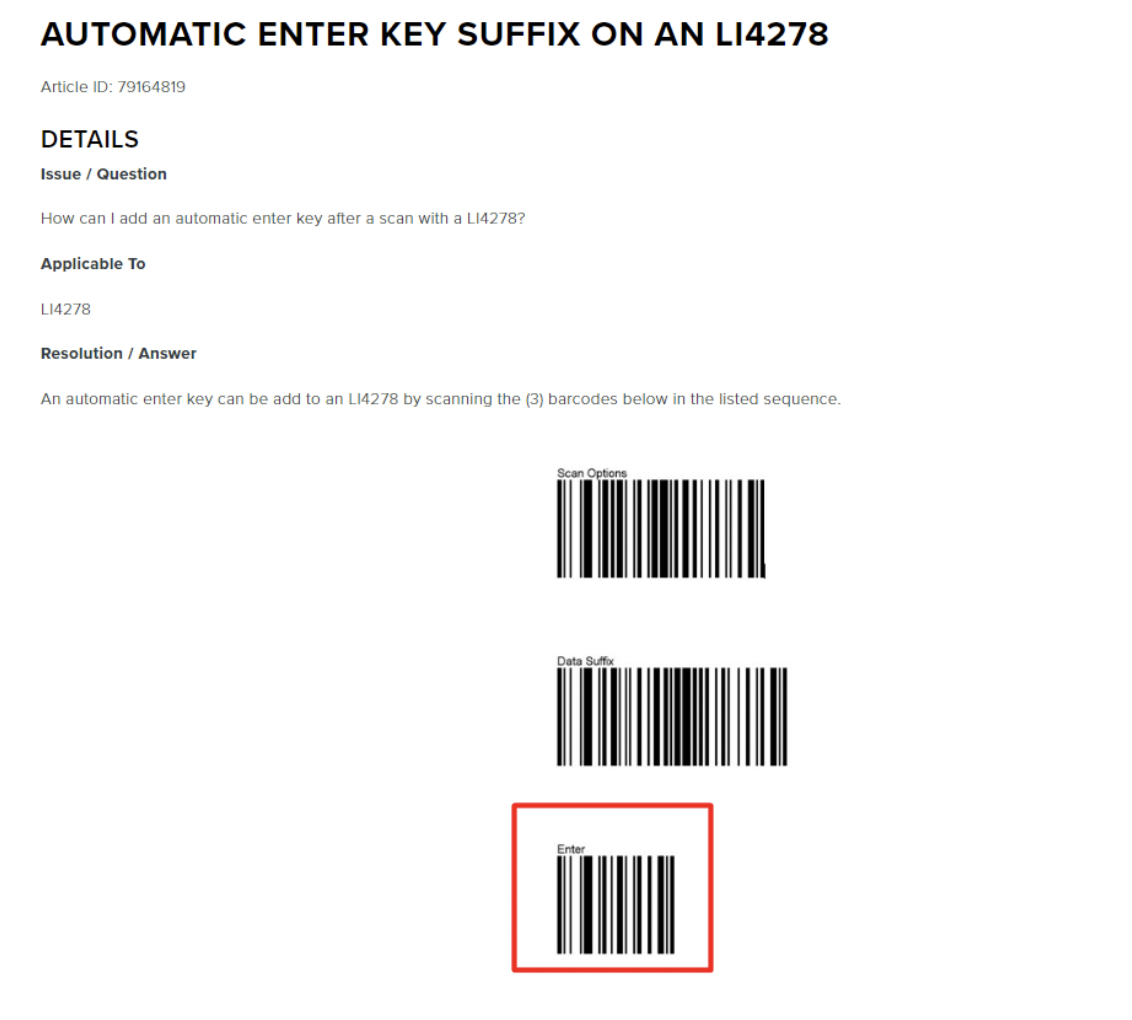
Scanner:
-
Need to set-up for the scanner to auto enter by scan the configuration as below (the barcode that need to be scan depends on the scanner model)
Printer:
-
For the printer, need to check the model of the printer and run the setup file by search and download in the google of the setup file. Eg https://drive.google.com/file/d/1KE44iJLAEaeJY78GyJw8odCG6CmgOkNU/view
-
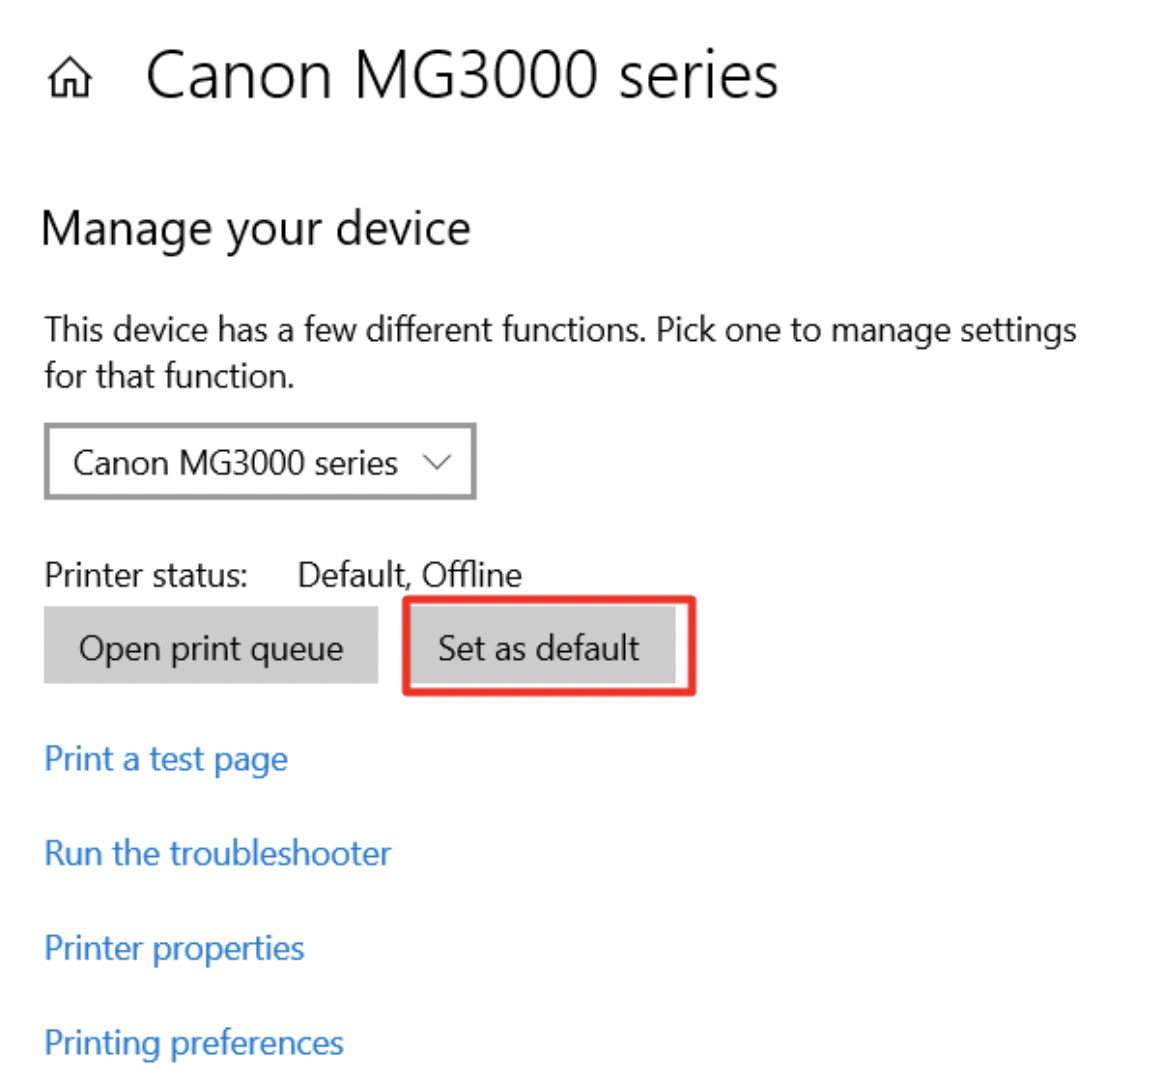
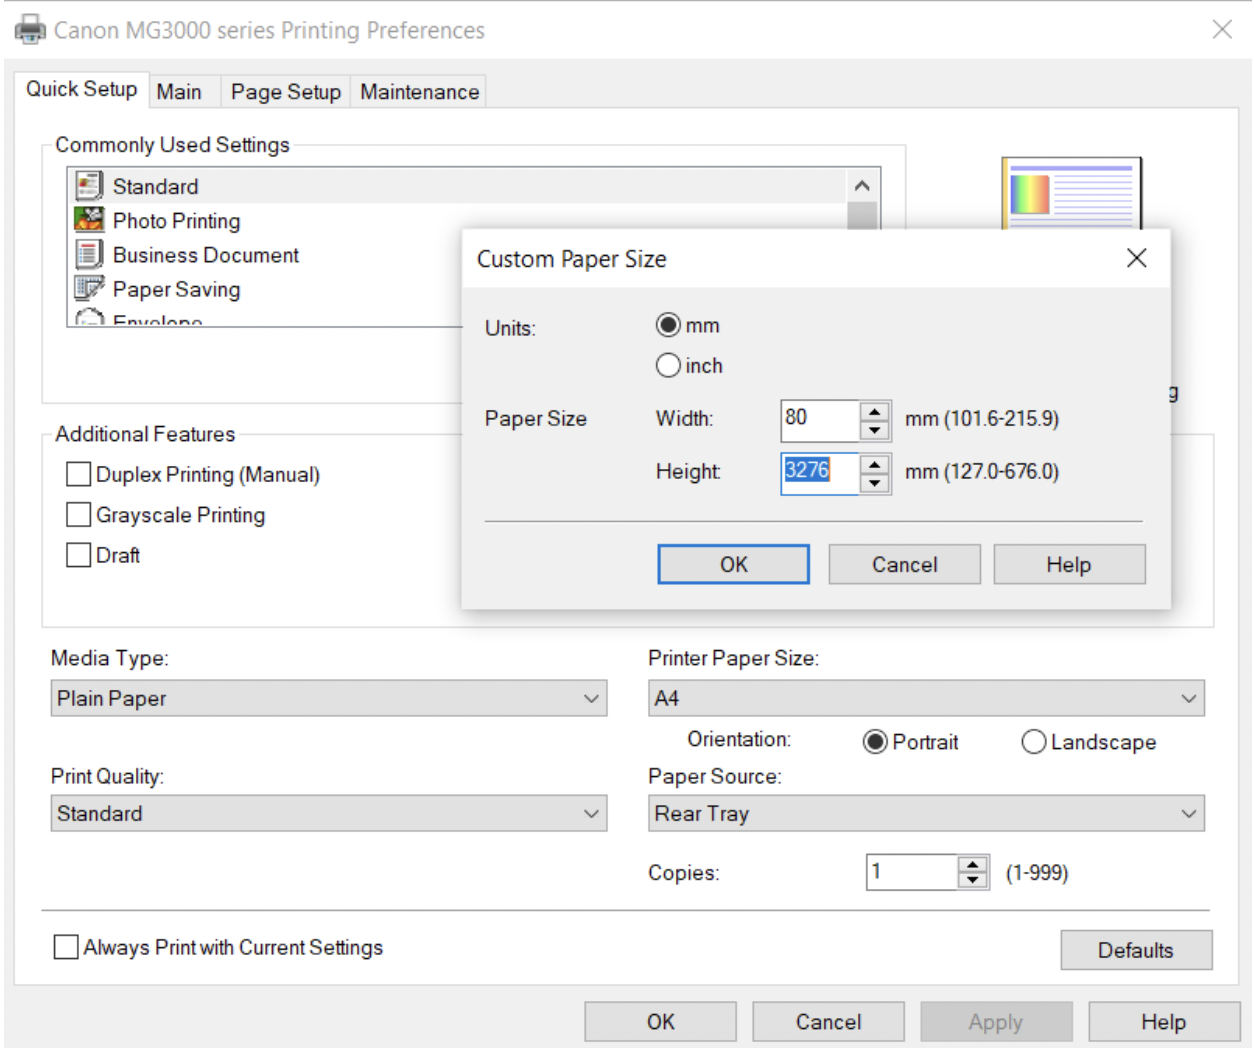
In the Printer and Scanner in the Control Panel, set the printer as defaults. Then, in the printer preference, change the size to 80mm x 3276mm.
Can follow the link below to set cash drawer auto open after print receipt: