Getting Started
Contributing to the BigLedger Akaun documentation is a valuable way to enhance the platform’s knowledge base and improve user experiences. Here are the steps to get started:
-
Basic understanding of the Bigledger Akaun Platform
-
User access to Bigledger Akaun Platform
-
User access to Bigledger Akaun Document Repositories on GitHub
-
Document authoring tools setup
BigLedger Akaun Platform Basics
You should have understanding on how the Bigledger Akaun Platform are solving the problem in the industries of its clients, and how partners and third-party integrators could collaborate to accelerate the value creation process. Refer to Bigledger Overview for more information.
User Access to Bigledger Akaun Platform
-
You would have gain user access to the Bigledger Akaun Platform environments. Refer to User Registration and Verification for more information
-
You should be able to install and access to multiple applets from Private Catalog. If this is not the case, please contact HR to setup relevant tenant and catalog access to your user profile. Refer to Tenants on Bigledger for understanding about tenant. Applets Store on Bigledger for understanding about catalog.
User Access to Bigledger Akaun document repositories on Github
-
Register a GitHub account and use your <username>@wavelet.net email address if you are a BigLedger or Wavelet employee. In order to author this documentation, you will need to have a https://github.com account. As an employee of Wavelet.net or BigLedger.com , you will be using the <username>@wavelet.net to register for the github user. External contributors should use their company email address. You can request the HR department to grant you access via hr@wavelet.net for Github Akaun organization (https://github.com/akaun).
-
Identify the relevant repositories for your contributions:
-
Playbooks link: https://github.com/akaun/Playbooks
-
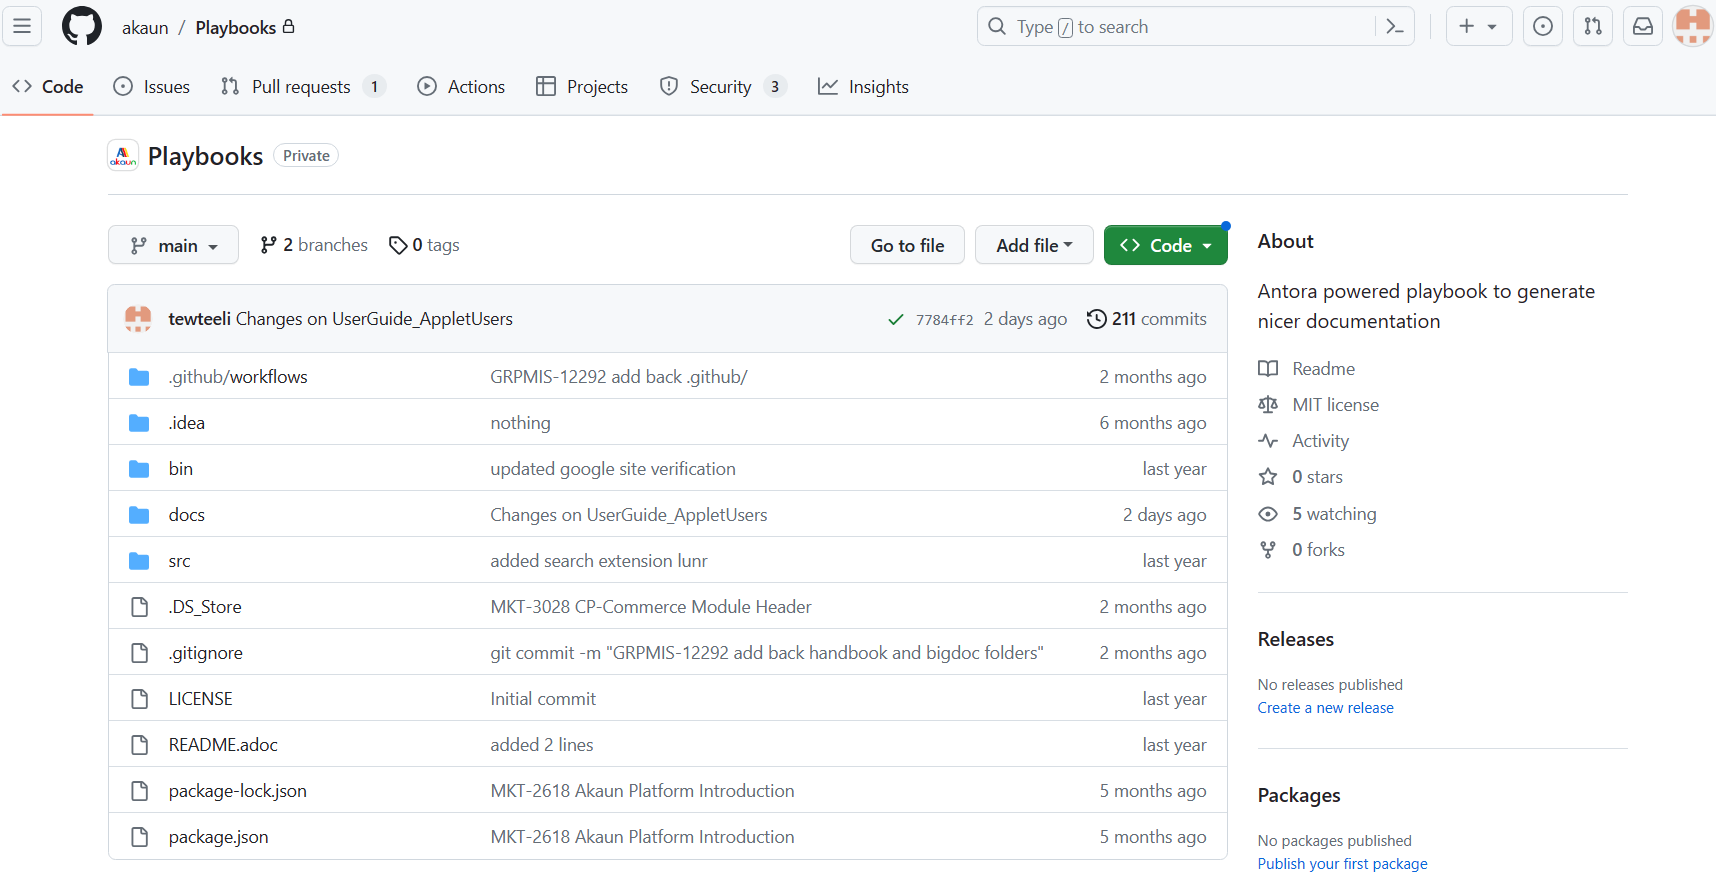
The Playbooks repository serves as a compilation point for content from the Handbook and Blueprint repositories.
-
Public Guide (Handbook) link: https://github.com/akaun/Public-Guide
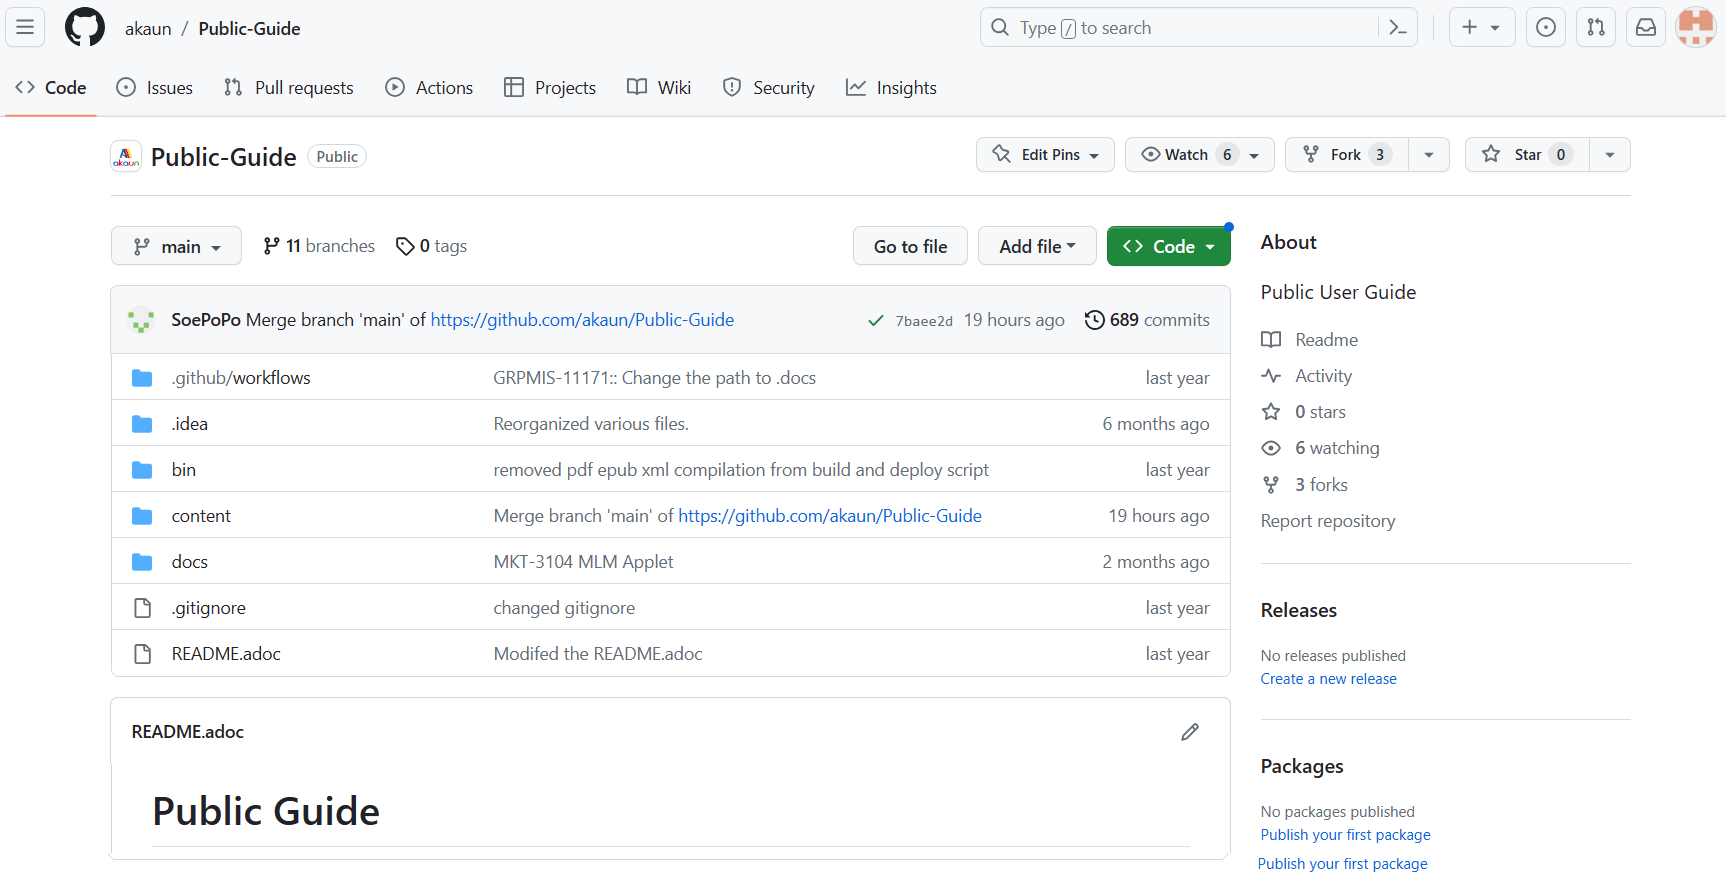
The BigLedger Handbook repository contains comprehensive public documentation.
-
Private Guide (Blueprint) link: https://github.com/akaun/Private-Guide

The BigLedger Blueprint repository contains sensitive or private documentation.
Document Authoring Tools setup
VS Code Setup
Please visit the following page to download Visual Studio Code. https://code.visualstudio.com/download
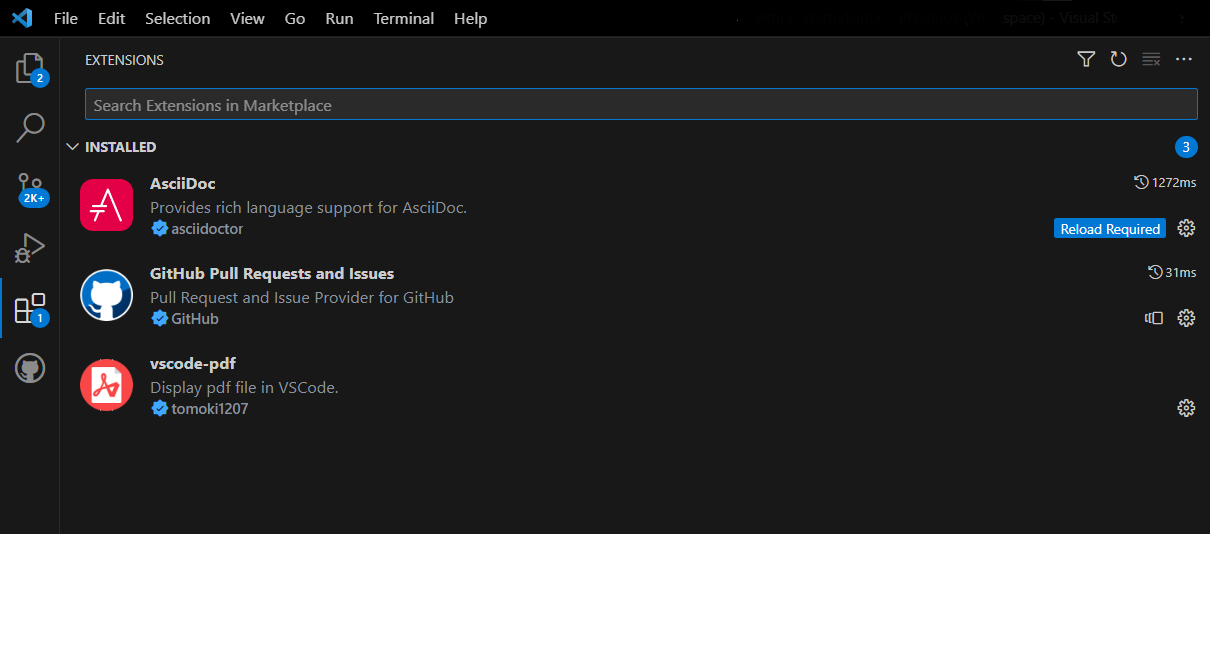
After you have installed the Visual Studio Code, please install the following extensions:
-
AsciiDoc
-
Github Pull Requests and Issues
-
vscode-pdf
You can browse and install extensions from within VS Code. Bring up the Extensions view by clicking on the Extensions icon in the Activity Bar on the side of VS Code
This will show you a list of the most popular VS Code extensions on the VS Code Marketplace.
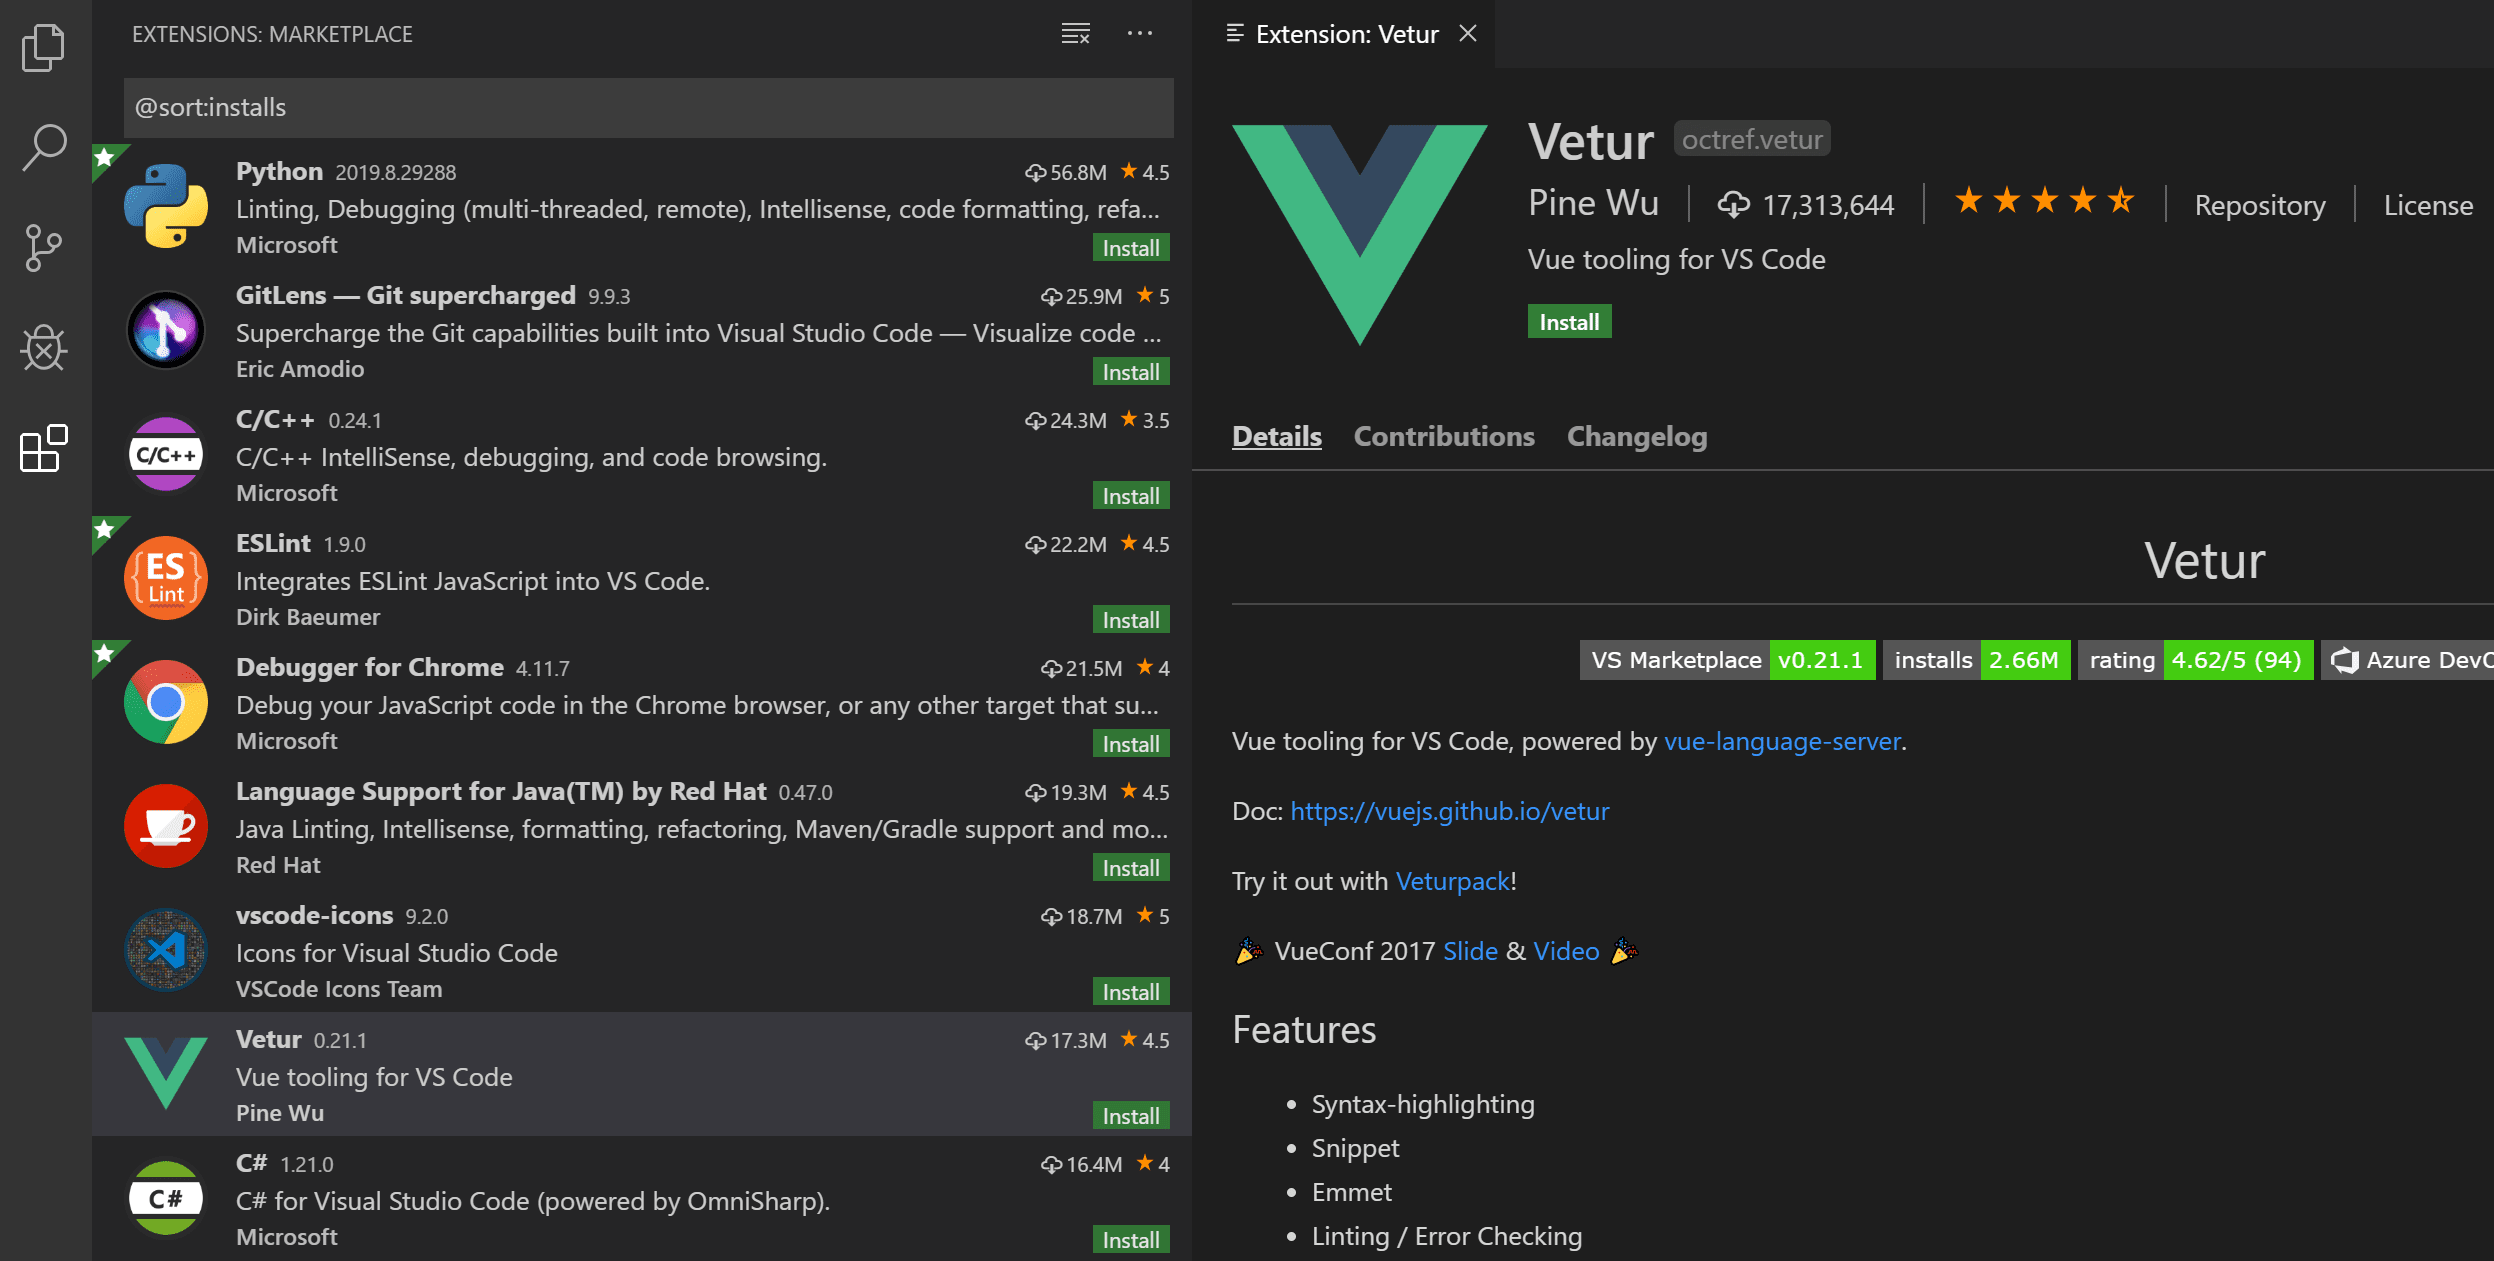
Type extensions name above in the search box to filter the Marketplace offerings.Select the Install button, and VS Code will download and install the extension from the Marketplace. When the installation is complete, the Install button will be replaced with a Manage gear button.
Set up Git in VS Code
To use Git and GitHub in VS Code, first make sure you have Git installed on your computer. If Git is missing, the Source Control view shows instructions on how to install it. Make sure to restart VS Code afterwards.
Now that you have Git on your system, you’ll want to do a few things to customize your Git environment. You should have to do these things only once on any given computer; they’ll stick around between upgrades. You can also change them at any time by running through the commands again.
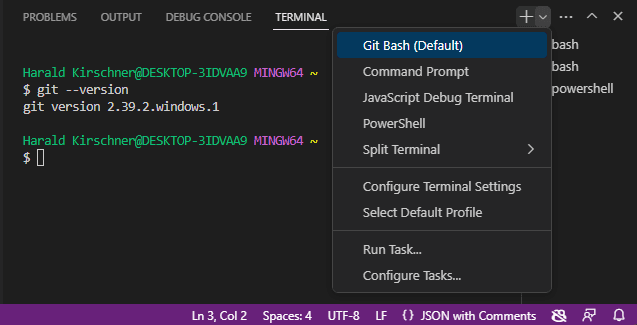
Start by opening View > Terminal. Click on the dropdown arrow next to the + icon in the terminal panel to pick a new shell to open. If Git Bash is installed, it will be shown in the list. You can toggle between different terminals and shells in the Terminal sidebar. With Git Bash configured in Visual Studio Code, you can now use all of your favorite Git commands directly from the terminal in your code editor.
If you want to set Git Bash as your default shell, open the Terminal dropdown (next to the + icon) and select Select Default Profile. This will open a list of available shells, including Git Bash. Selecting Git Bash will set it as your default shell, and all future terminals will be opened with Git Bash.
With Git Bash shell, you may run the following command lines to complete the one-time setup:
-
$ git config --system core.longpaths true
-
$ git config --global user.name "XXX XXX"
-
$ git config --global user.email XXX@wavelet.net
-
$ git config --global core.editor "code --wait"
Congratulations for completing the Getting Started section. With the above prerequisites ready and setup, you are almost half-way there. The next steps would require you to:
-
Follow the guidelines regarding the document authoring and control process through Handbook Guide and Blueprint Guide
-
Follow the guidelines regarding the document publishing process through Playbook Guide
-
Contribute to specific sections, update existing content, or suggest improvements to enhance the overall quality of the documentation.
-
Collaborate with other contributors to ensure the accuracy, completeness, and consistency of the documentation.
Thank you for being part of our documentation journey. Let’s work together to make the Akaun Platform documentation a valuable resource for all stakeholders. Happy documenting!