BigLedger Handbook Guide
The content in the BigLedger Handbook Guide is meant for Wavelet and BigLedger’s customers, resellers, and solution partners. The Handbook aims to enable readers on the following:
-
multiple industries that are currently running on Bigledger
-
high-level business modules breakdown of the platform
-
how the feature-rich applets streamline the detailed enterprise processes
-
the technology interfaces that allow co-creation with third parties
We do not publish any materials in this repository "Public-Guide" directly. The content of this repository is published through the publishing process described in Playbook Guide
This guide provide you an understanding of how to contribute to the BigLedger handbook. It is important to note that the BigLedger Handbook content is stored inside the "Public-Guide" GitHub repository. All content in this folder is meant for public consumption.
Do not include anything regarded as "sensitive" and "private and confidential".
The GitHub repository for this Public Guide is available at https://github.com/akaun/Public-Guide .
Understanding the Directory Structure
Folder Name |
Description |
bin |
This folder contains shell scripts that you need to install and setup. You will also see a file called publish.sh , and this is the file that you would execute to compile the asciidoc into various file formats, and save them in the "build/blg_handbook/www" folder. You shouldn’t be editing any files in this folder. |
build |
This is a temporary folder that gets deleted and re-created every time we "compile" the documentation. You shouldn’t need to mess with files in this folder. |
content |
This is where you will be contributing by editing the files in this folder. |
docs |
You shouldn’t need to edit any files in this folder. But you are welcome to open the files in this folder to check the "compiled output" of your changes , to ensure they are correct before pushing your code to the github, and request for your branch to be merged with the "main" branch in github. |
Authoring the Documentation
After you have downloaded the github, please clone the https://github.com/akaun/Private-Guide to your local computer.
1. Clone a repository locally
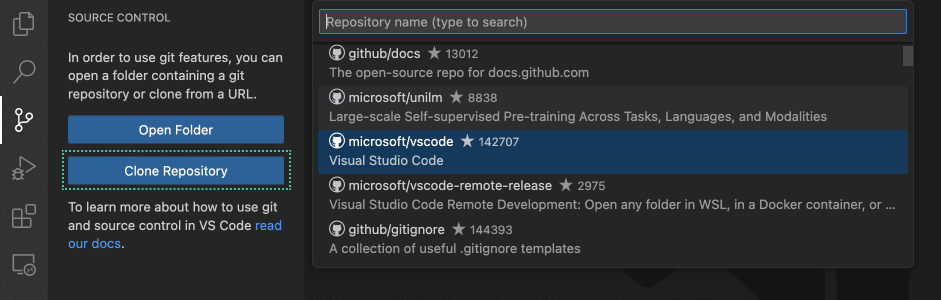
To clone a repository from GitHub, execute the Git: Clone command or select the Clone Repository button in the Source Control view. If you clone from GitHub, VS Code will prompt you to authenticate with GitHub. This allows you to search all available repositories and clone private repositories. For other Git providers, enter the repository URL and select Clone and pick a folder. VS Code opens the folder once the repository is cloned on your local machine.
2. Multi-root Workspace
You can work with multiple document folders in Visual Studio Code with multi-root workspaces. This can be helpful when you are working on several related folders at one time.
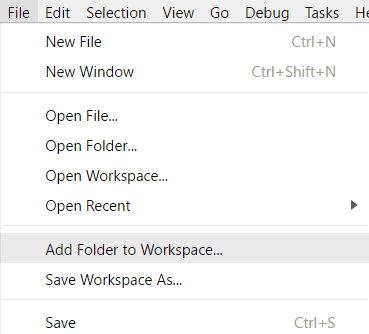
It is easy to add another folder to your existing workspace. The File > Add Folder to Workspace command brings up an Open Folder dialog to select the new folder.The File Explorer should work and behave as before. You can move files between root folders and use any of the typical file operation actions provided in the context menu and the Explorer view.
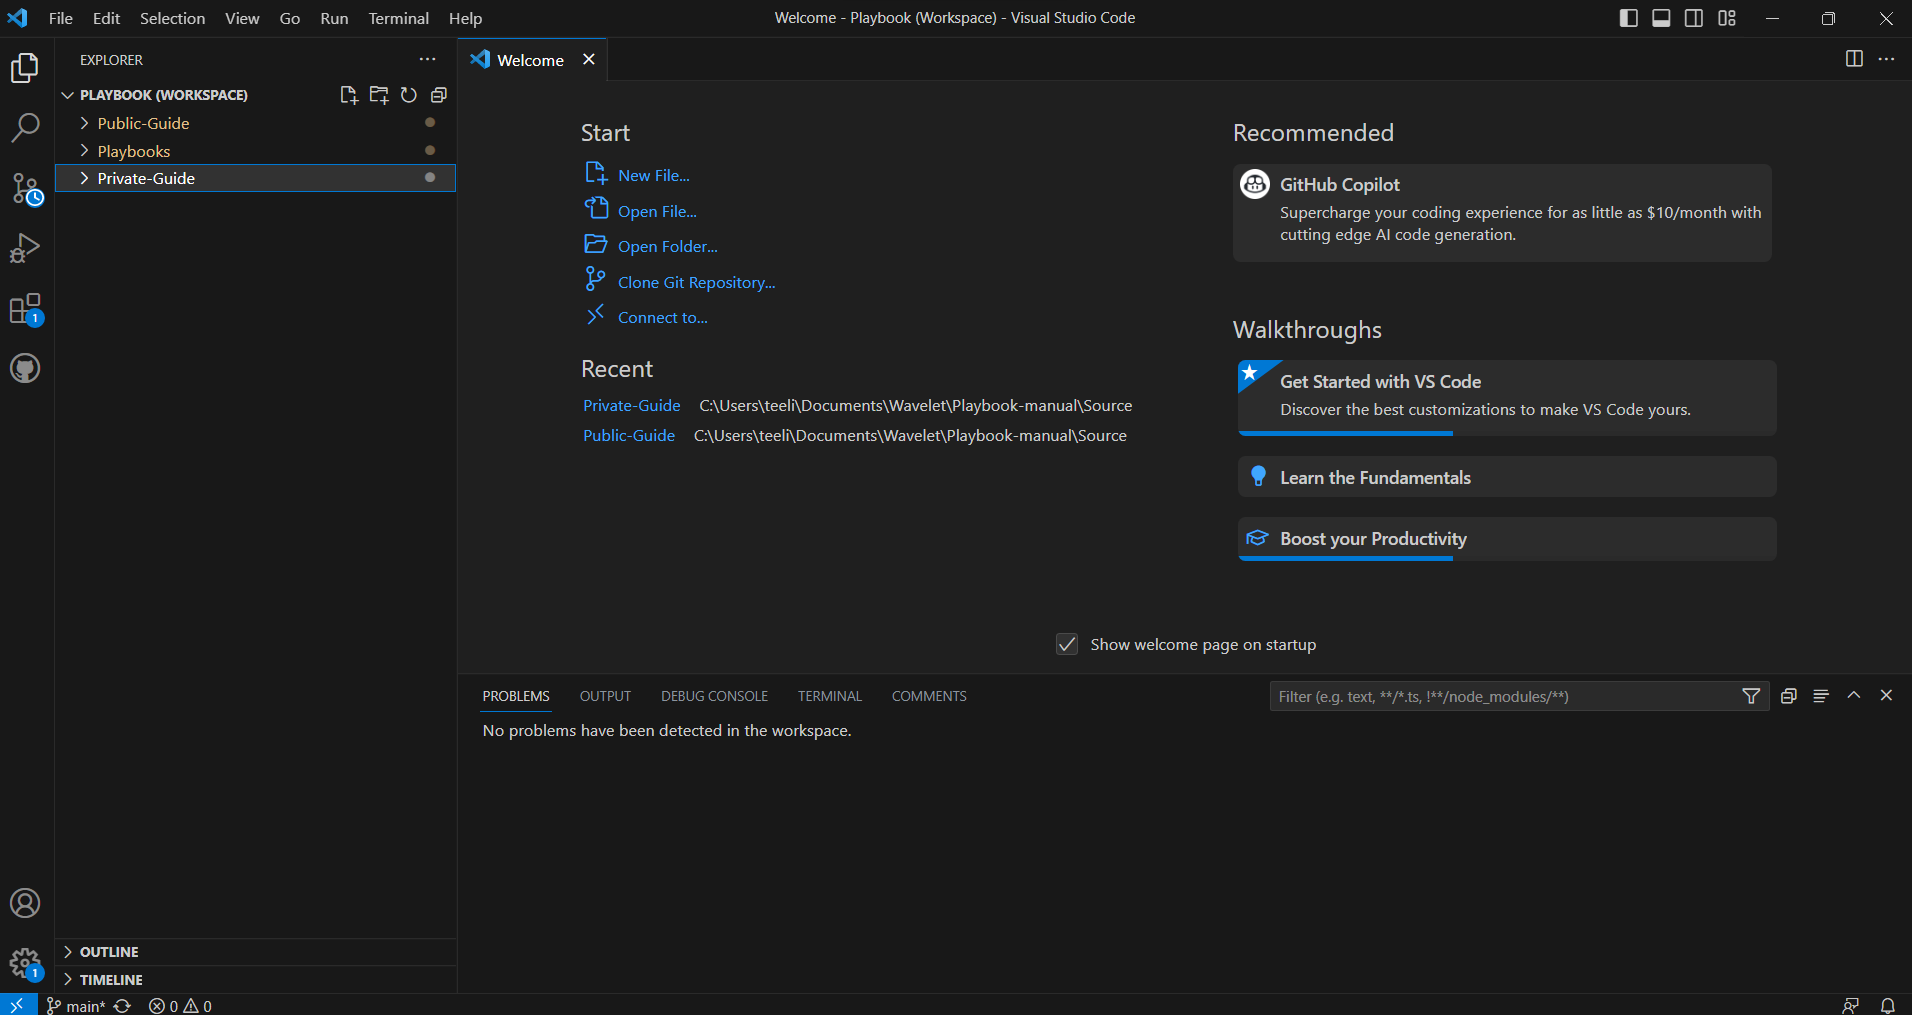
Once a root folder is added, the Explorer will show the new folder as a root in the File Explorer
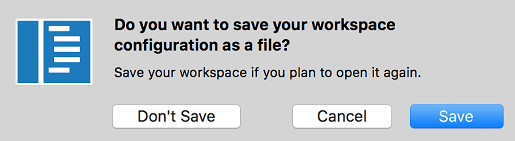
When you add multiple folders, they are initially placed in a Workspace titled UNTITLED WORKSPACE and that name will remain until you save the workspace. You do not need to save a Workspace until you want to have it in a permanent location, for example, on your Desktop. Untitled Workspaces are present as long as the VS Code instance they are using is open. Once you completely close an instance with an untitled workspace, you will be asked to save it if you plan to open it again in the future:
When you save your workspace, it will create a .code-workspace file and the file name will be displayed in the File Explorer.
To reopen a Workspace, you can: * Double-click the .code-workspace file in your platform’s Explorer. * Use the File > Open Workspace command and select the Workspace file. * Select the Workspace from the File > Open Recent list.
3. Add or modify the content locally
Below are the steps to start creating or modifying content in the Blueprint
-
Select the folder where you want to add or edit your content
-
If you are creating a new file, you may copy any template available (eg. 00-named-applet-template) and rename it
-
For newly created files, ensure “.adoc” is added at the back of each file (eg. introduction.adoc)
-
Make sure to add in the name of the new file (eg. internal-stock-adjustment-applet) into both antora.yml and index.adoc
-
New writeup files should be created at pages folder
-
New images should be created at images folder
-
Save all your changes to the files
You may refer to formating guide in Document Formatting Guide
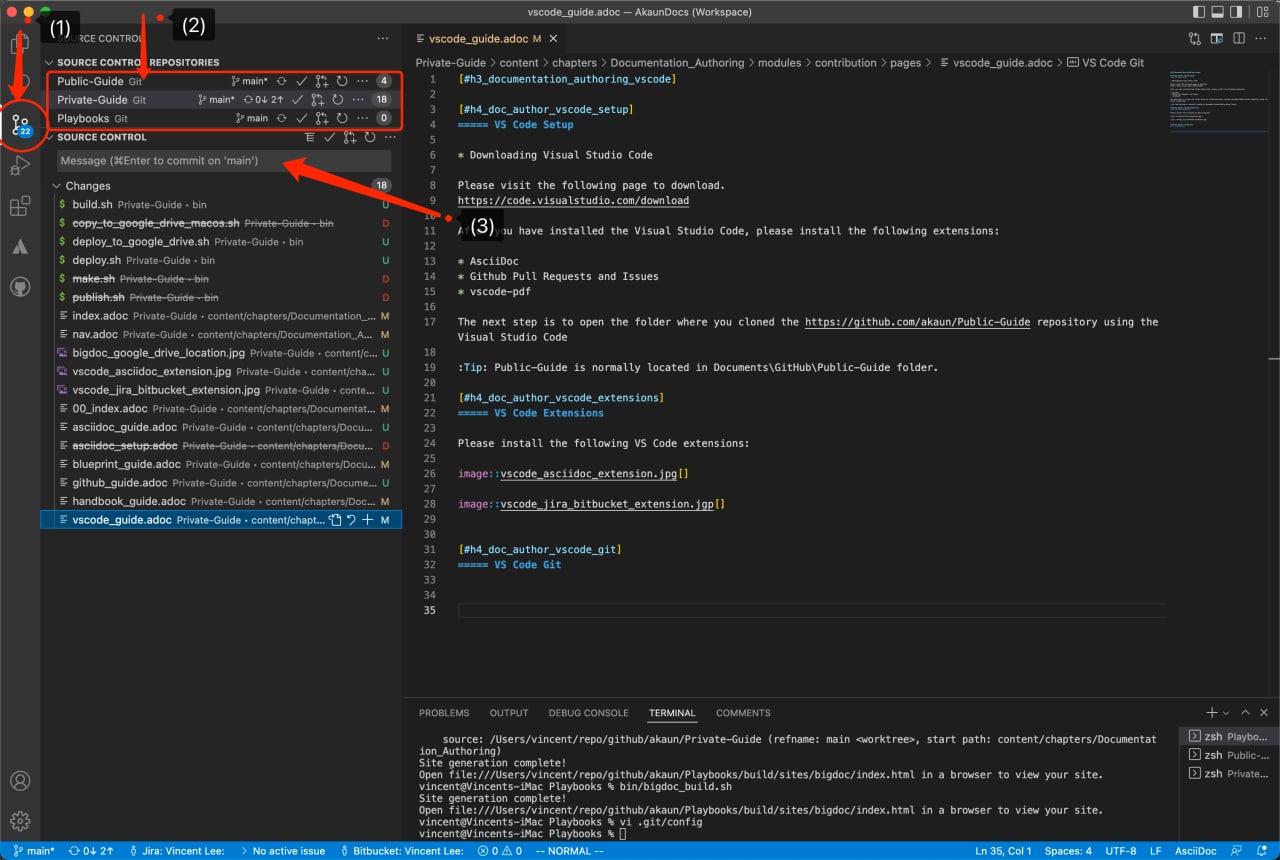
4. Stage and commit document changes
-
Stage the files including the newly added images
-
Commit the changes in your remote branch not the main branch, name the commit with the issue number and the name of the documentation.
-
Create a Pull Request after committing the changes in the terminal.
-
Command : git pull