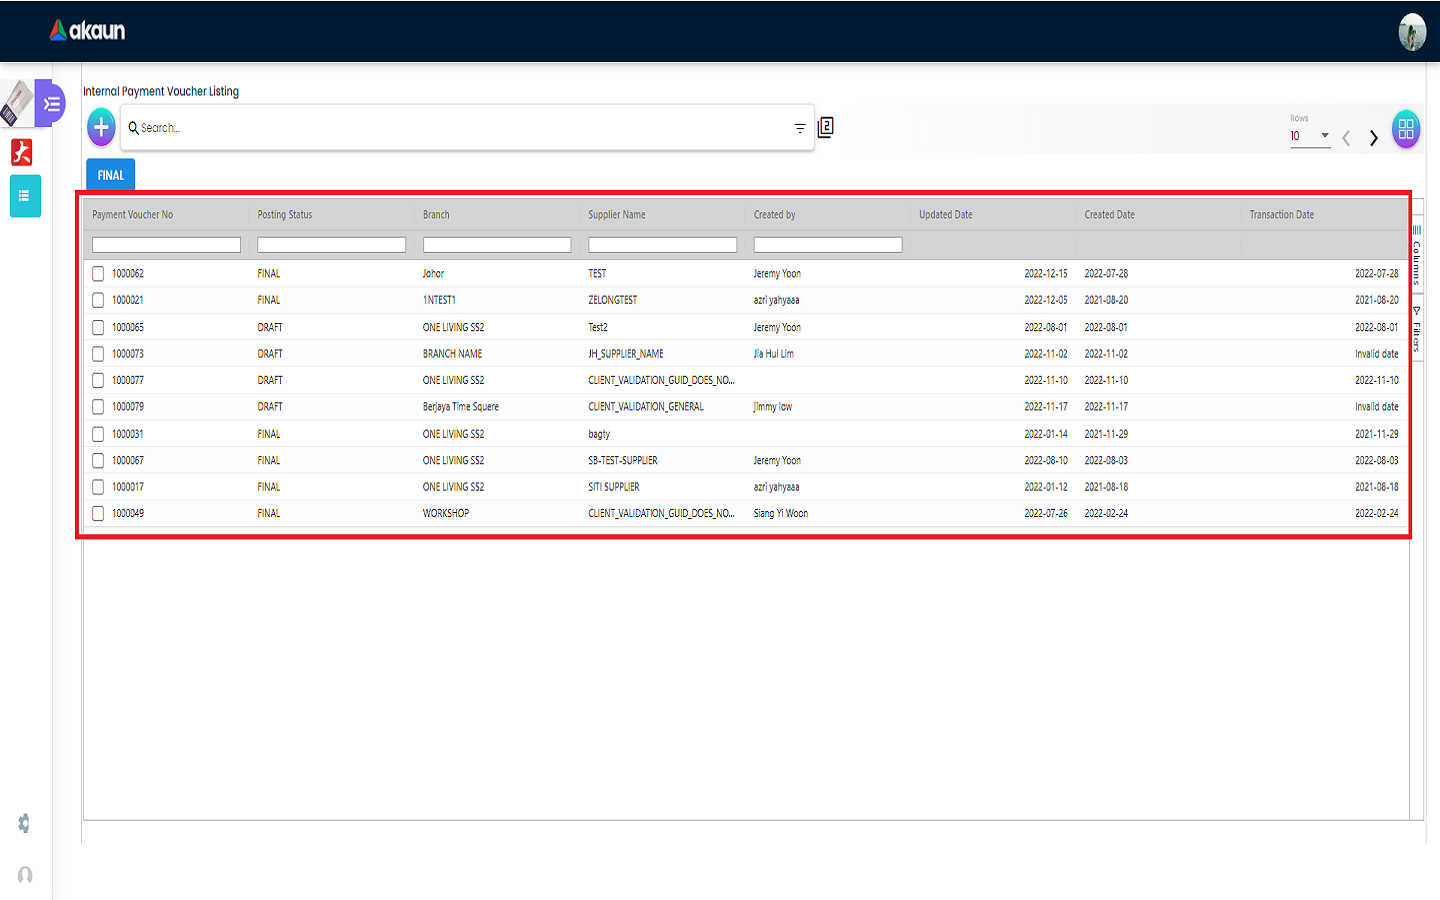
2.0 Internal Payment Voucher Listing
Please Click The ‘+’ Button To Add a New Payment Voucher.
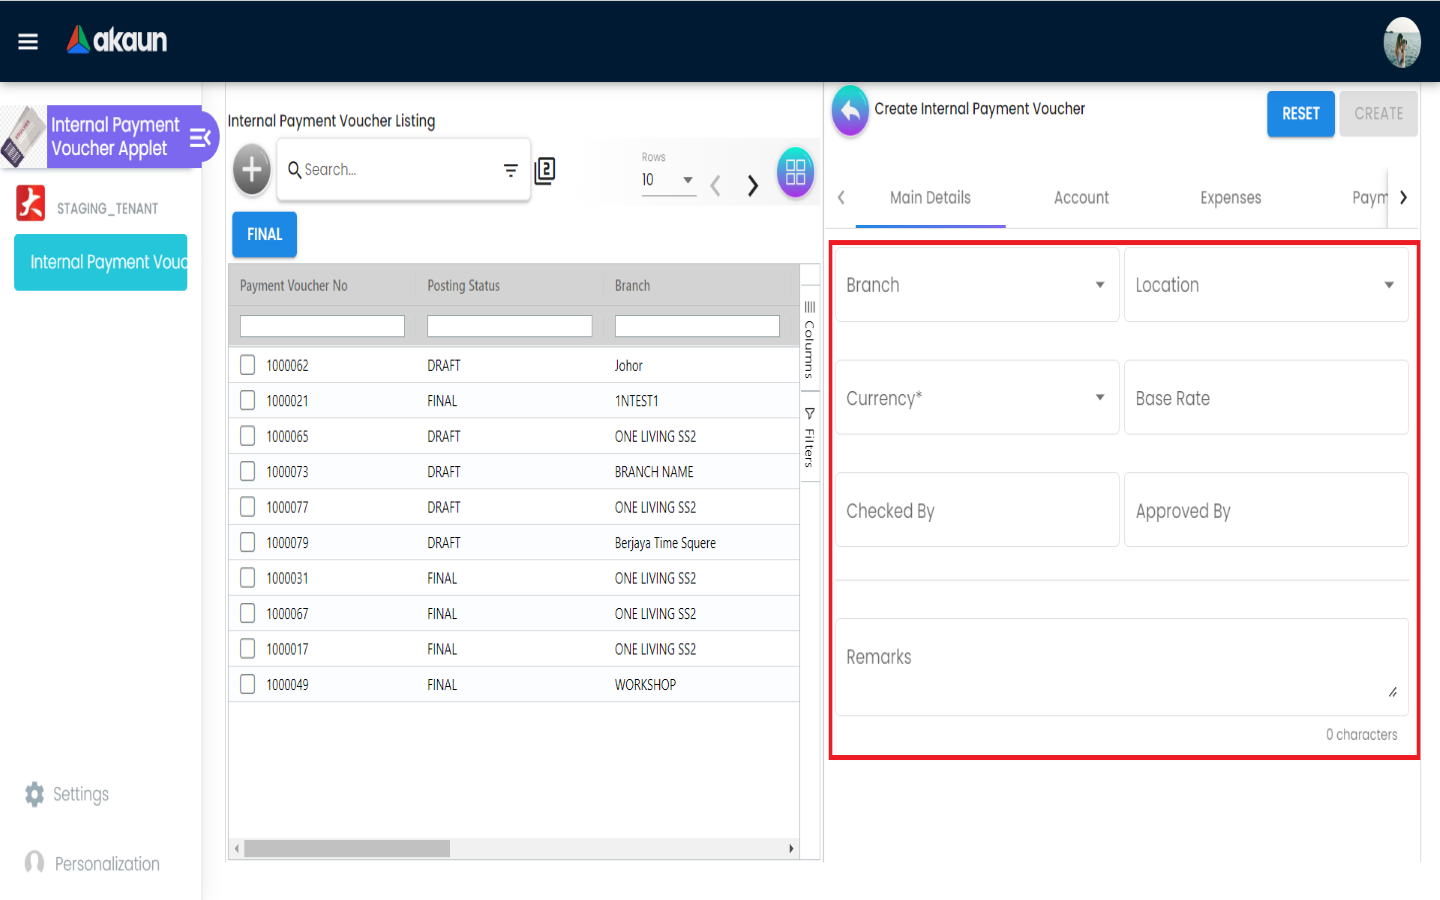
2.1 Main Details Tab
Please fill up the compulsory (*) information for creating the payment voucher. Compulsory Information:
-
Branch-Add new branch in Organization Applet
-
Location-Add new location in Organization Applet
-
Currency-Depend on the selected branch
-
Other fields are optional
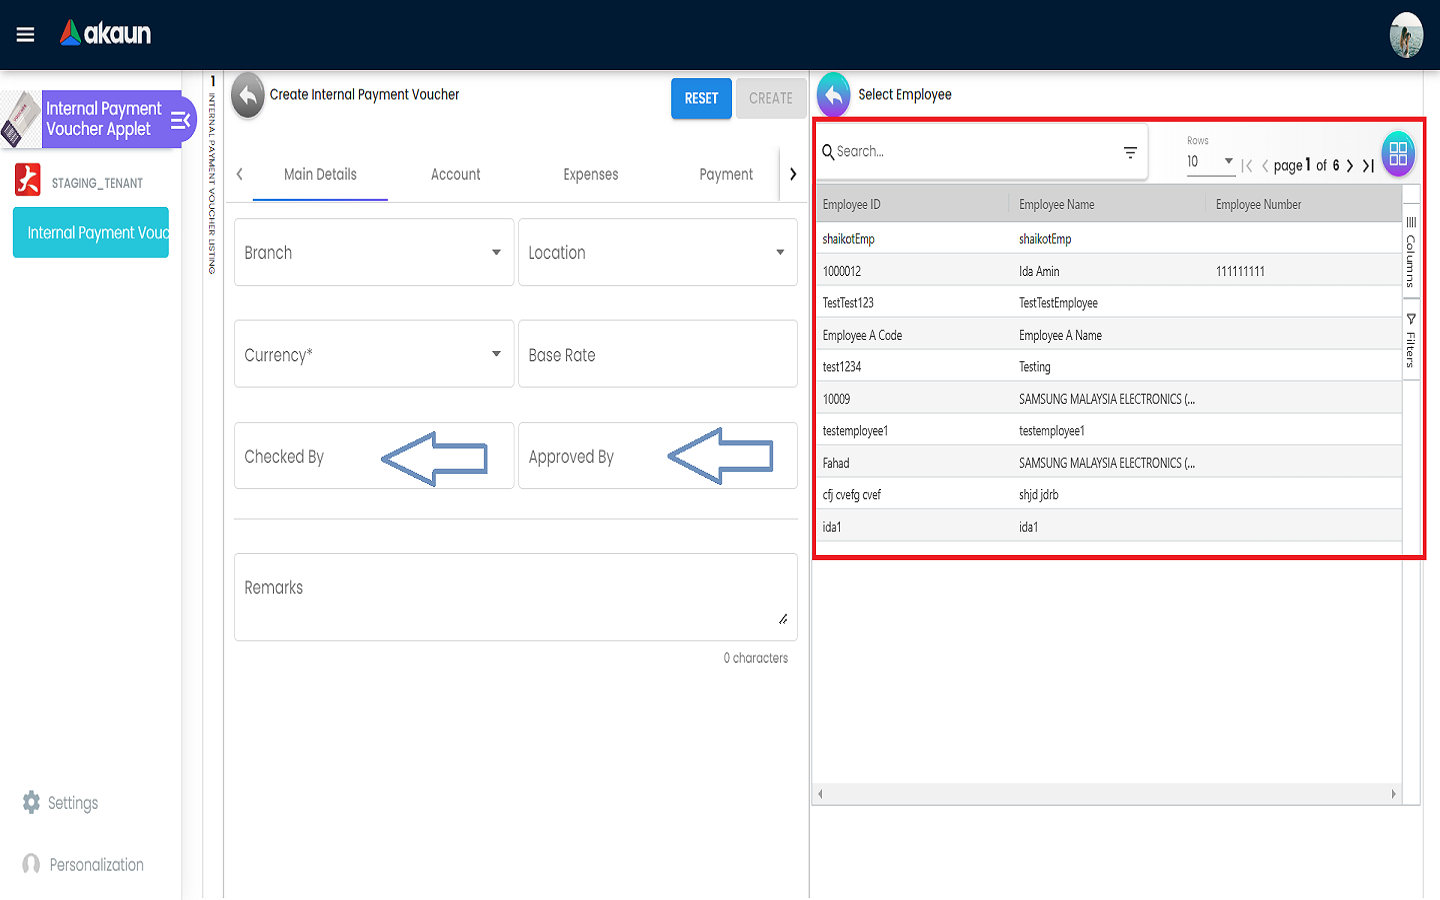
When the field of Checked By or Approved By is clicked, a list of employees will be displayed on the right side which allows you to select an employee from it.
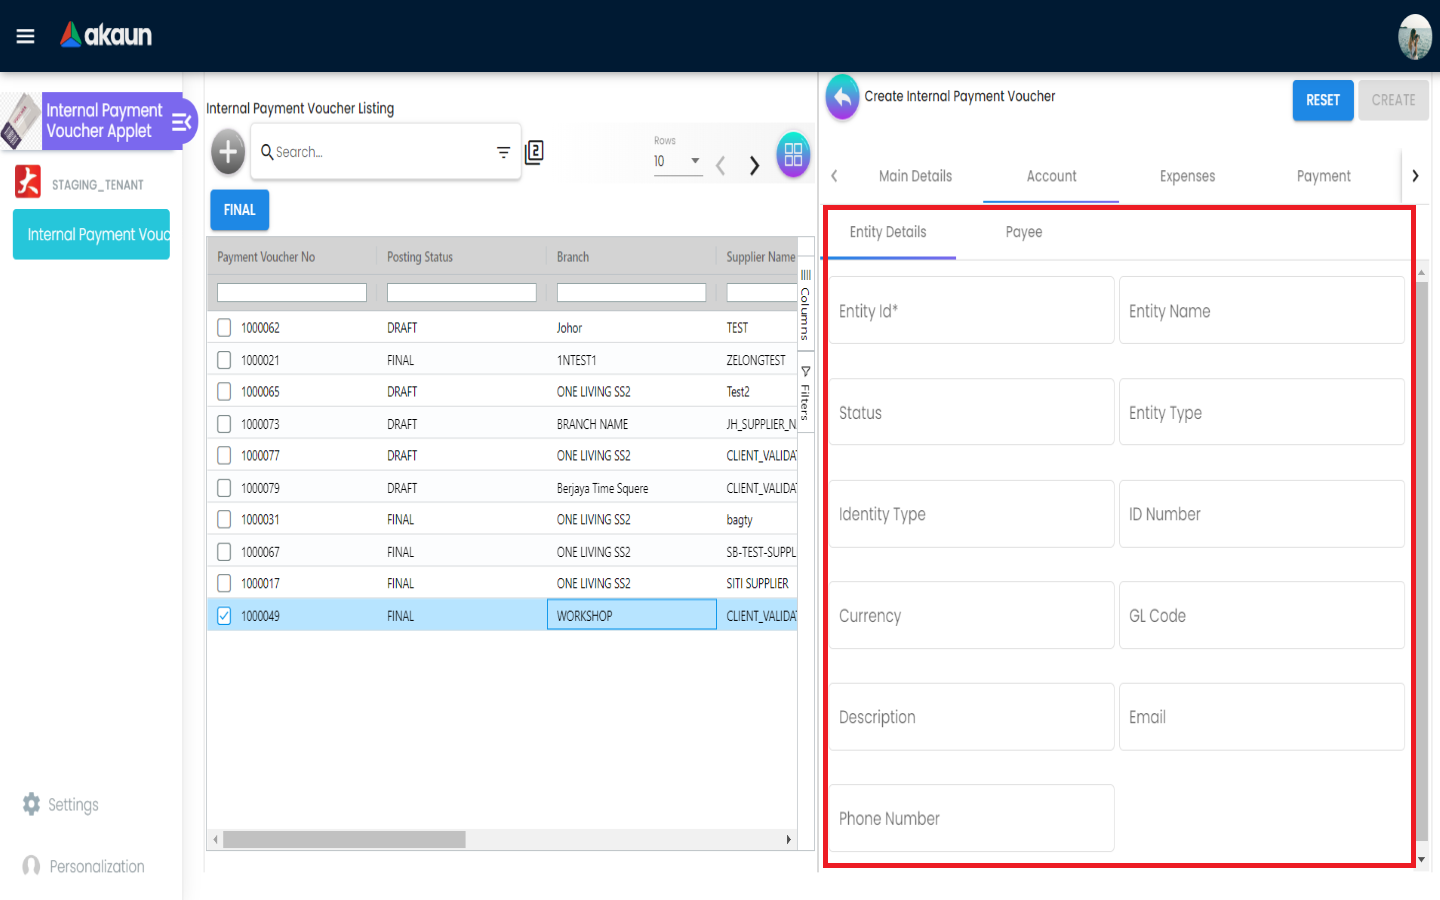
2.2 Account Tab
2.2.1 Entity Details Tab
Compulsory Information:
-
Entity ID-Add new Entity in Entity Maintenance Applet
-
Entity Name-Will auto fill once you select the entity ID
-
Other fields will be filled automatically once Entity ID is selected
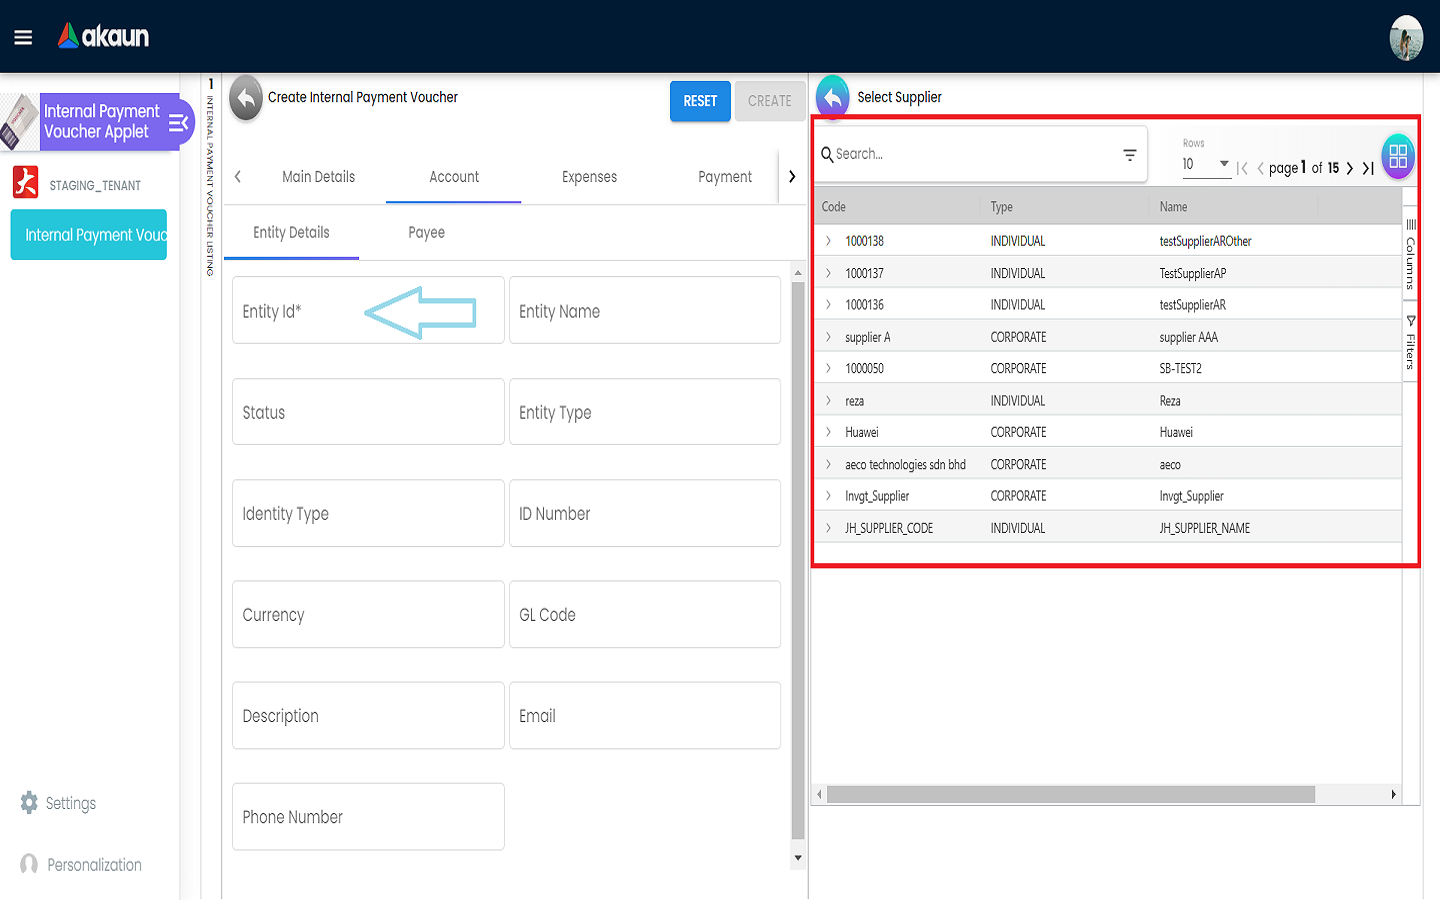
After the Entity Id has been clicked, a list of suppliers will be displayed on the right side.
You can select the supplier from the list.

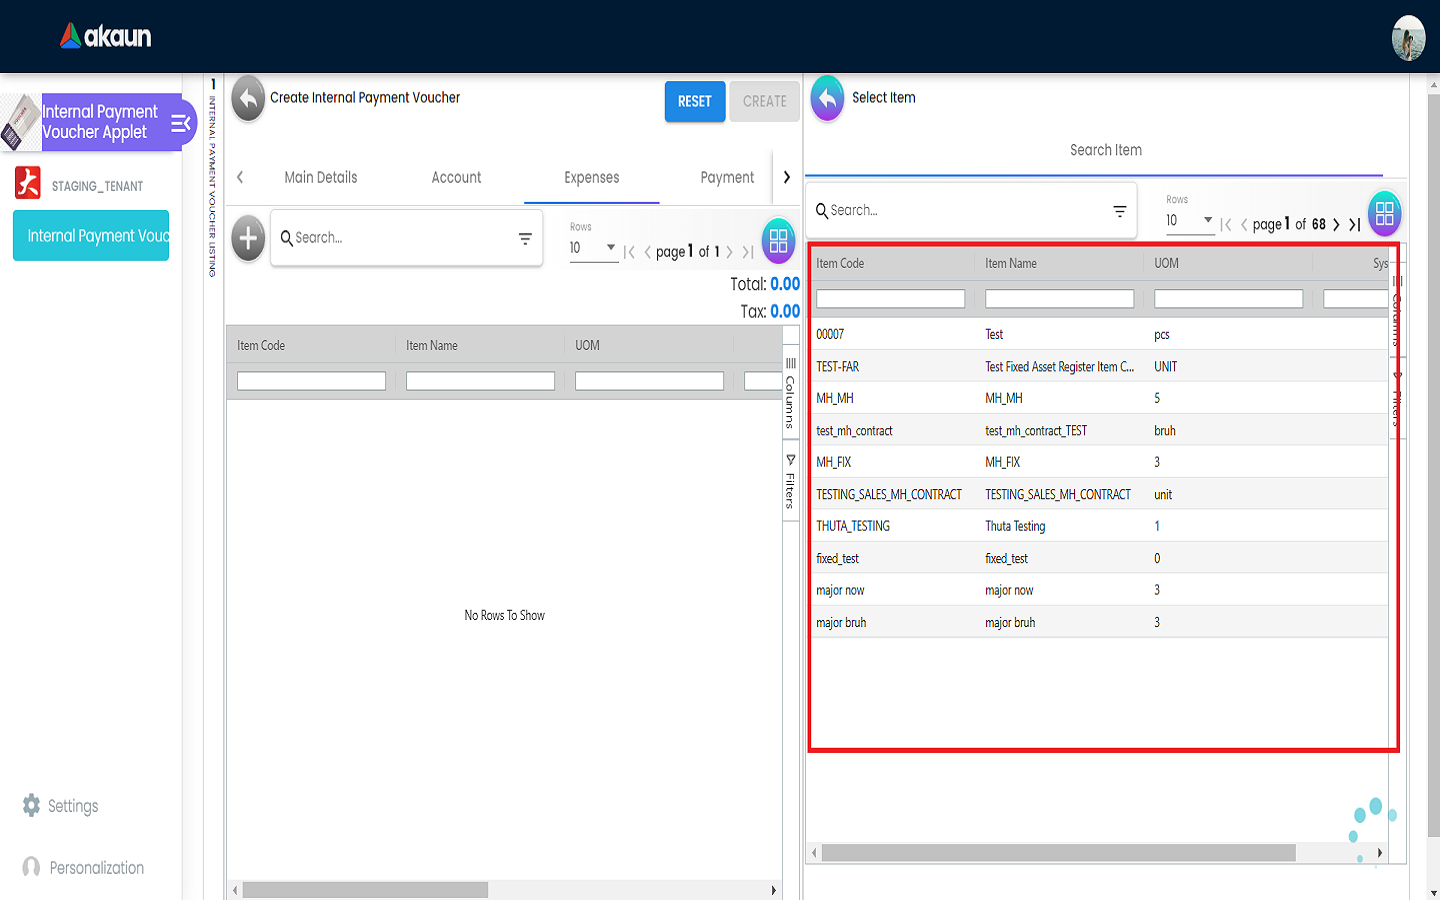
2.3 Expenses Tab
In the Expenses Tab, users are allowed to add new expenses, for instance electricity bill, water bill and other expenses by choosing items created in the Inv Item Maintenance Applet. This tab can help users to track all the expenses for a particular payment voucher. Total amount and tax of all the expenses can be viewed in this tab.
Please click the ‘+’ button to add new expenses.
-
List of items will be displayed on the right side for selection.
-
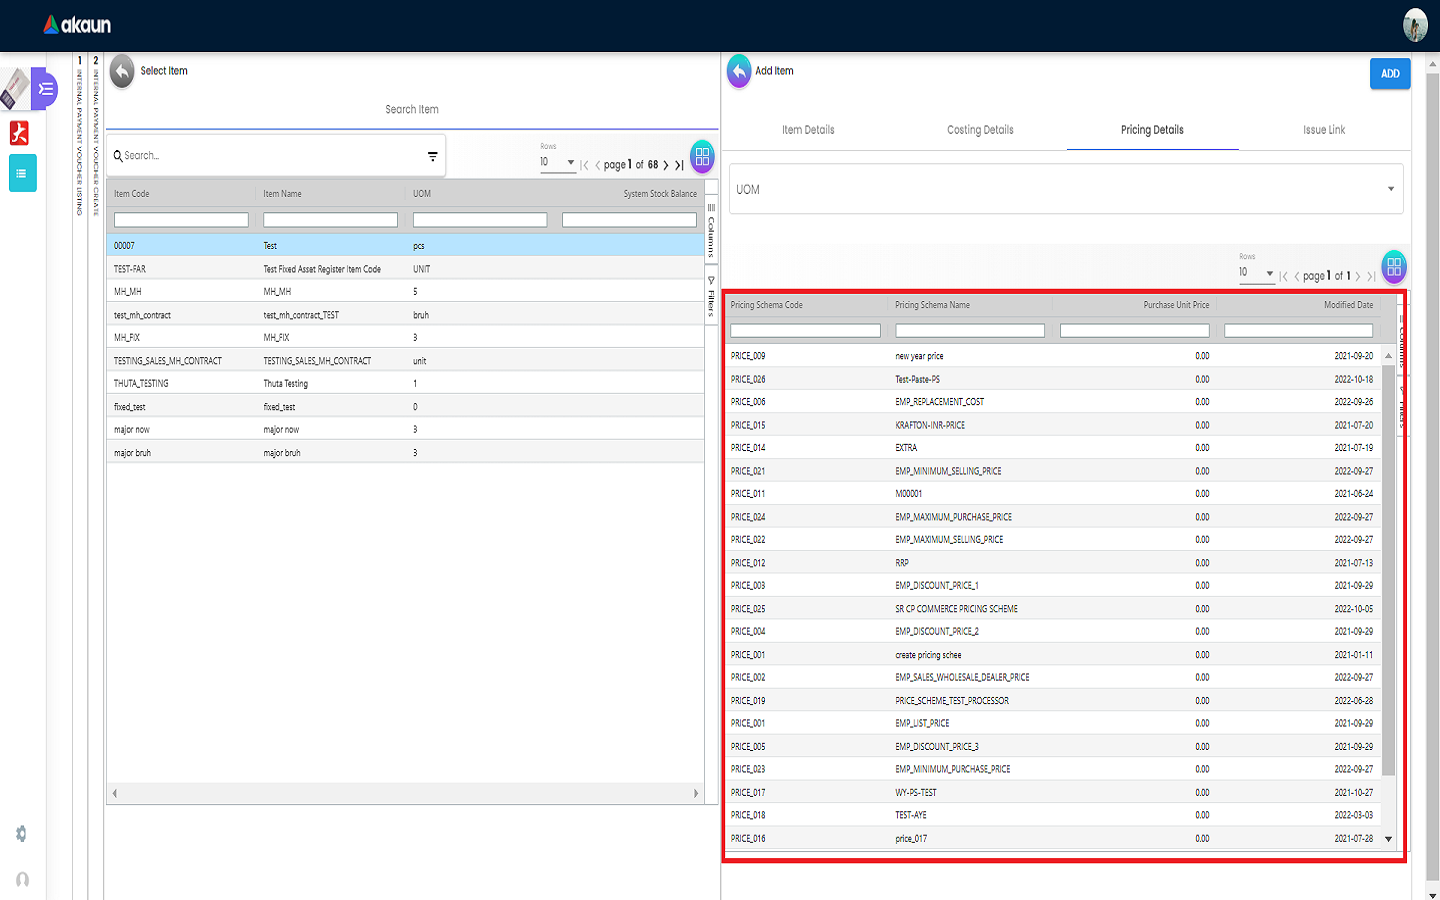
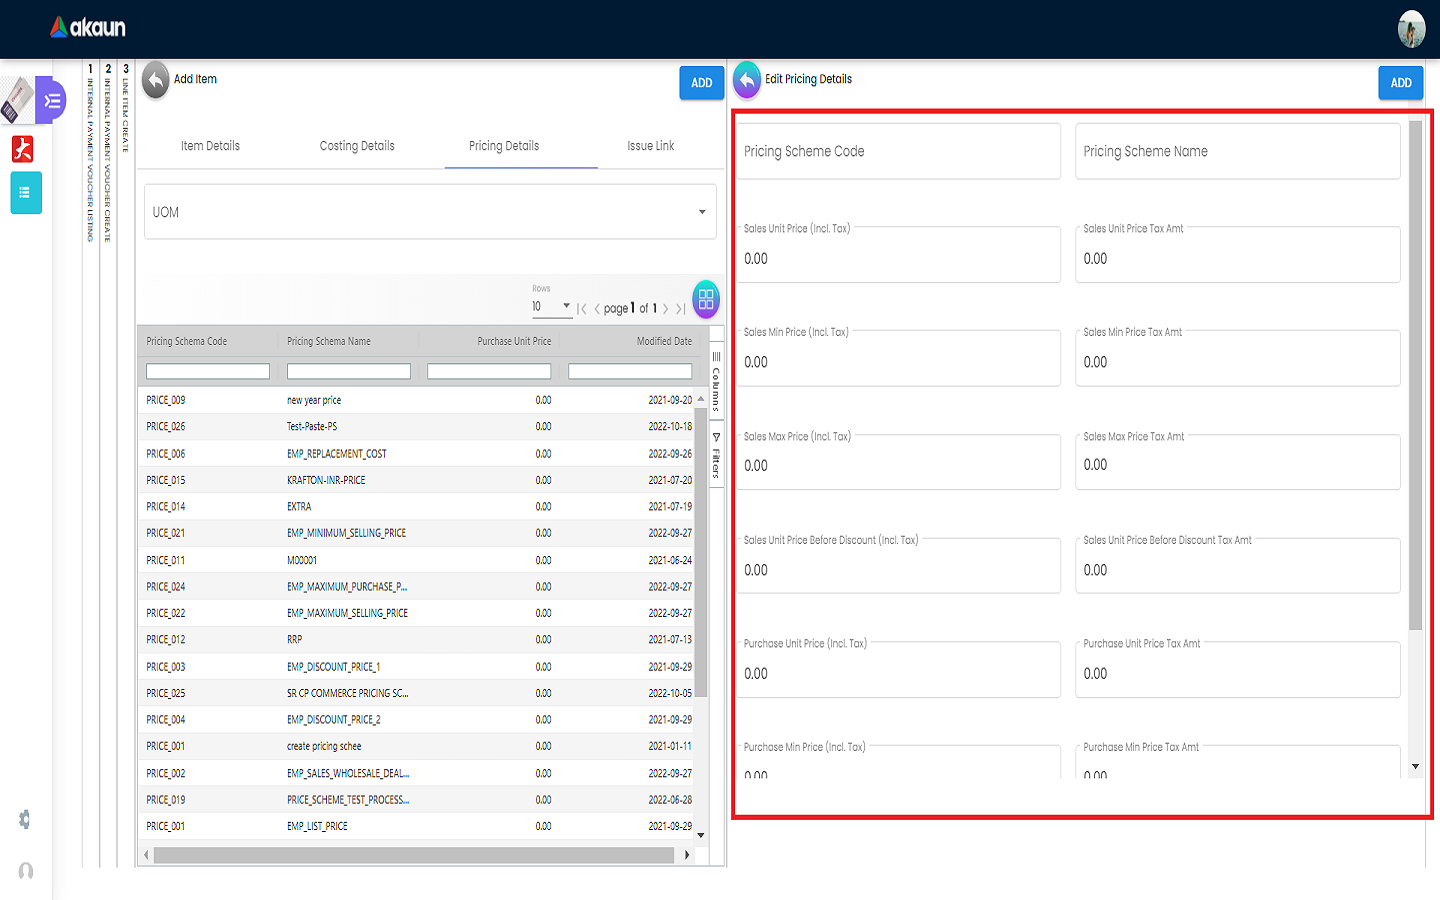
A tab of Add Item will be displayed on the right side when one of the items is clicked and the changes can be saved by clicking on the Add button.
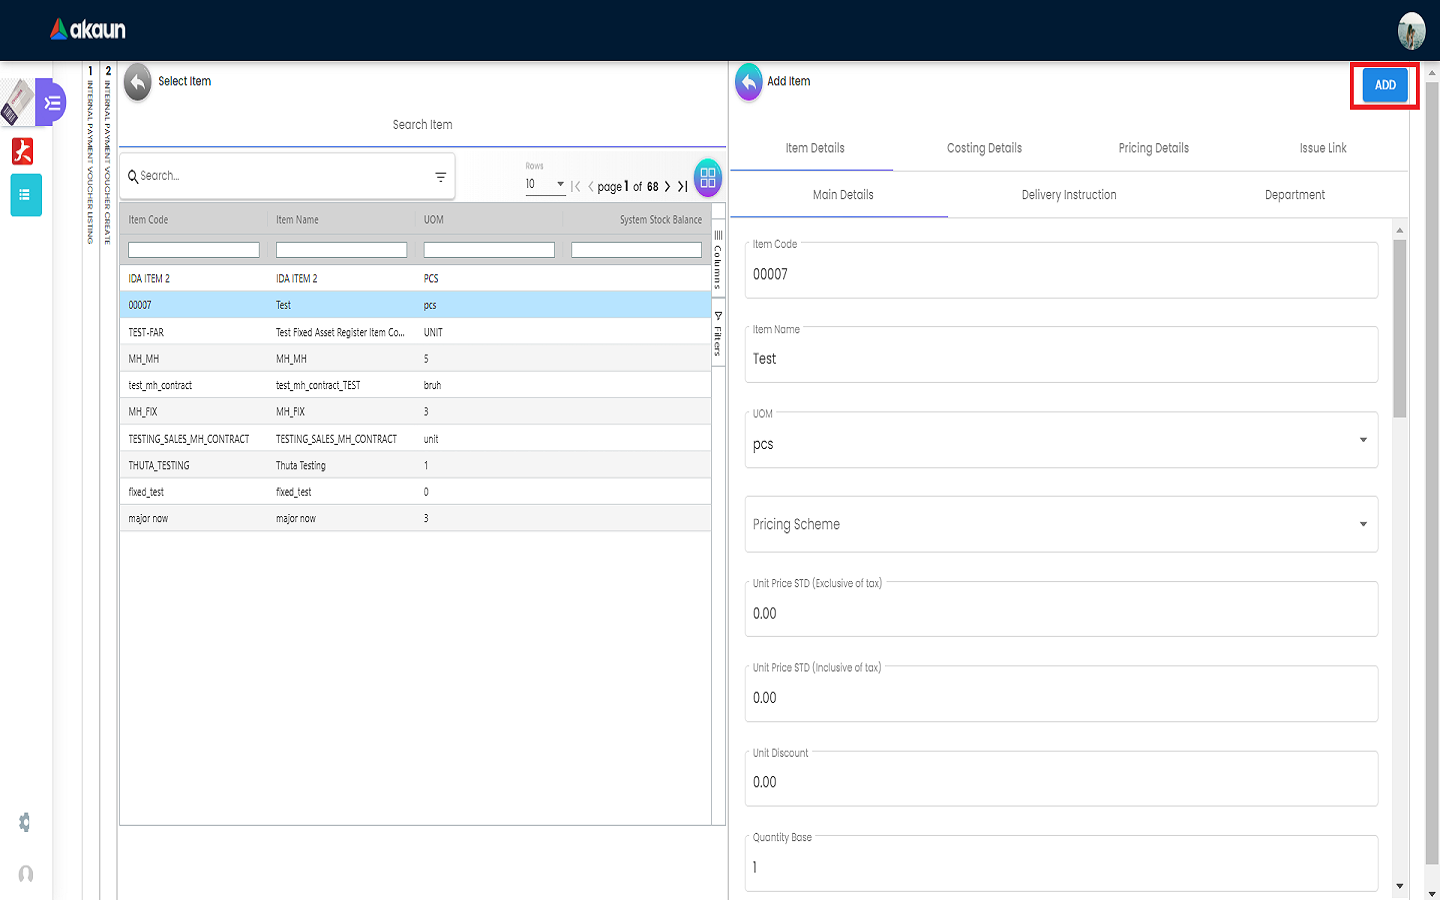
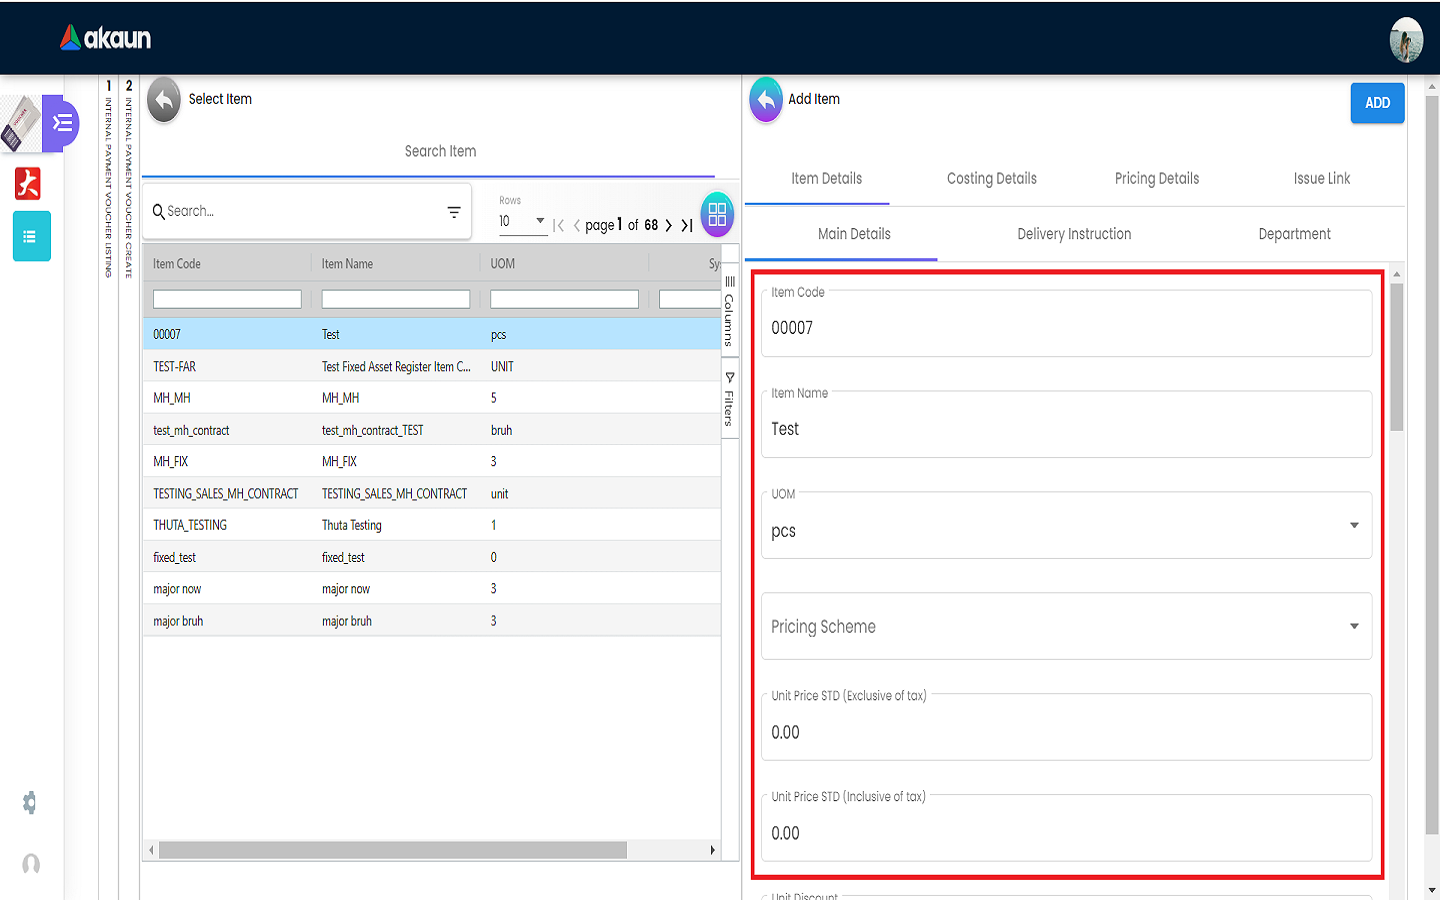
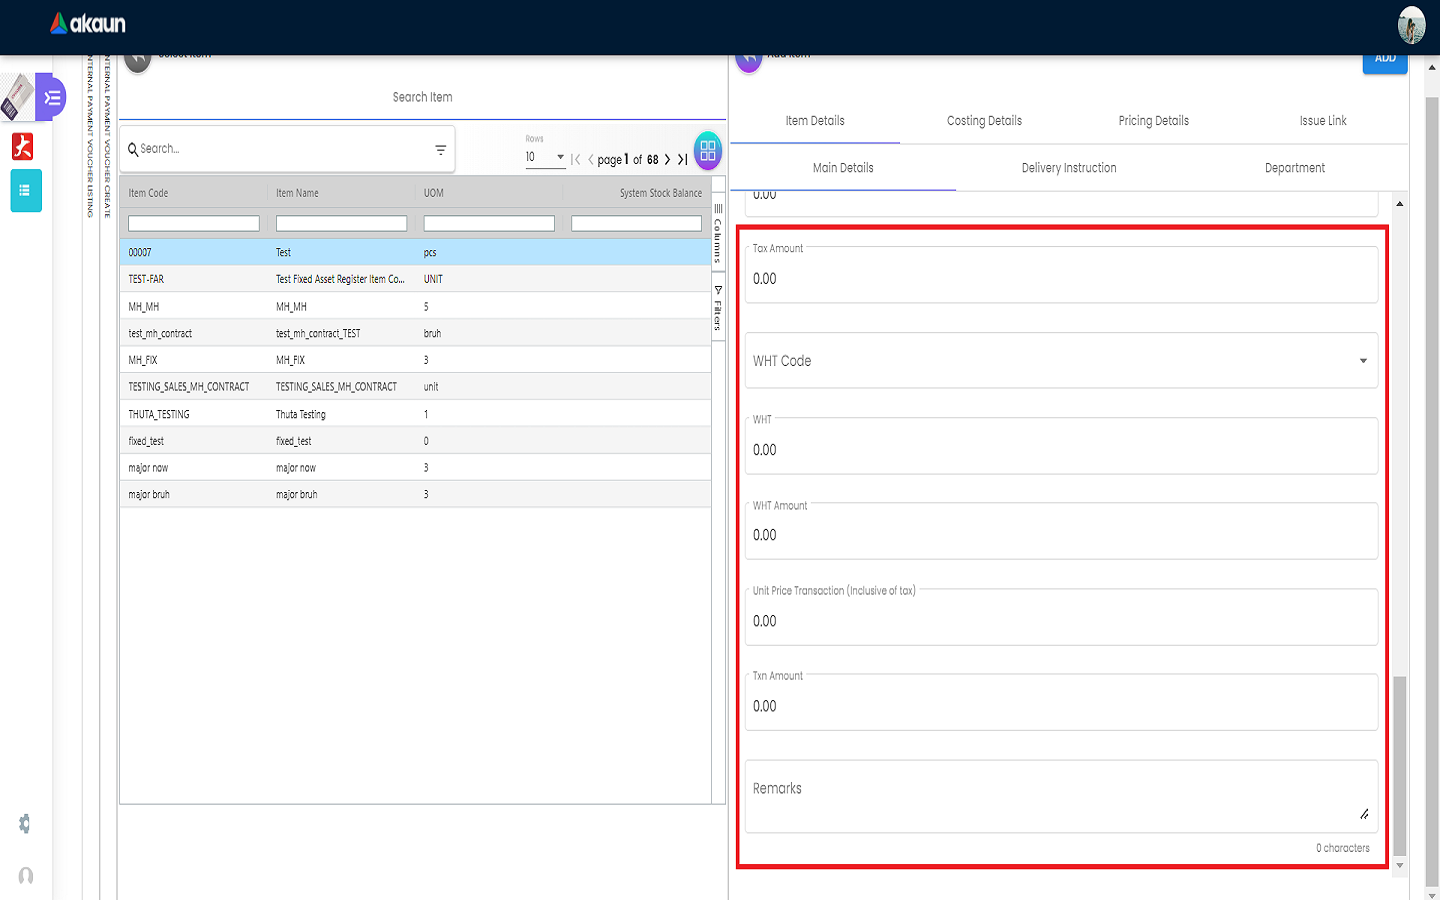
2.3.1 Item Details Tab
2.3.1.1 Main Details Tab
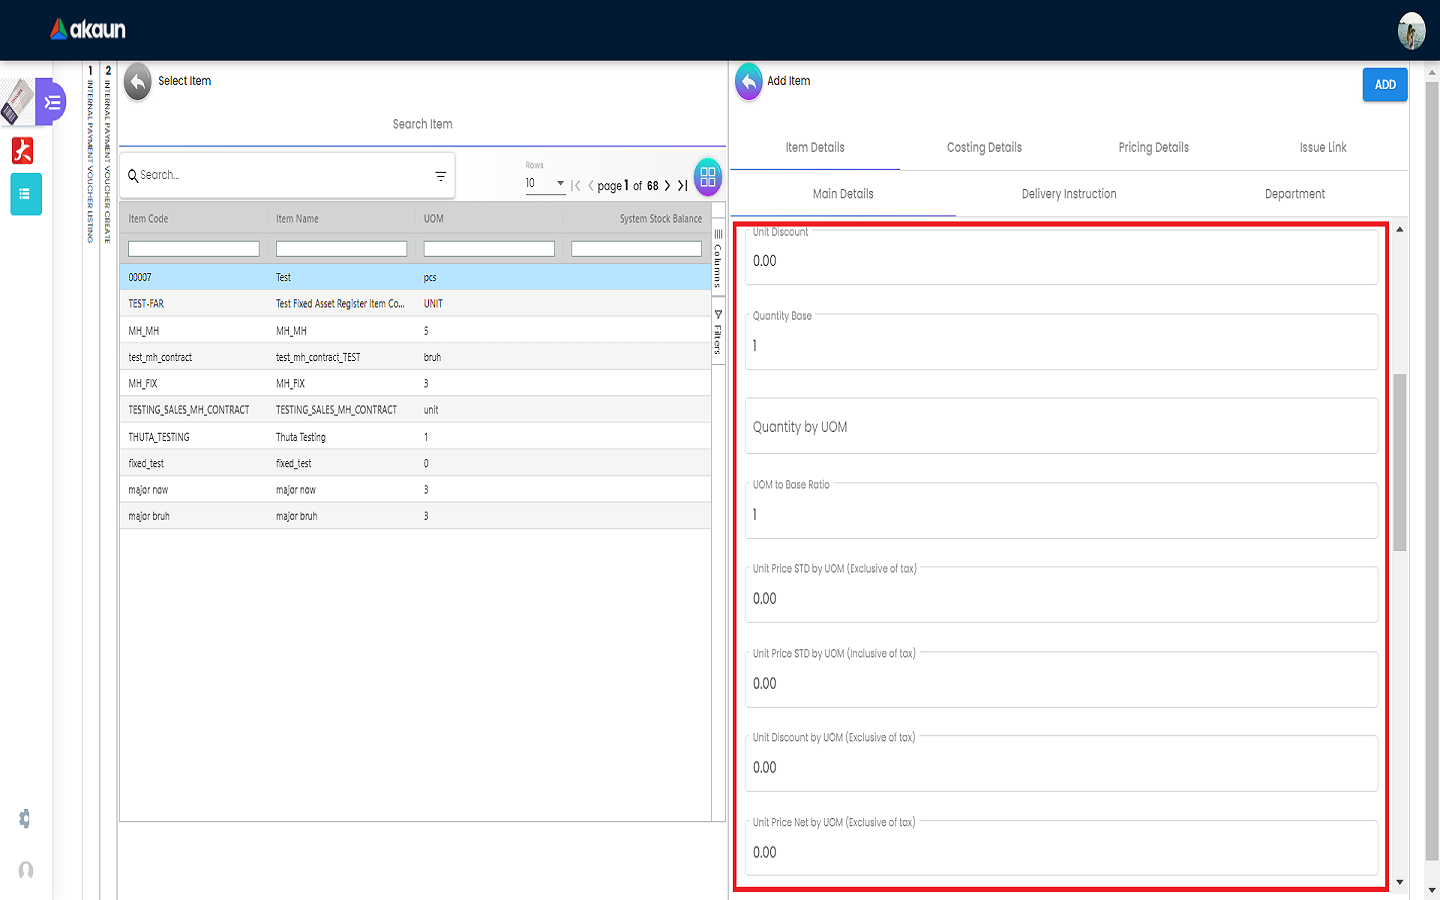
You can edit the item that you have selected.
Number fields such as Unit Price, Quantity Base etc are editable and it will affect other fields automatically.

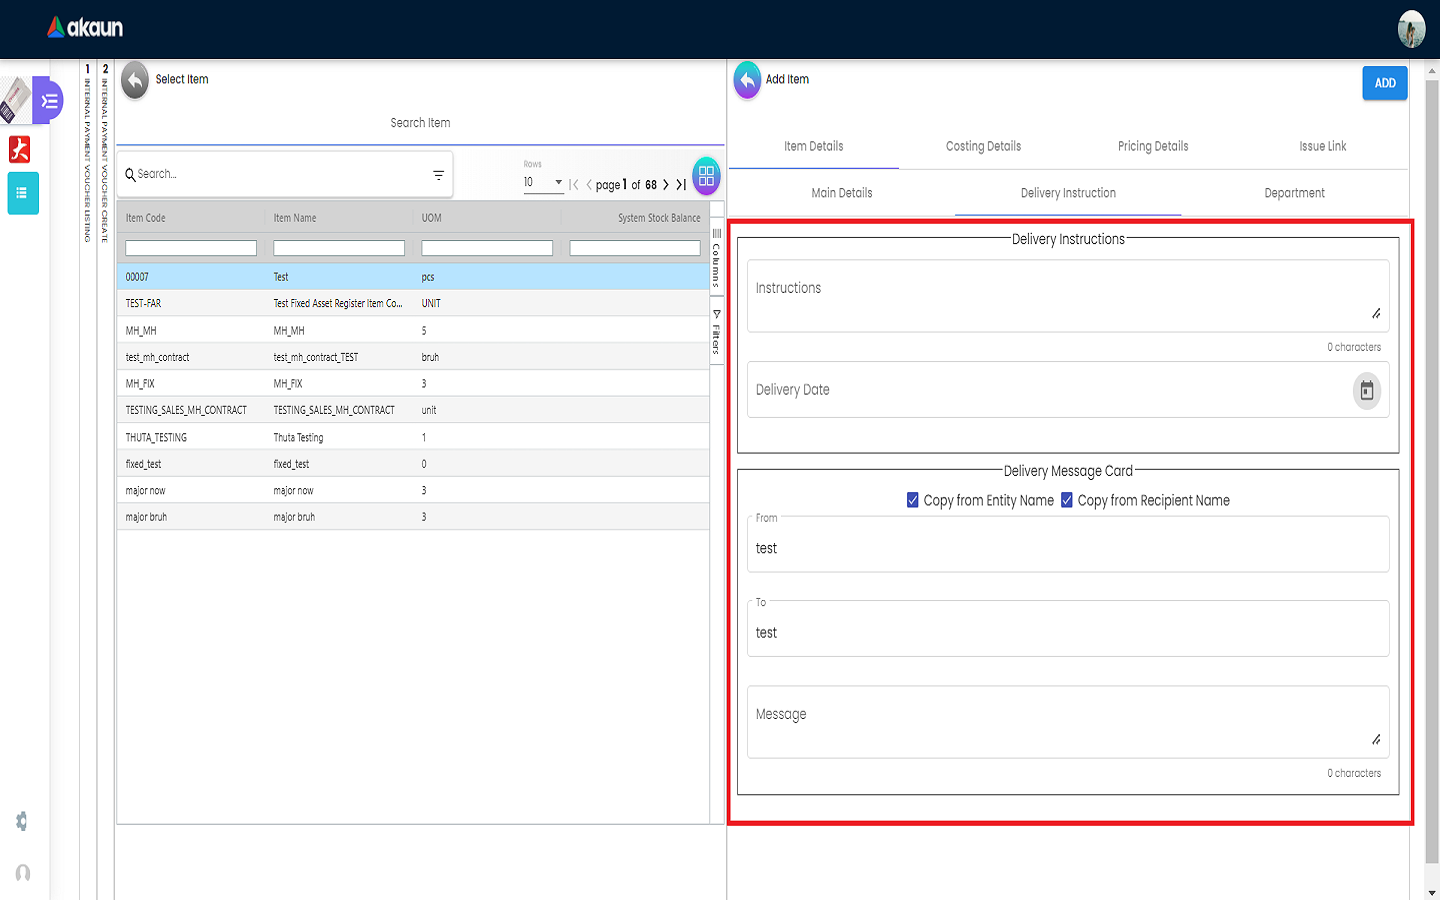
2.3.1.2 Delivery Instruction Tab
In the Delivery Instruction:
-
Add Instruction and Set the Delivery Date
-
When the calendar icon at the Delivery Date field is clicked, a calendar will be pop up for date selection
In the Delivery Message Card: a. Add a message with the sender and receiver b. Can click on the ‘Copy from Entity Name’ or ‘Copy from Recipient Name’ for getting the setting of the Sender and Receiver

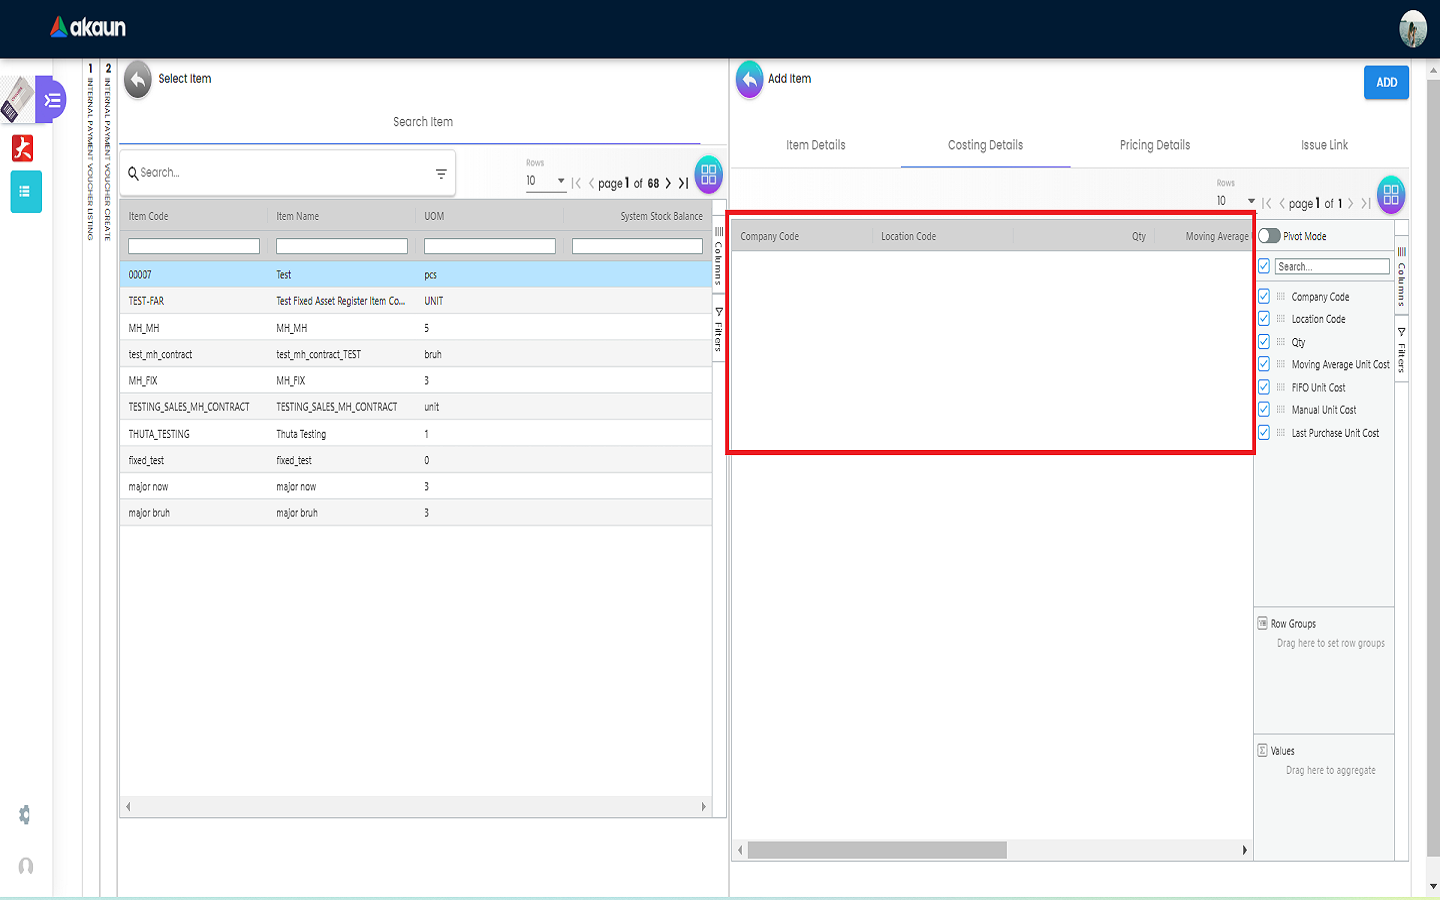
2.3.2 Costing Details Tab
Showing all the costing details such as company code, location code etc about the selected item.
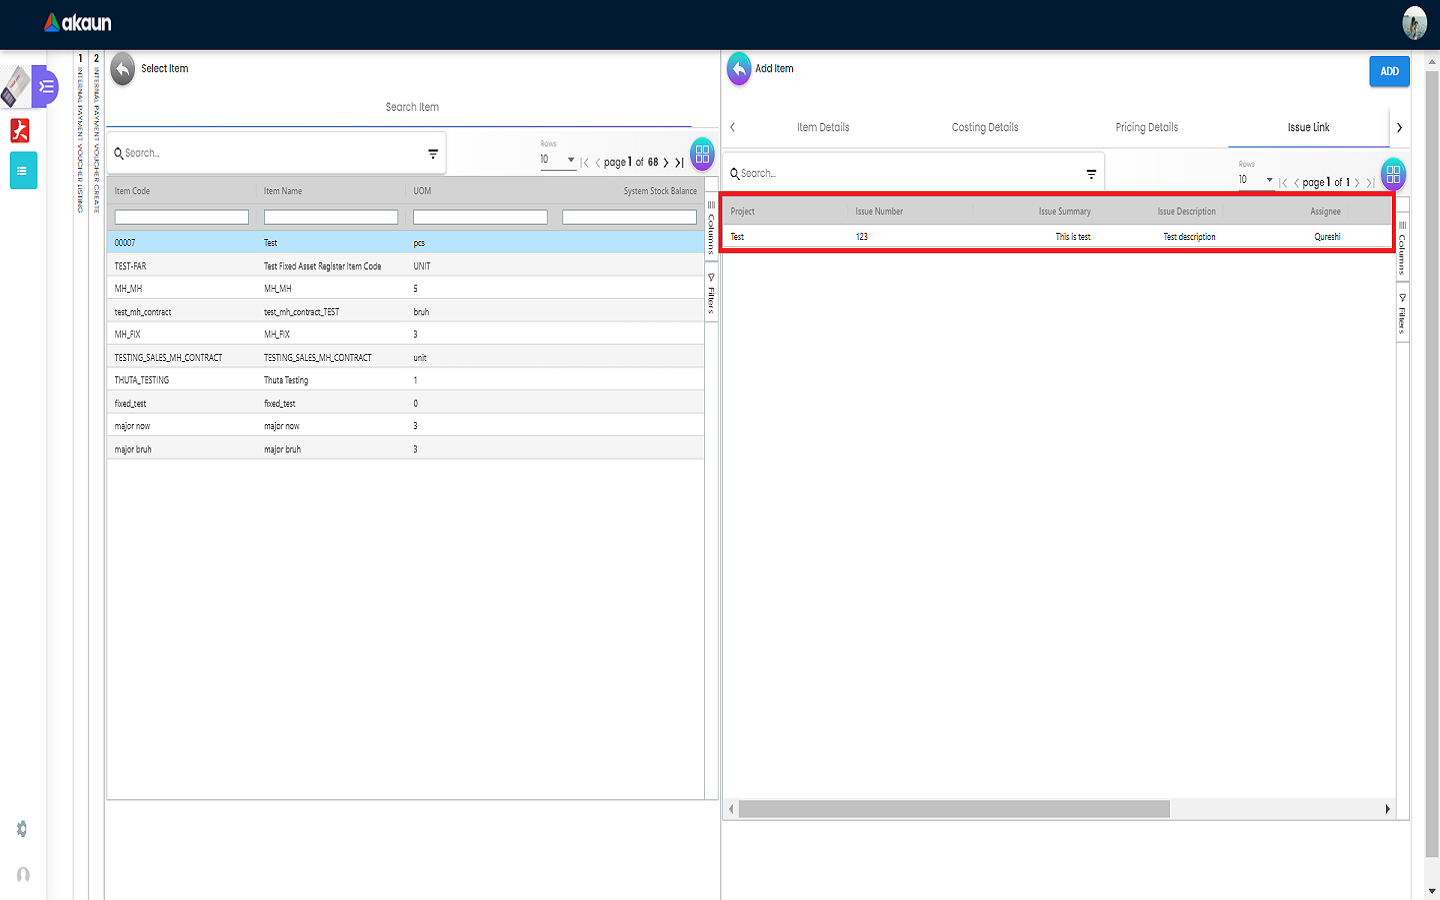
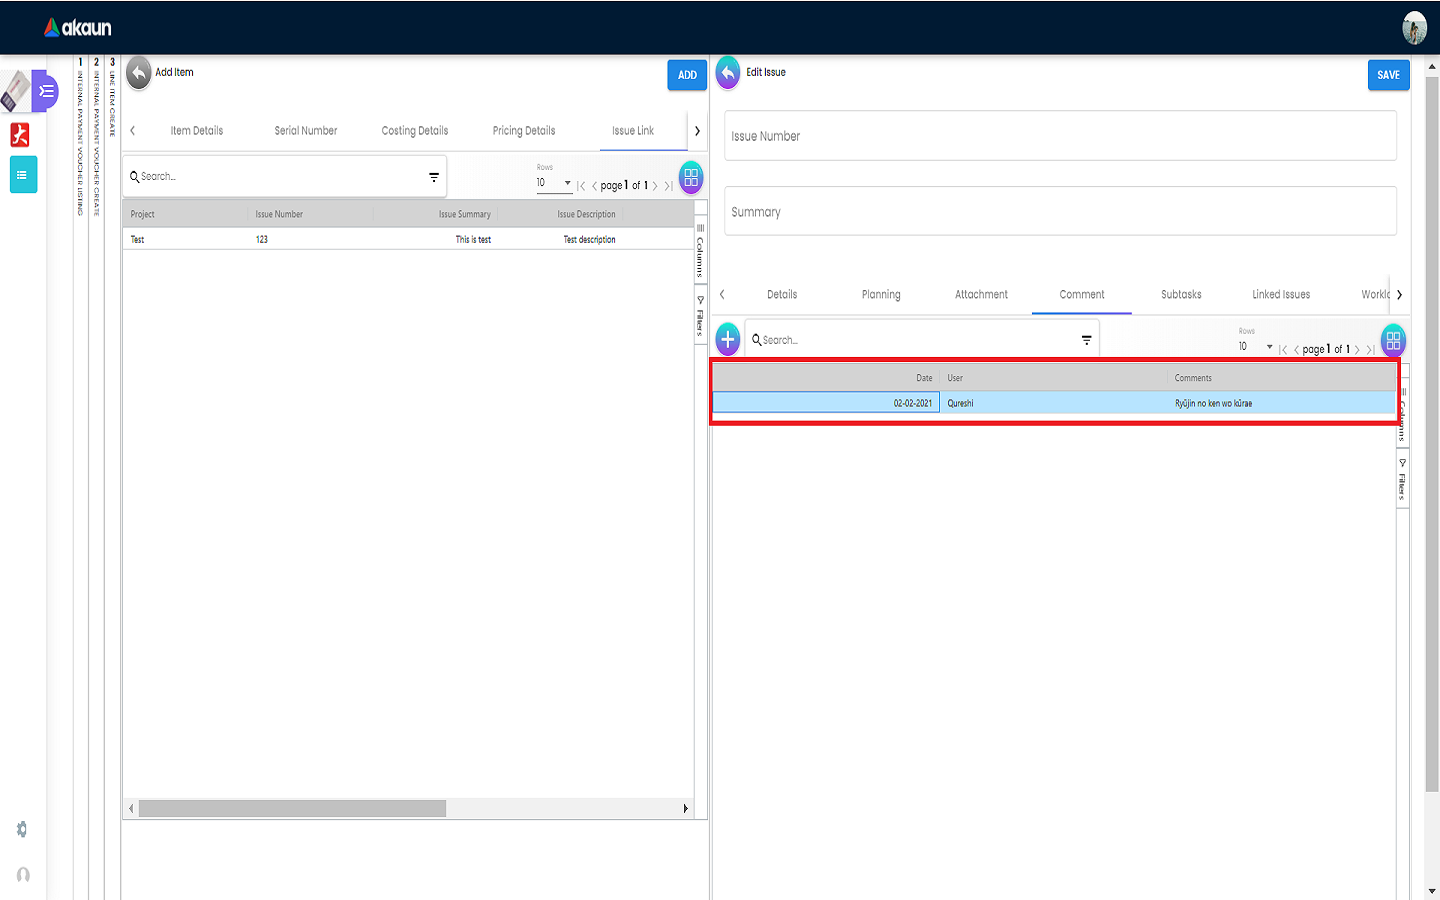
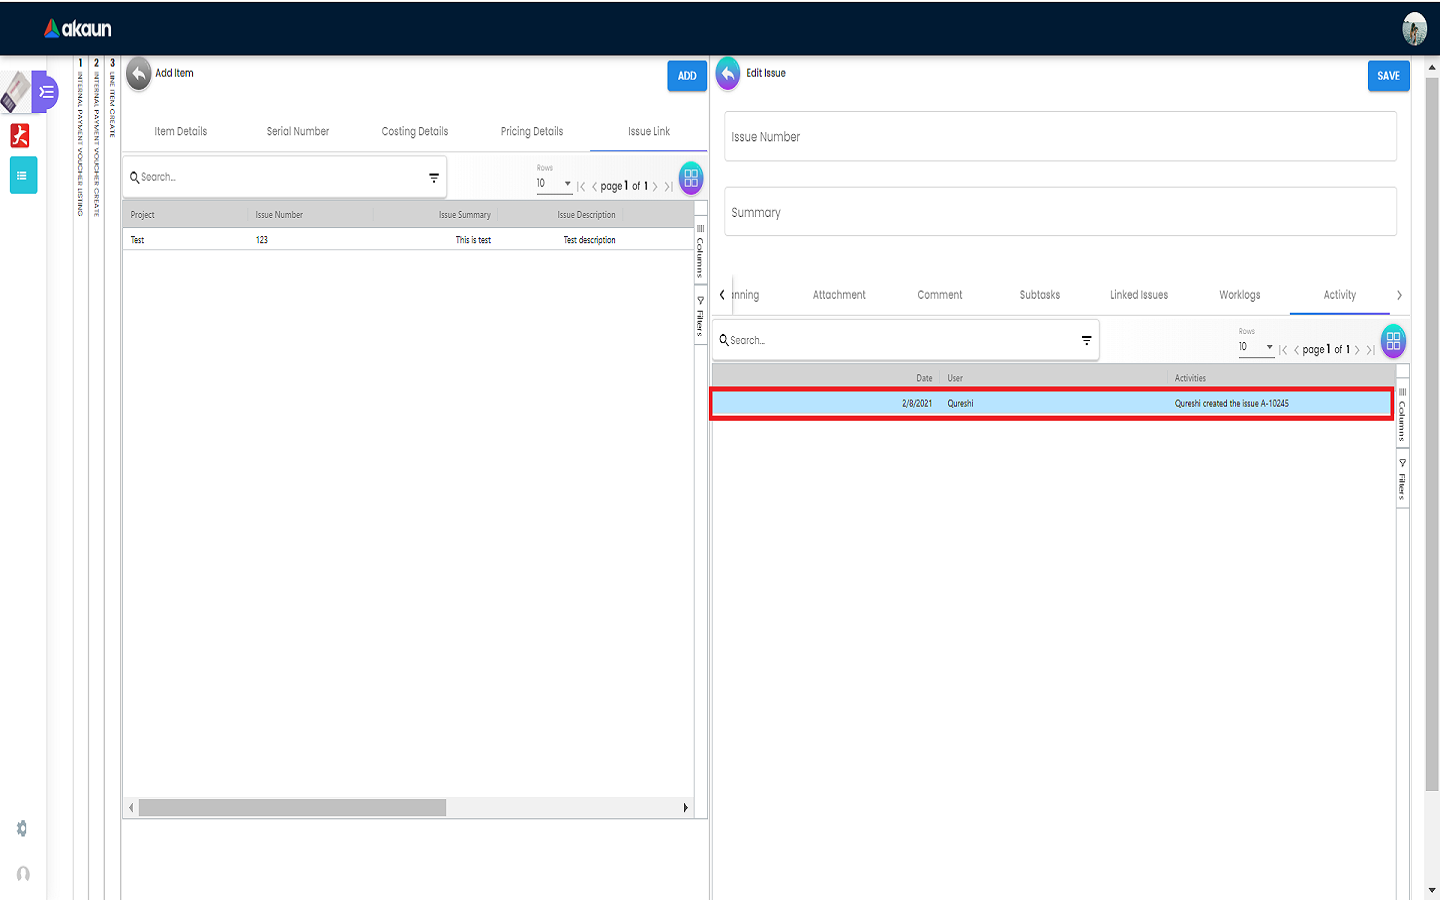
2.3.4 Issue Link Tab
-
Showing list of issue link
-
Contain project name, issue number, issue summary and etc
-
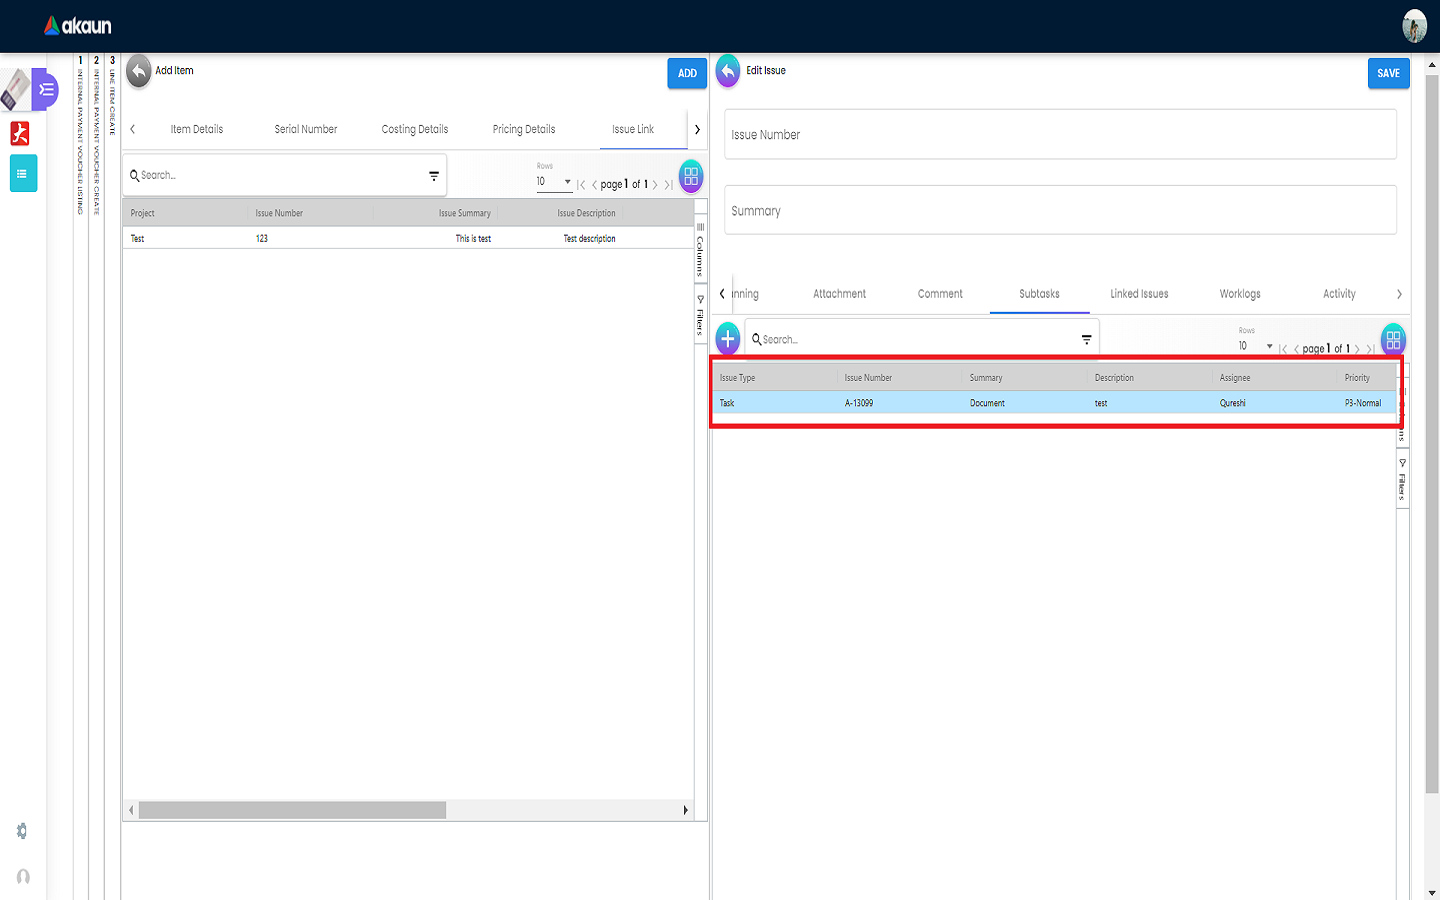
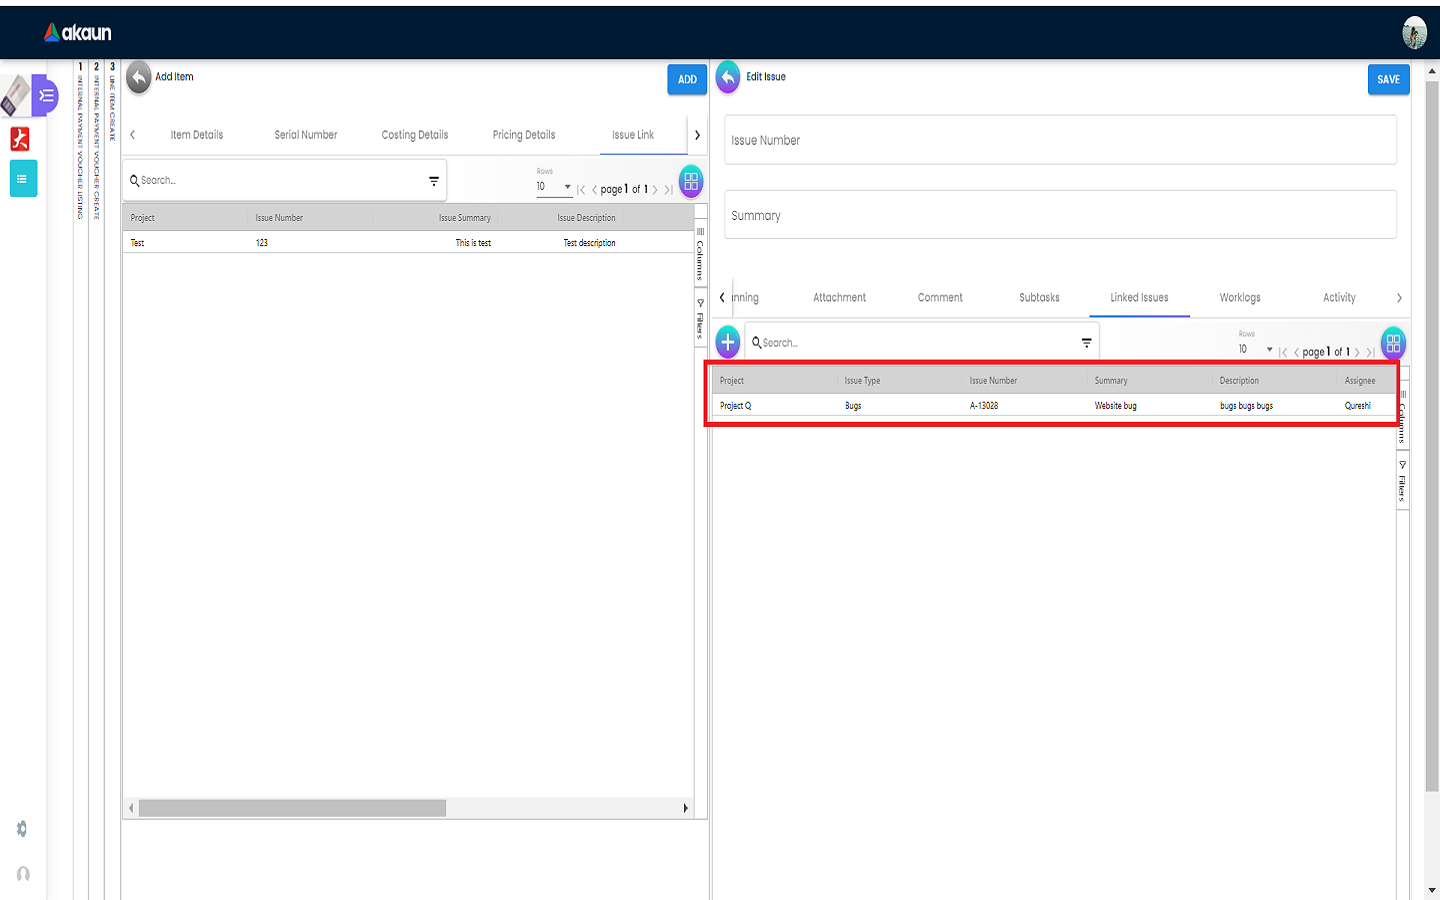
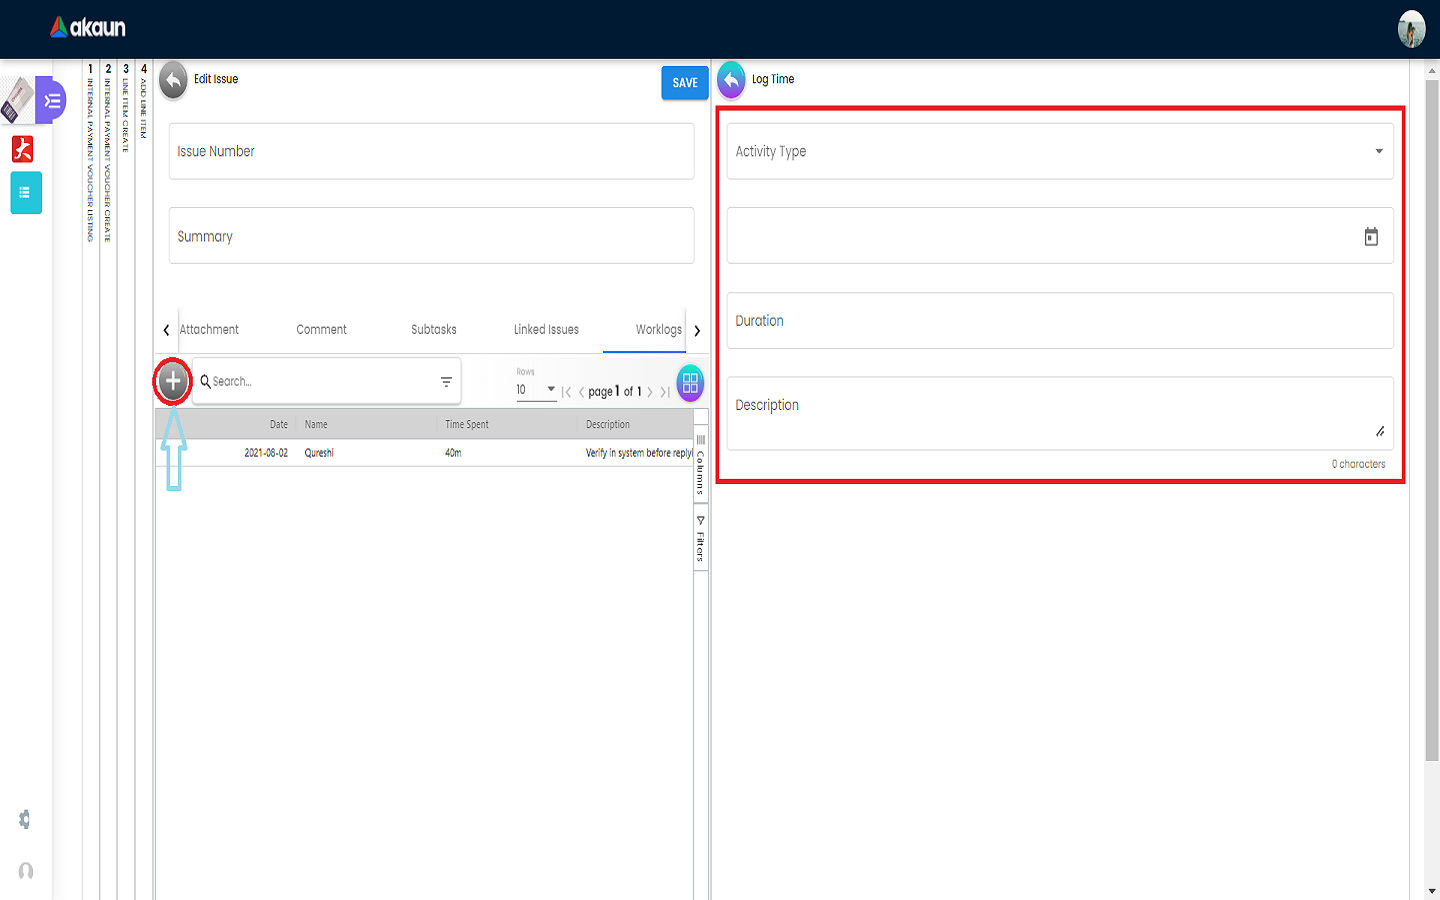
An Edit Issue tab will be displayed on the right side when one of the issue link is clicked
-
In the Edit Issue tab, users can fill in fields of Issue Number and Summary

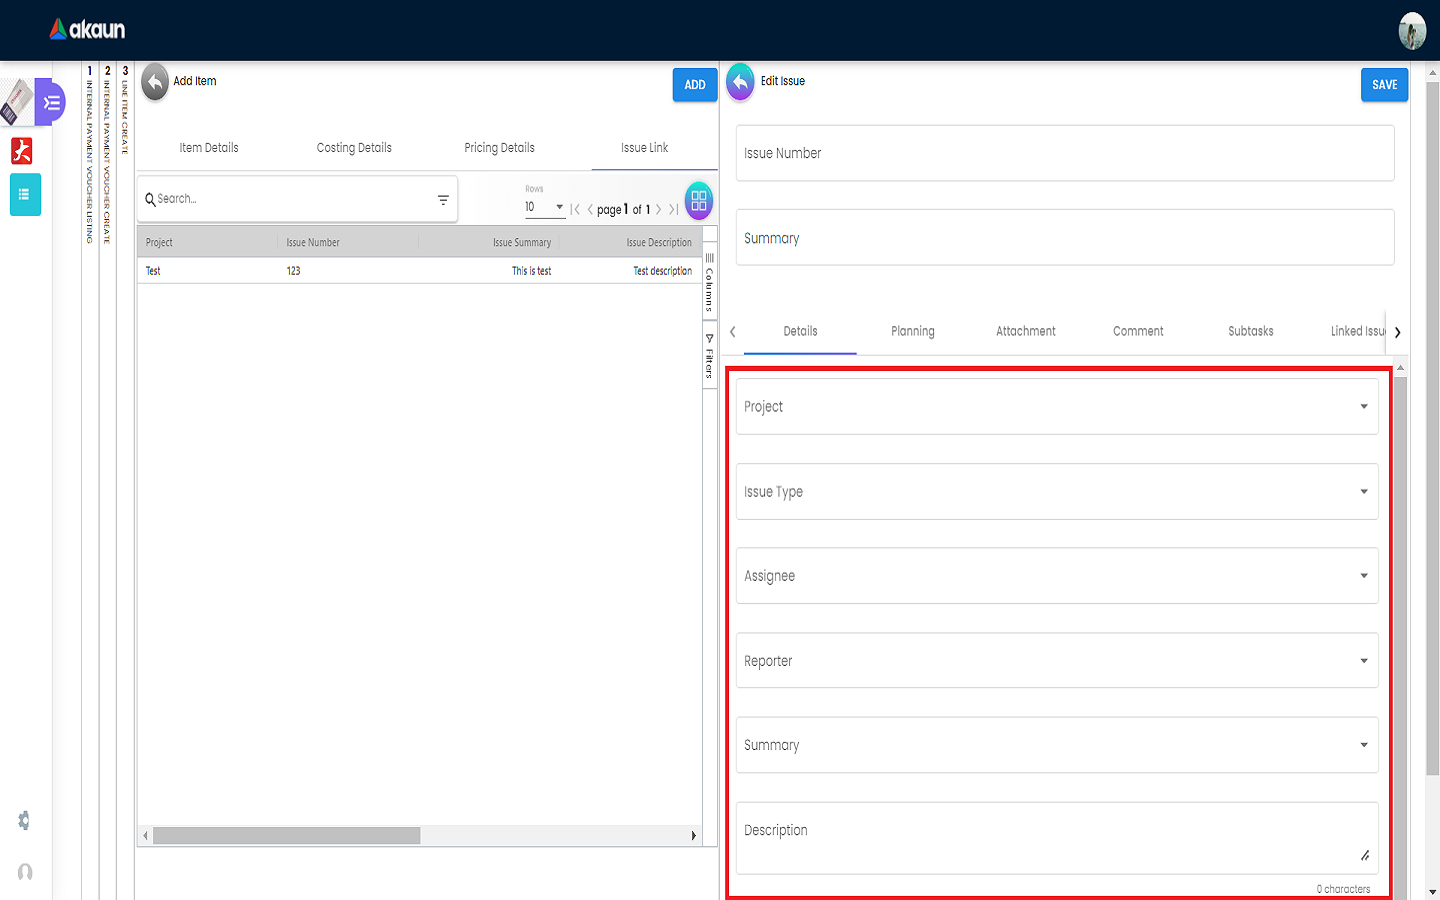
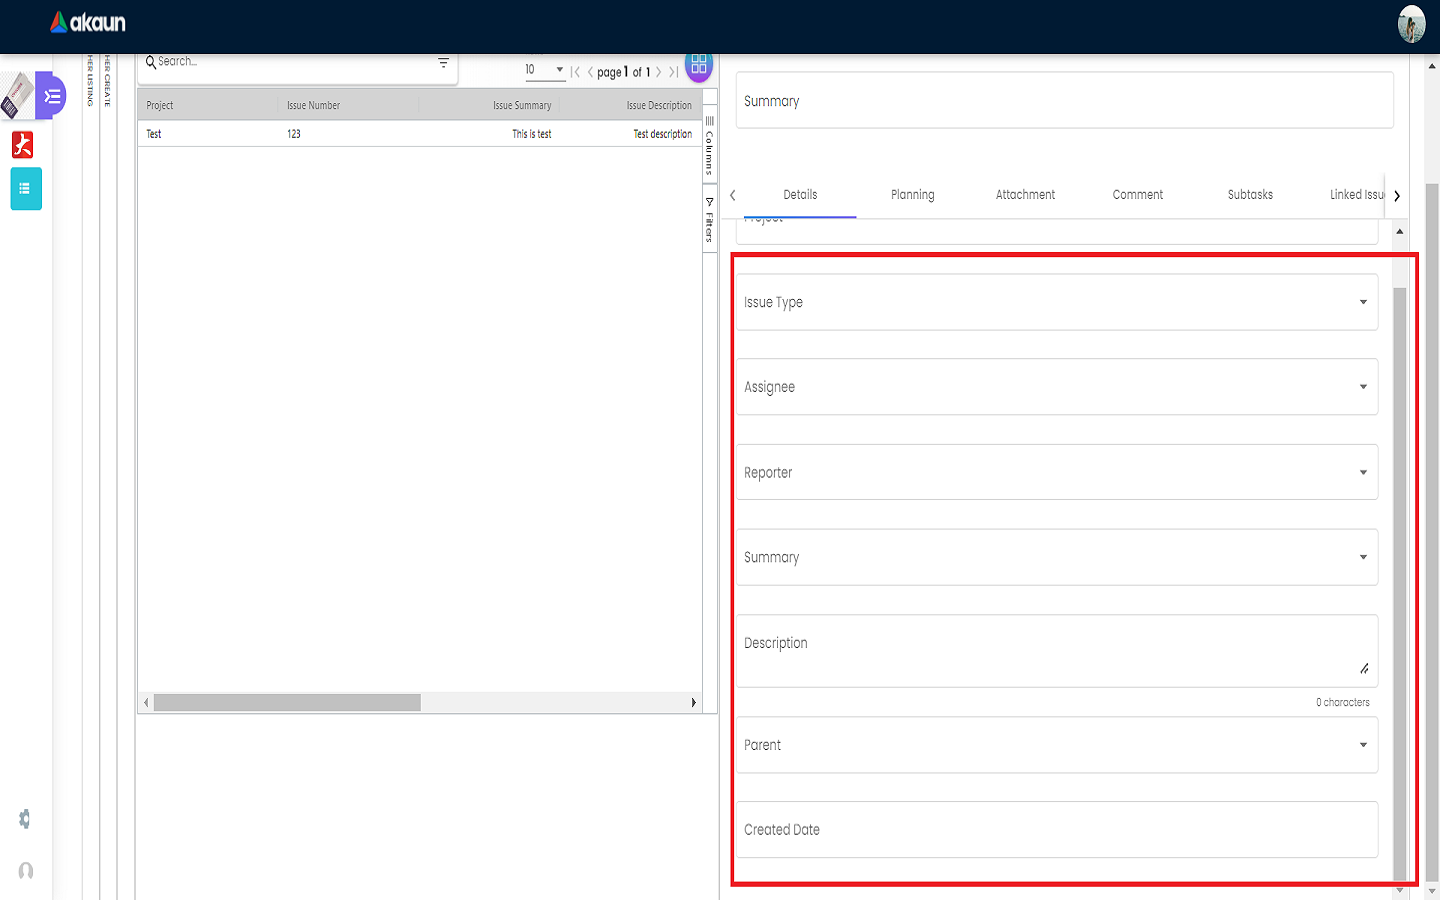
2.3.4.1 Edit Issue - Details Tab
Drop down fields like Project. Issue Type, Assignee, Reporter, Summary, Description, and Parent as well as Created Date are selectable.
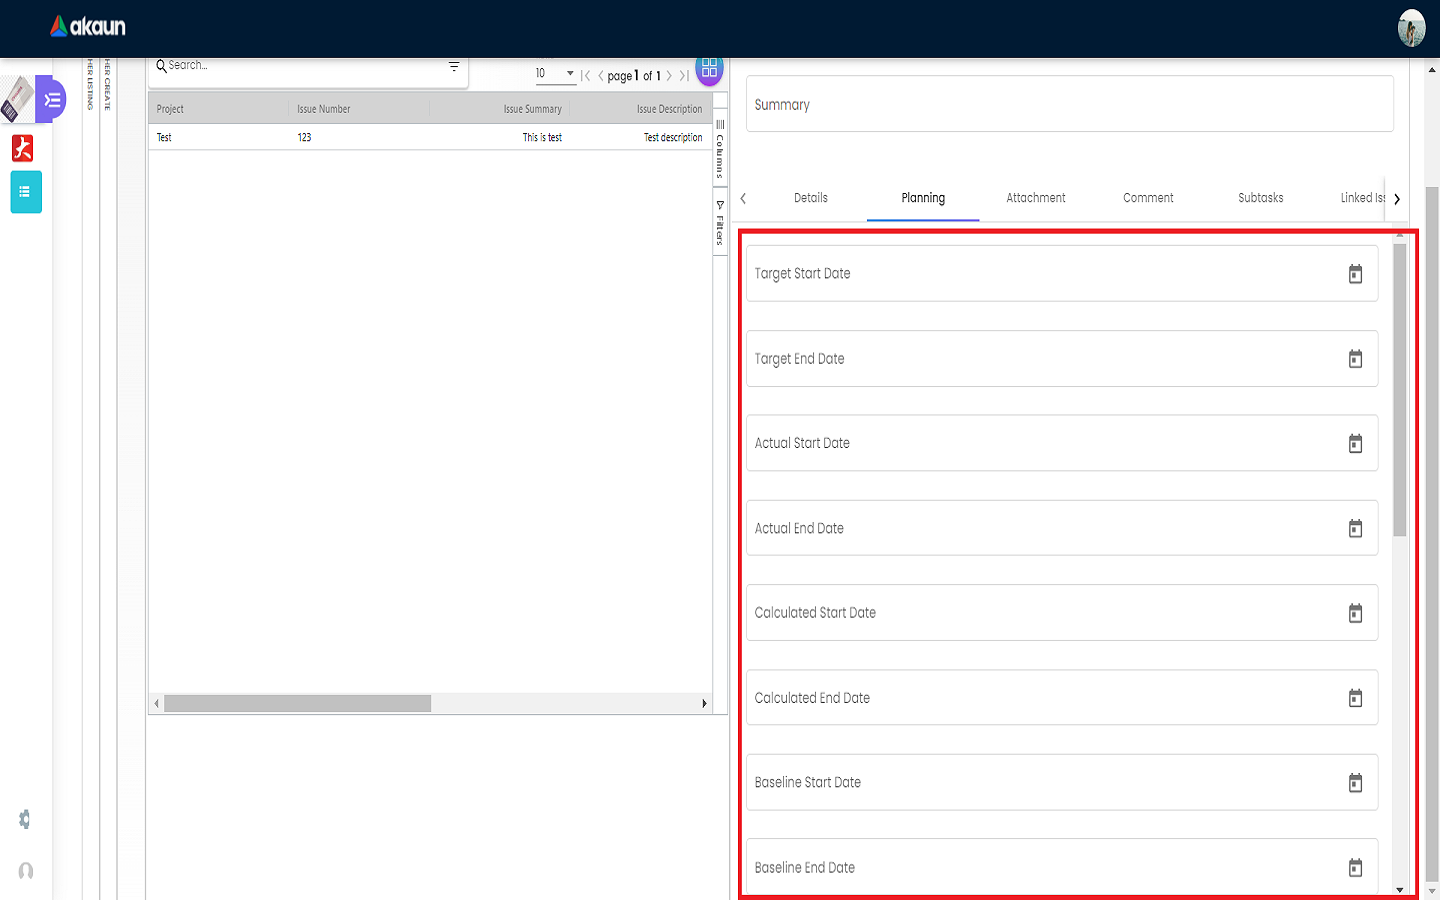
2.3.4.2 Edit Issue - Planning Tab
Can fill in fields such as Target Start Date, Target End Date, Actual Start Date and so on.

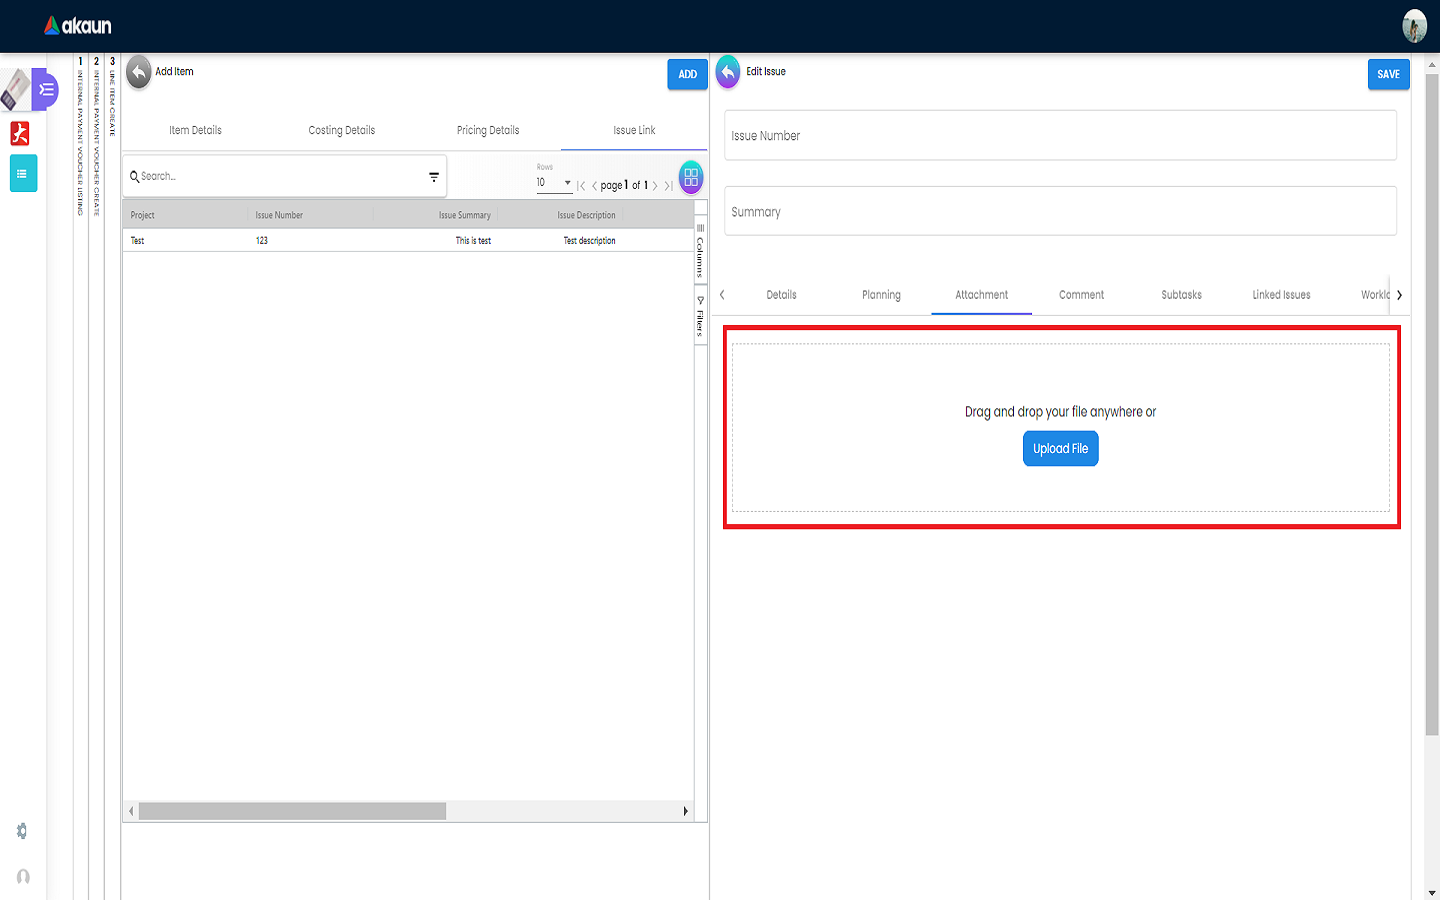
2.3.4.3 Edit Issue - Attachment Tab
Can upload file from local device by dragging and dropping your file on the field or clicking the Upload File button.
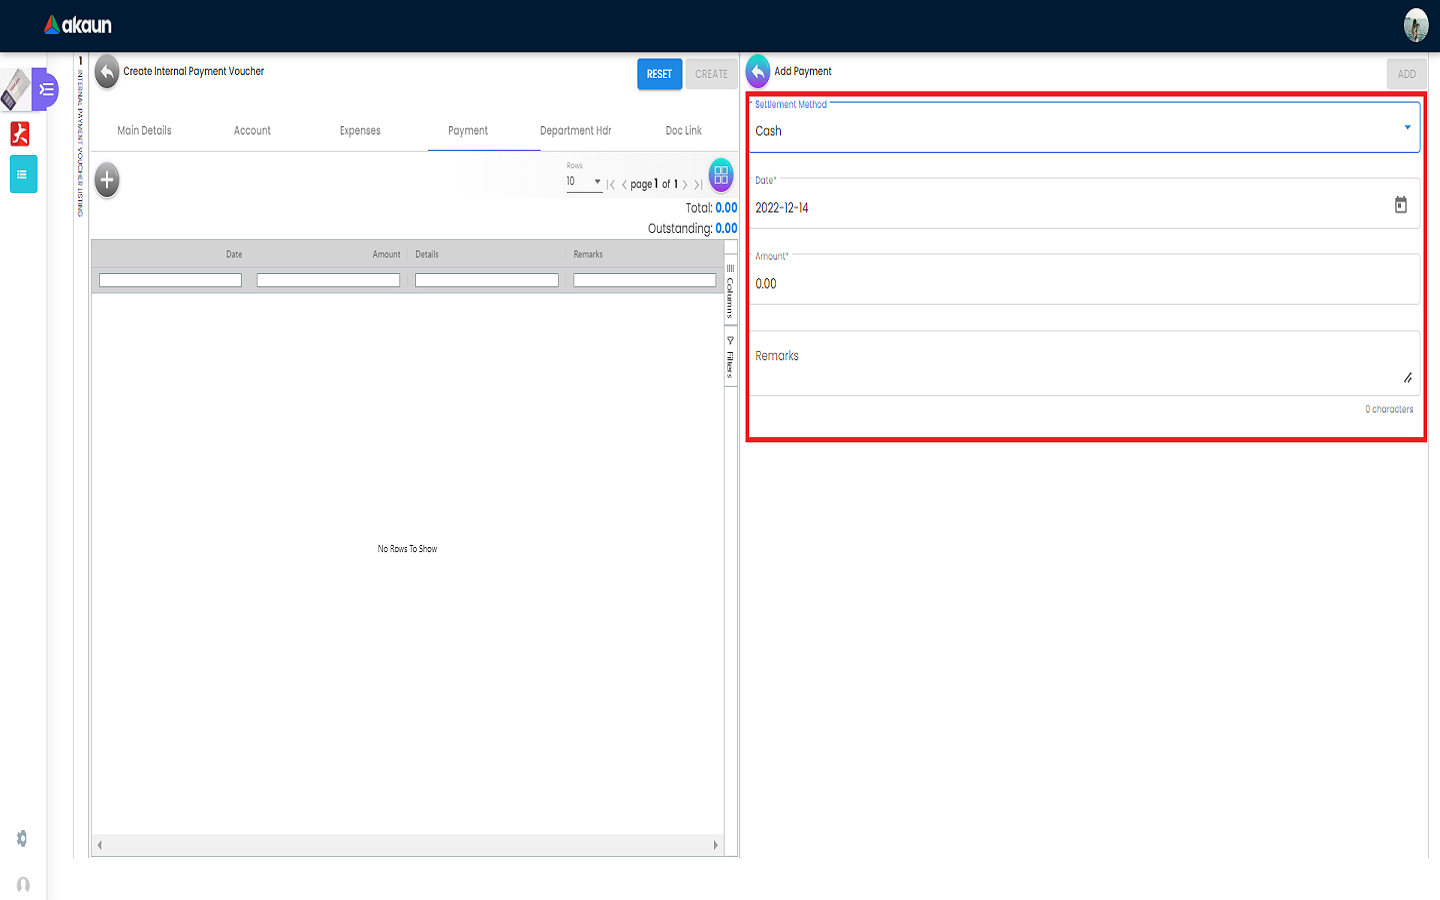
2.3 Payment Tab
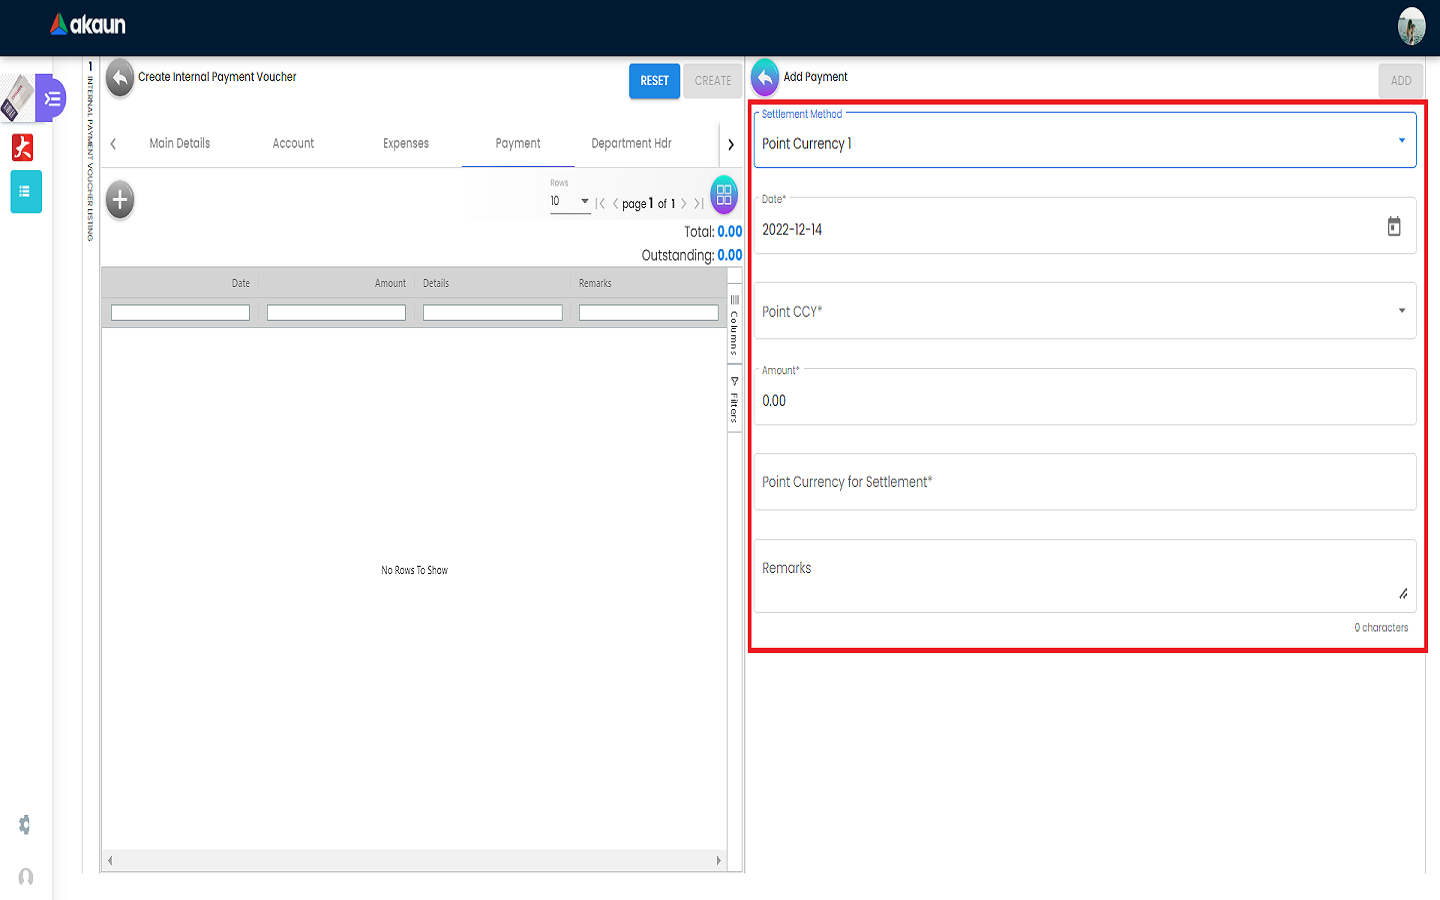
-
Can add different payment method such as Cash, Credit Card, Membership Point Currency, Voucher and Cheque
-
Can add a new settlement method in the Cashbook Applet
2.3.1 Cash
Please fill in the compulsory fields such as Date, Amount.
Click on the ‘Add’ to add the settlement.
2.3.2 Voucher
Please fill in the compulsory fields such as Voucher # and Amount.
Click on the ‘Add’ to add the settlement.

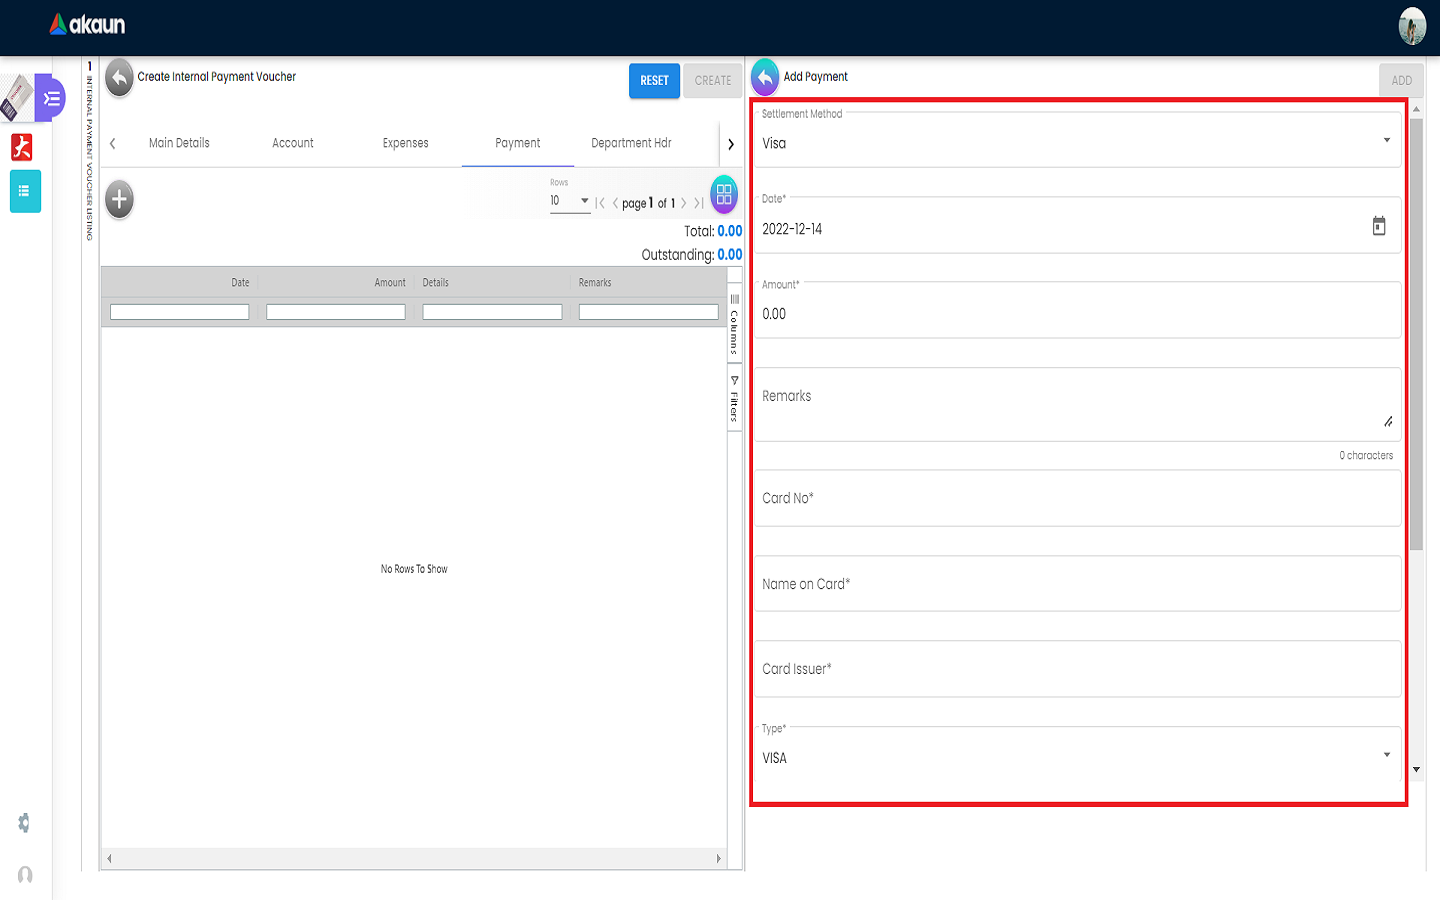
2.3.3 Credit Card
Please fill in the compulsory fields such as Date, Amount, Credit Card No and Name on Card.
Click on the ‘Add’ to add the settlement.

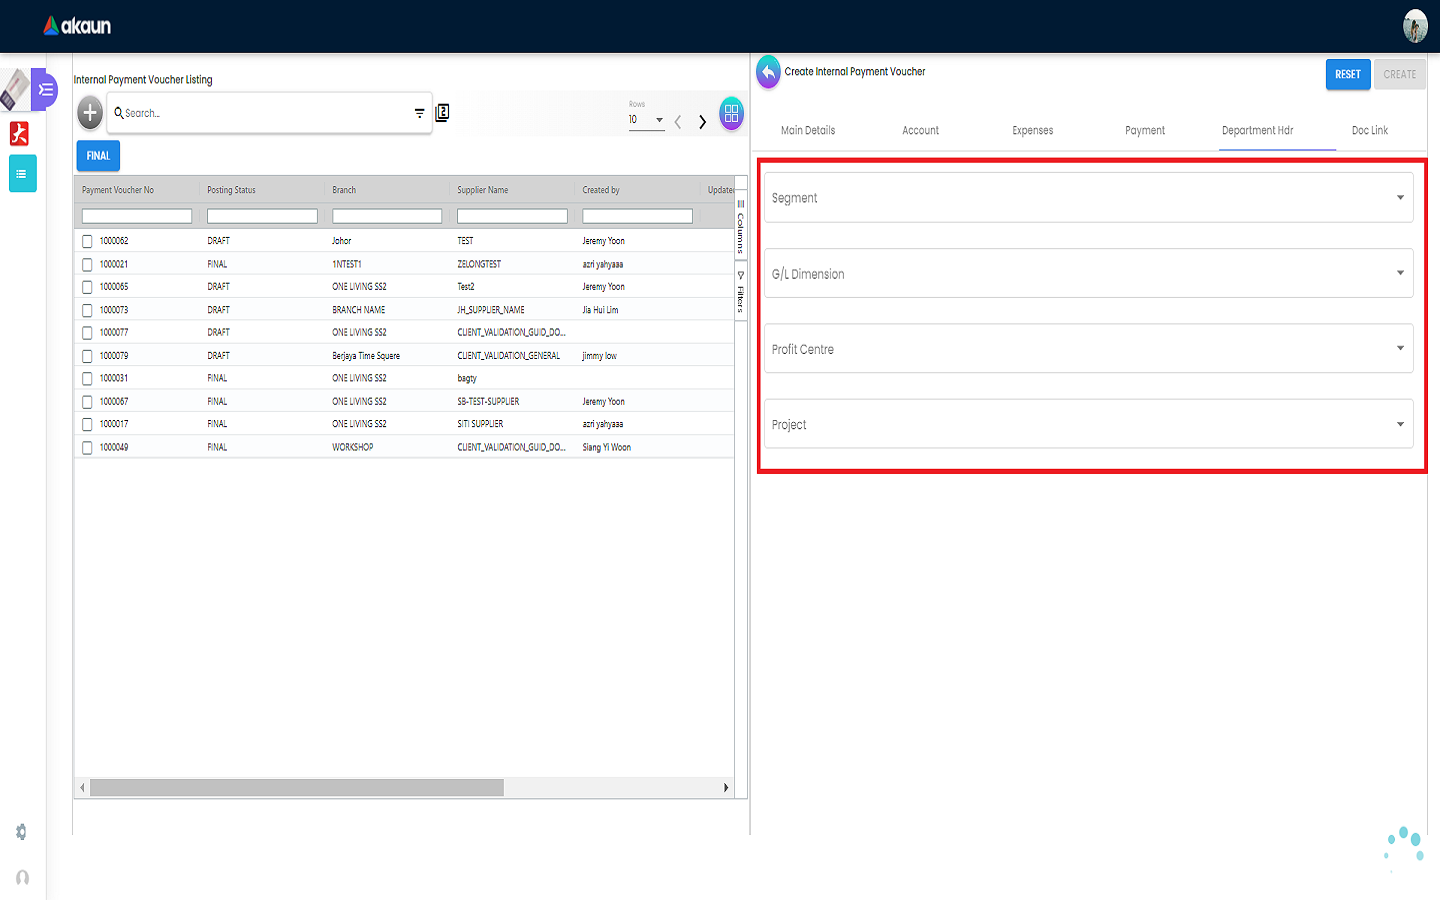
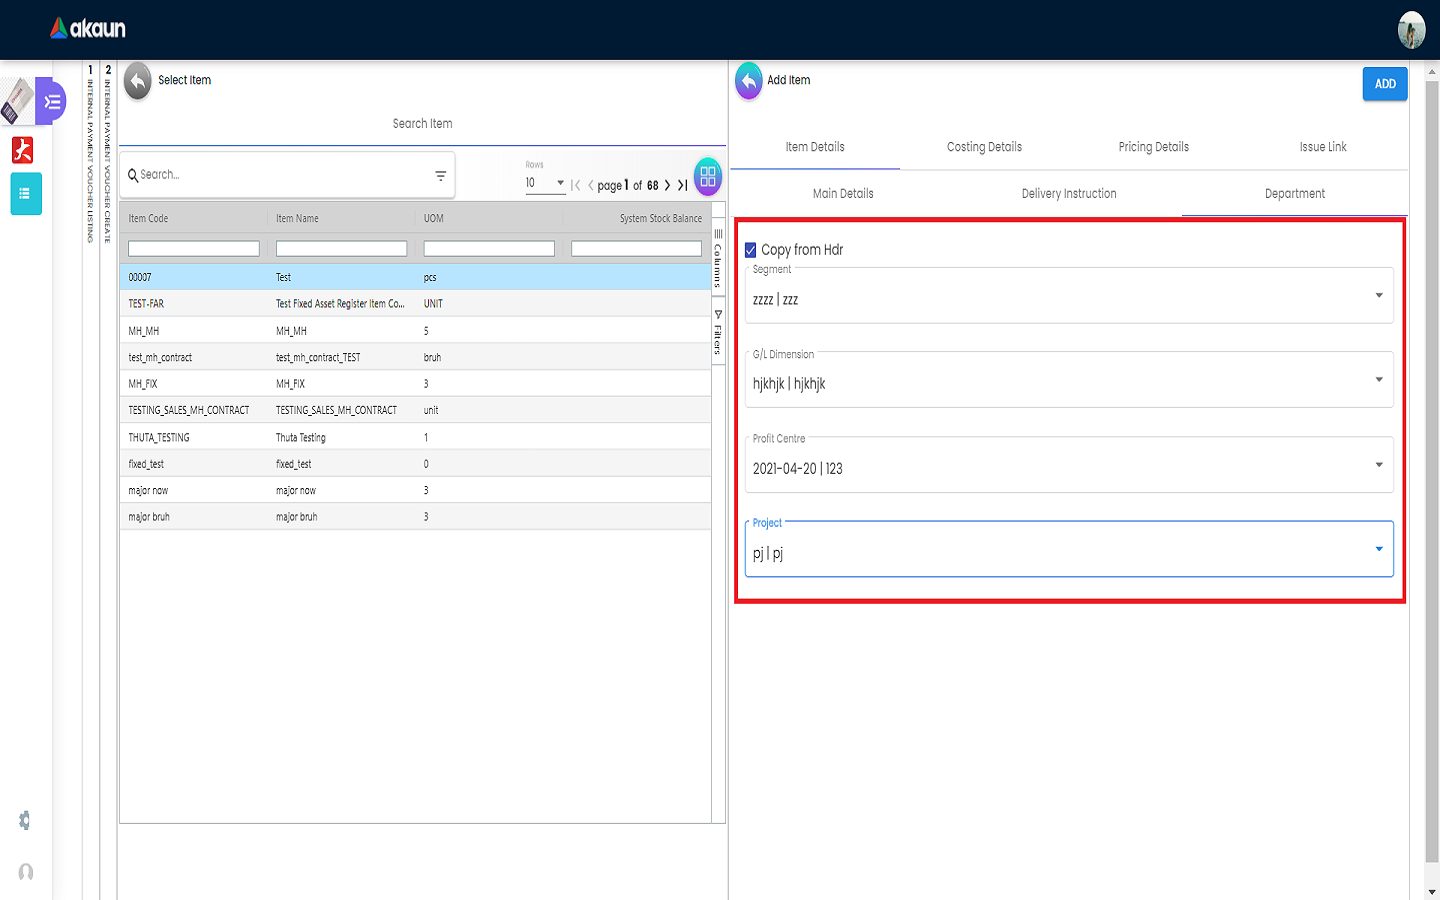
2.4 Department Hdr Tab
Can select Segment, G/L Dimension, Profit Centre and Project when creating Purchase Invoice.