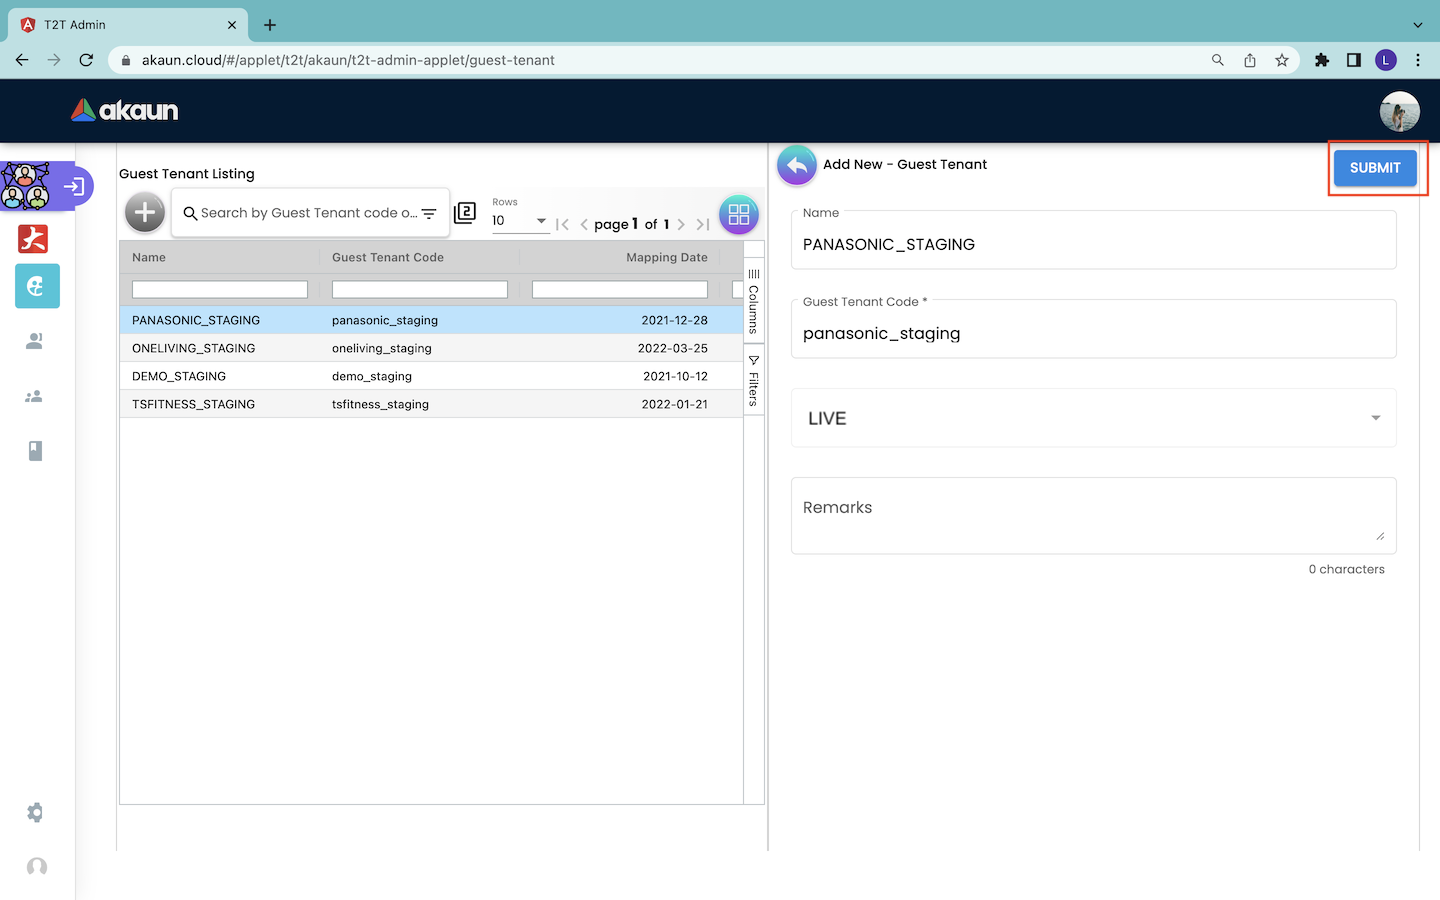
3.0 Create New Guest Tenant
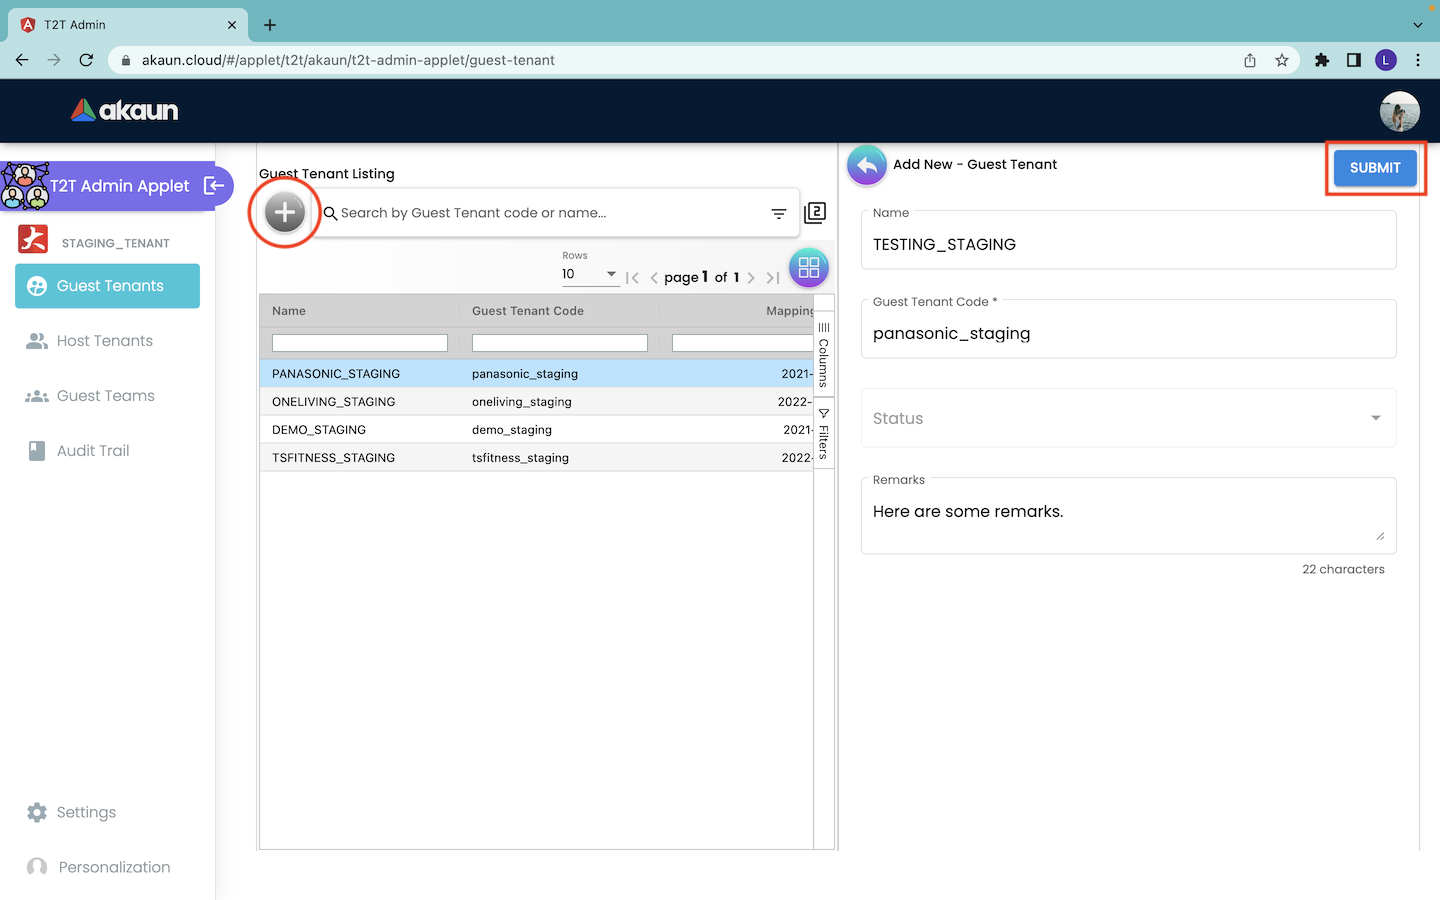
In order to connect with the database of the guest tenant, users (Host Tenants) have to first click on the “+” button. By doing that, the Add New - Guest Tenant page will appear from the right. Then, users have to provide the information of the guest tenant as described below:
-
Guest Tenant Name: The name of the guest tenant.
-
Guest Tenant Code: The code of the guest tenant. It is a unique value that identifies every guest tenant. Users have to get the code from the guest tenant.
-
Status: The status of the tenants’ connection. The options include Live, Disconnected, Suspended and Deleted.
-
Remarks: Some comments provided by the host tenant. This is an optional column.
After filling up the details, users can click on the “SUBMIT” button to send the invitation to the guest tenant that is indicated by the input guest tenant code.
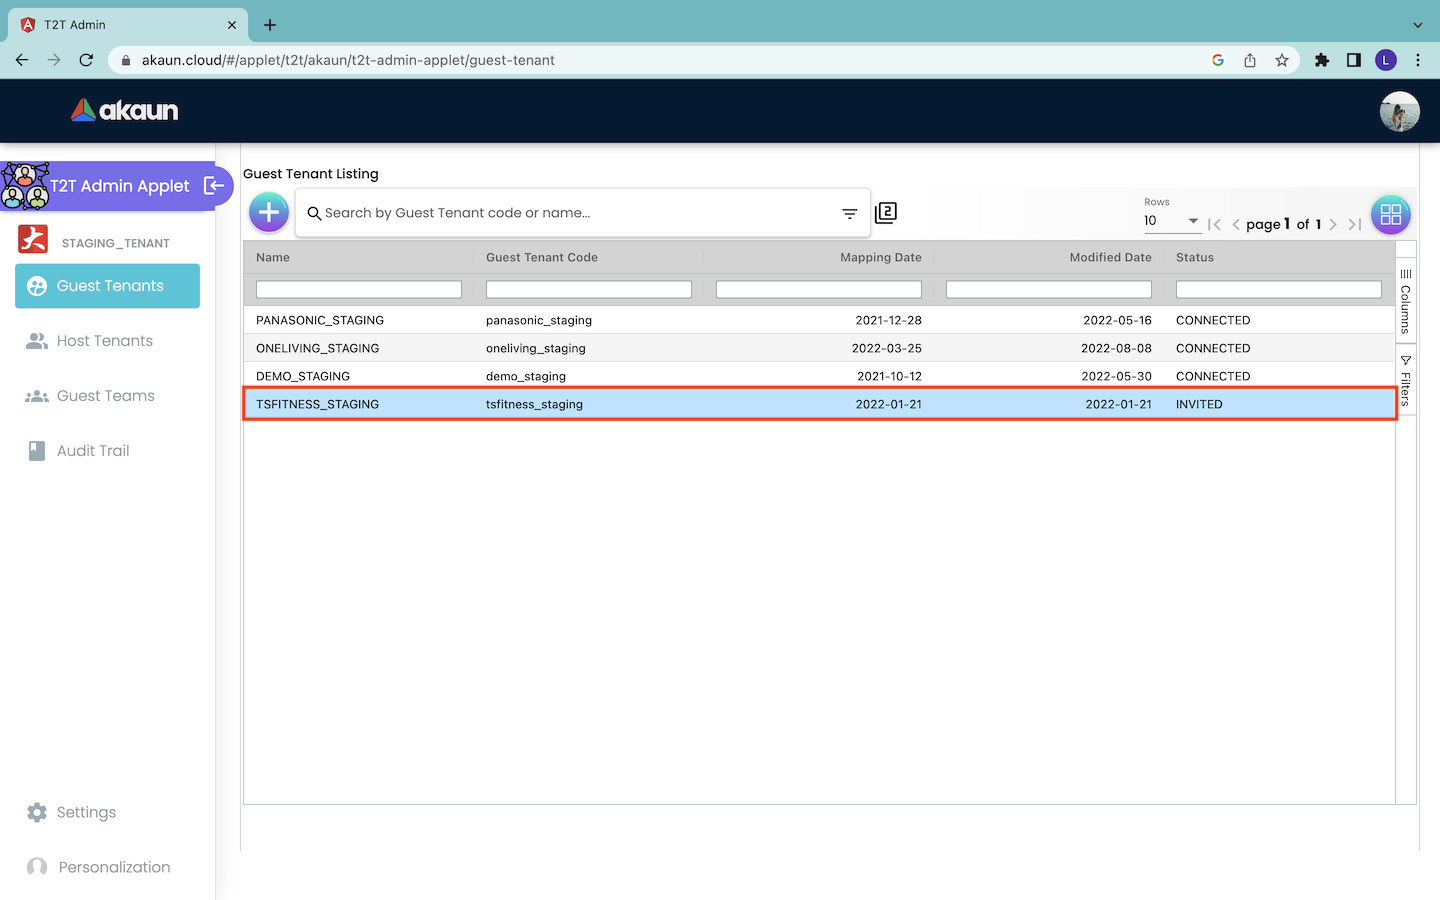
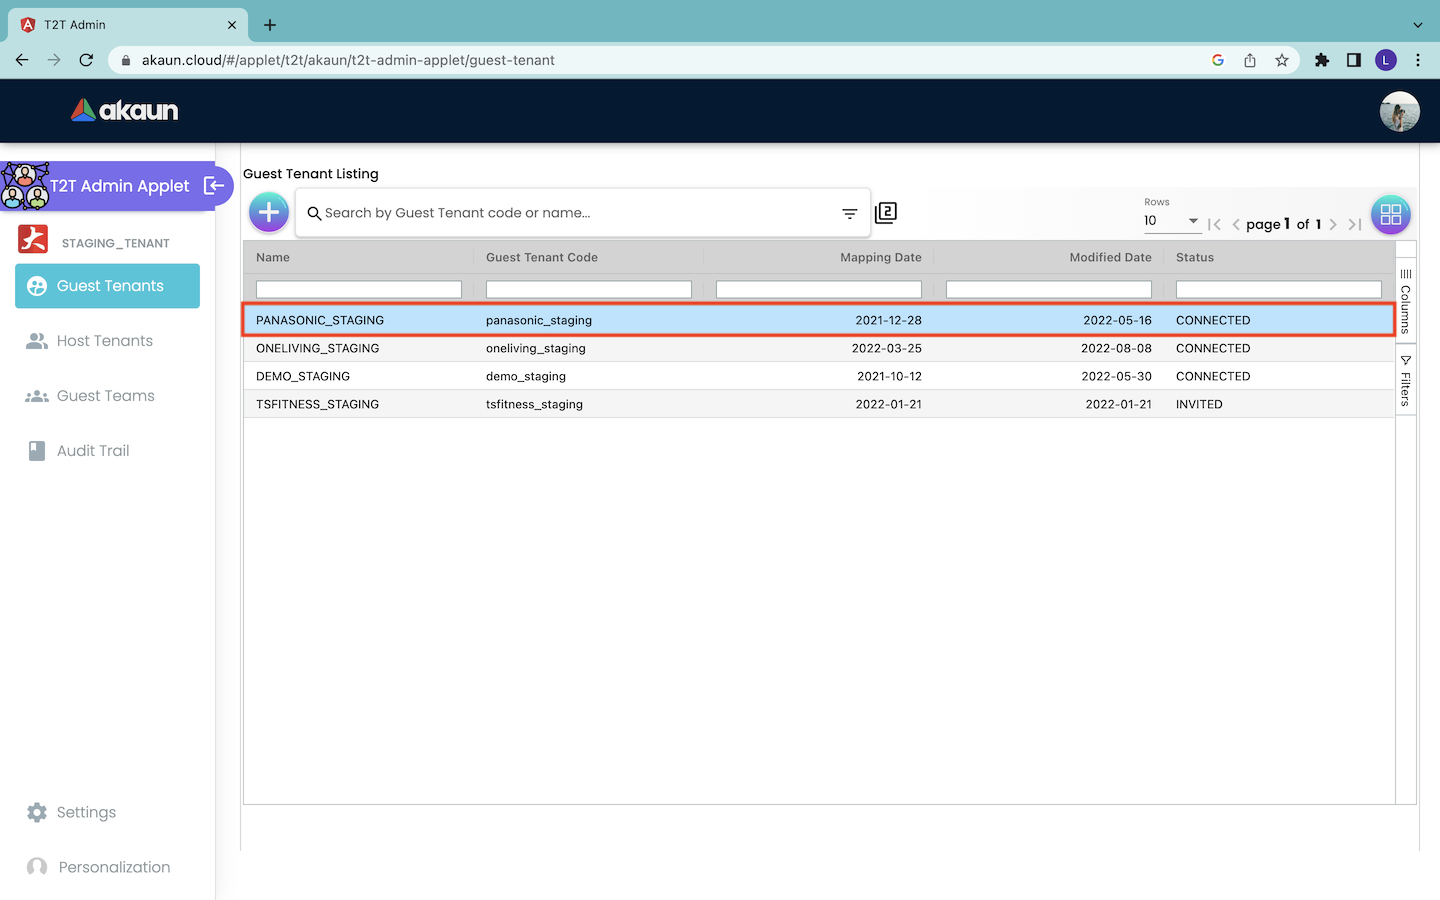
By doing that, the invited guest tenant will appear as a new row in the Guest Tenant Listing page. The status of the guest tenant is “INVITED”.
Similarly, at the guest tenant side, the invited guest tenants have to navigate to the Add-New - Guest Tenant page. Then, they have to change the status to “LIVE” and click on the “SUBMIT” button to accept the invitation. By doing that, the database of the host and guest tenants will be connected.