2.0 Branch Listing
2.1 Create A Branch
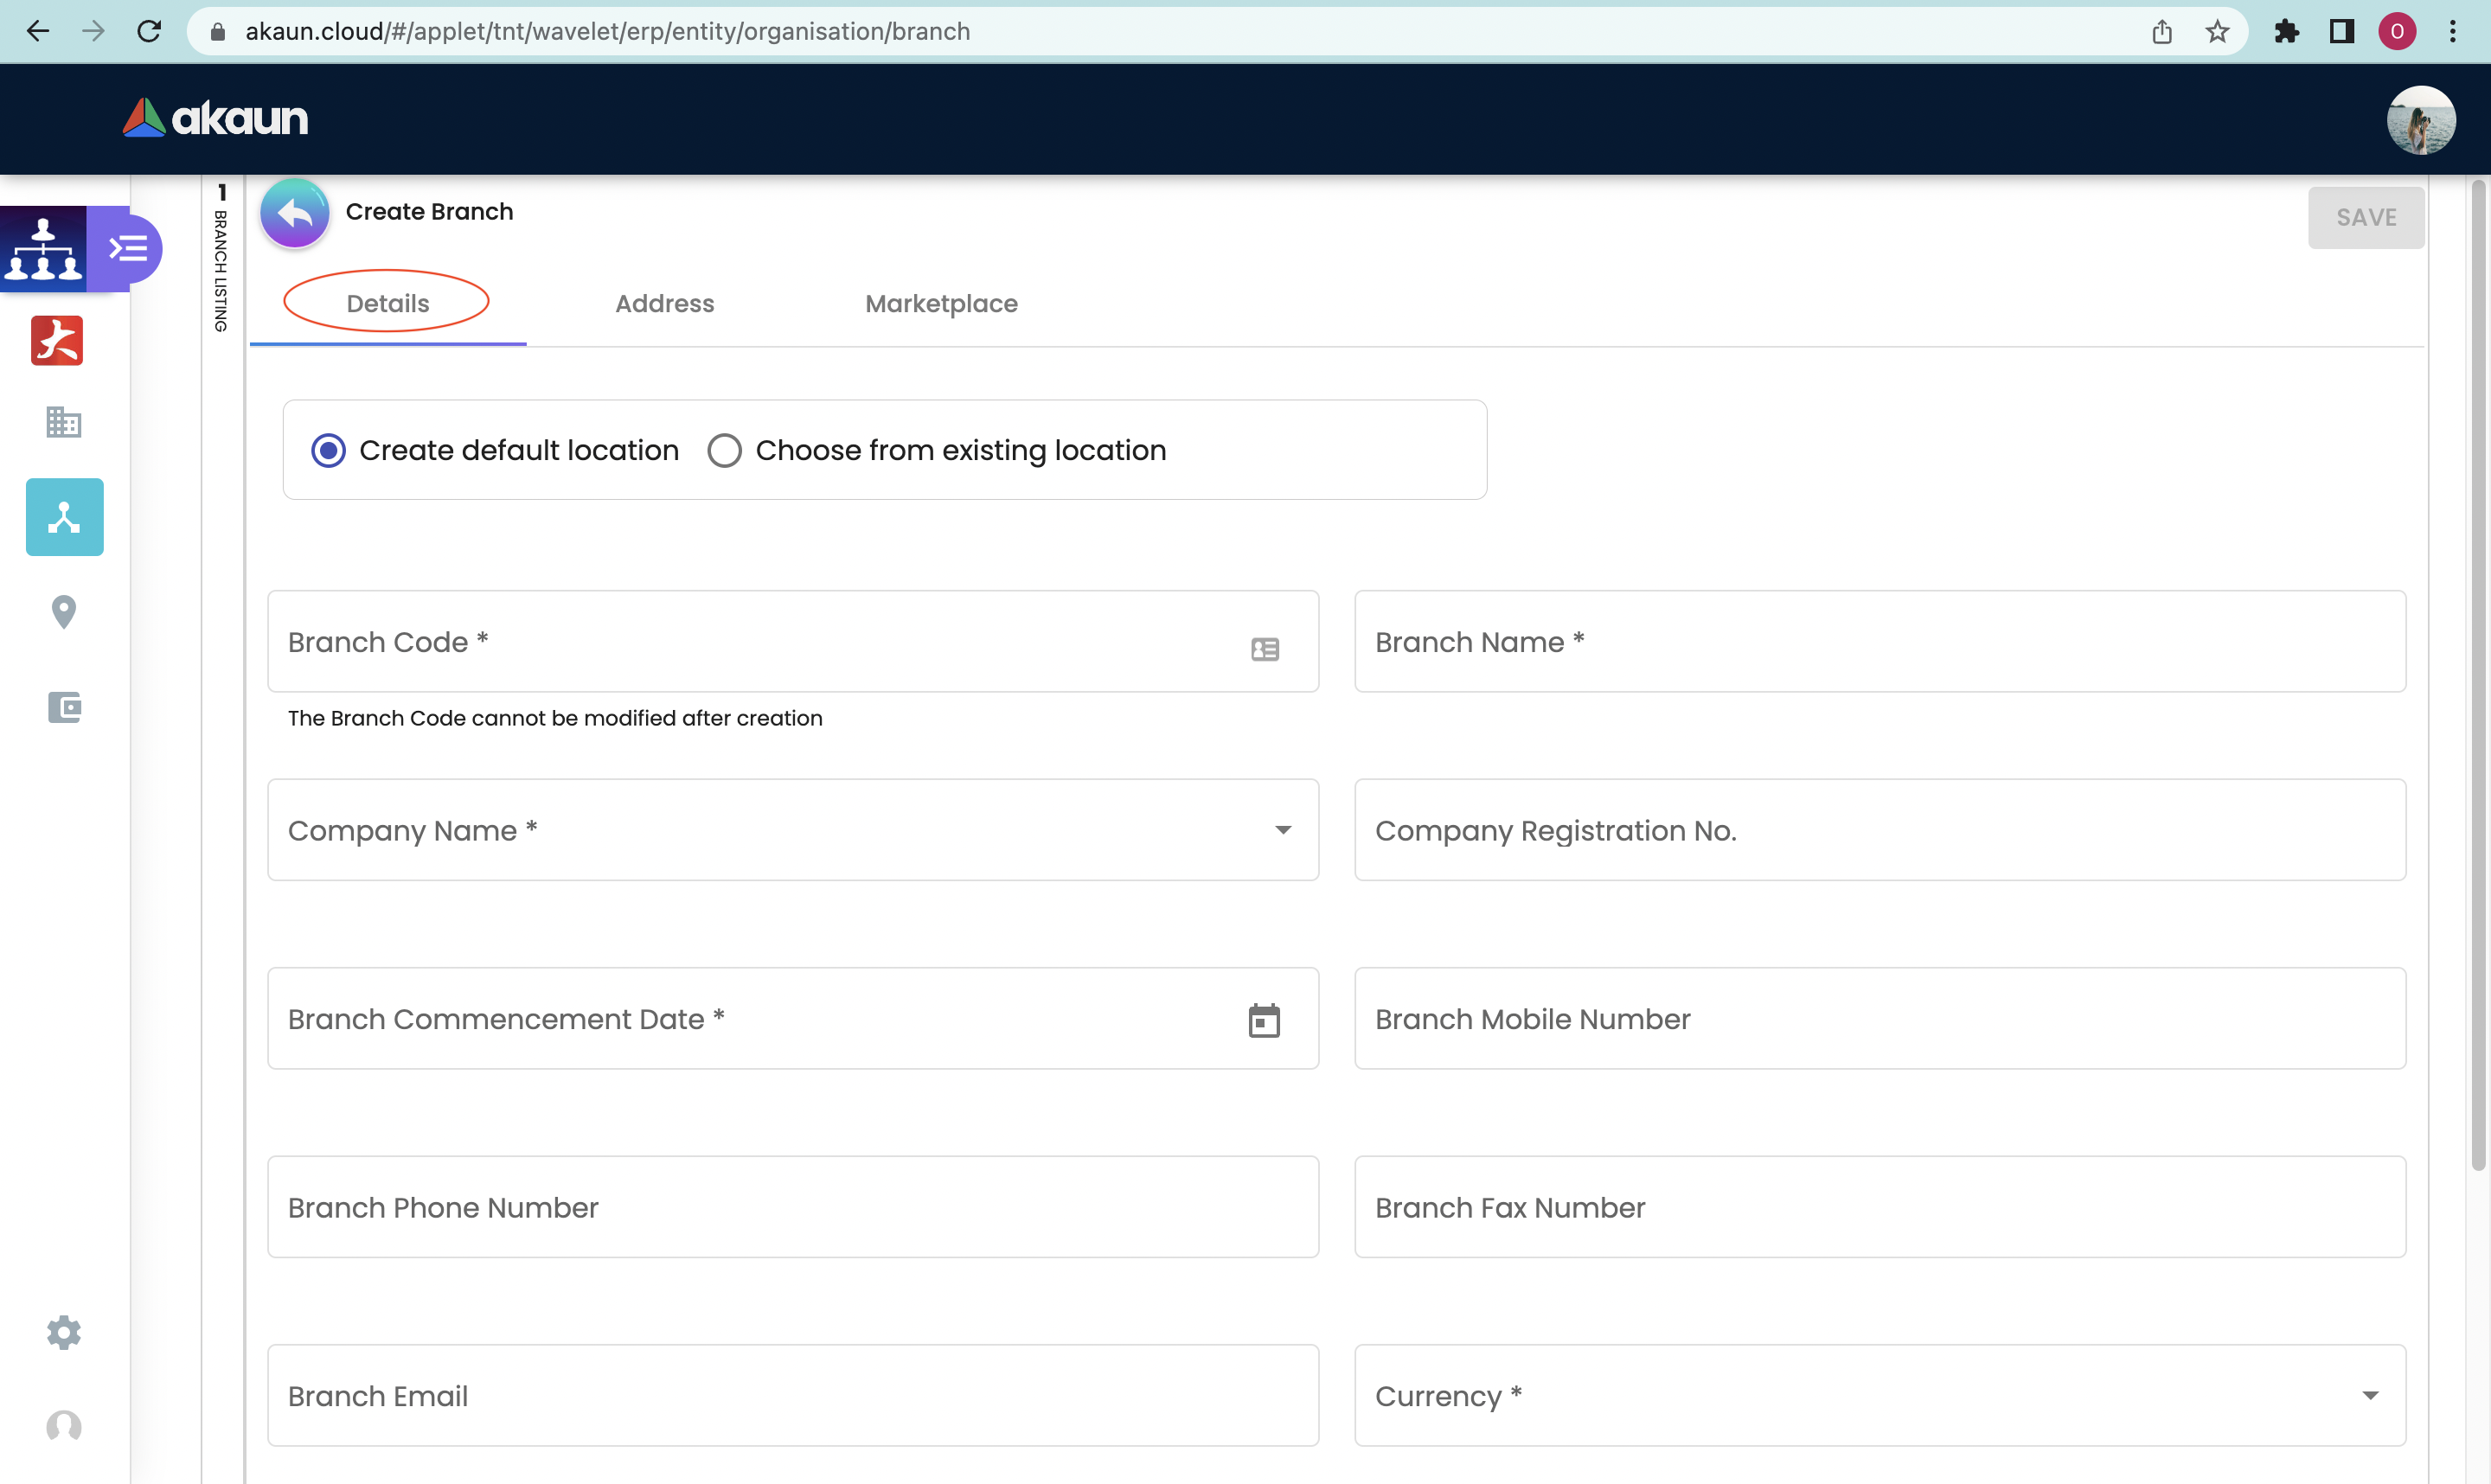
In creating a Branch, users need to click on the "+" sign to open the "Create" tab.
2.1.1 Details Tab
Users may fill up compulsory information such as:
-
Branch code
-
Branch Name
-
Select company: When selecting a company, it will automatically fill in the: Company Registration No. and Currency
-
Branch commencement date (select the current date)
-
Other fields are optional
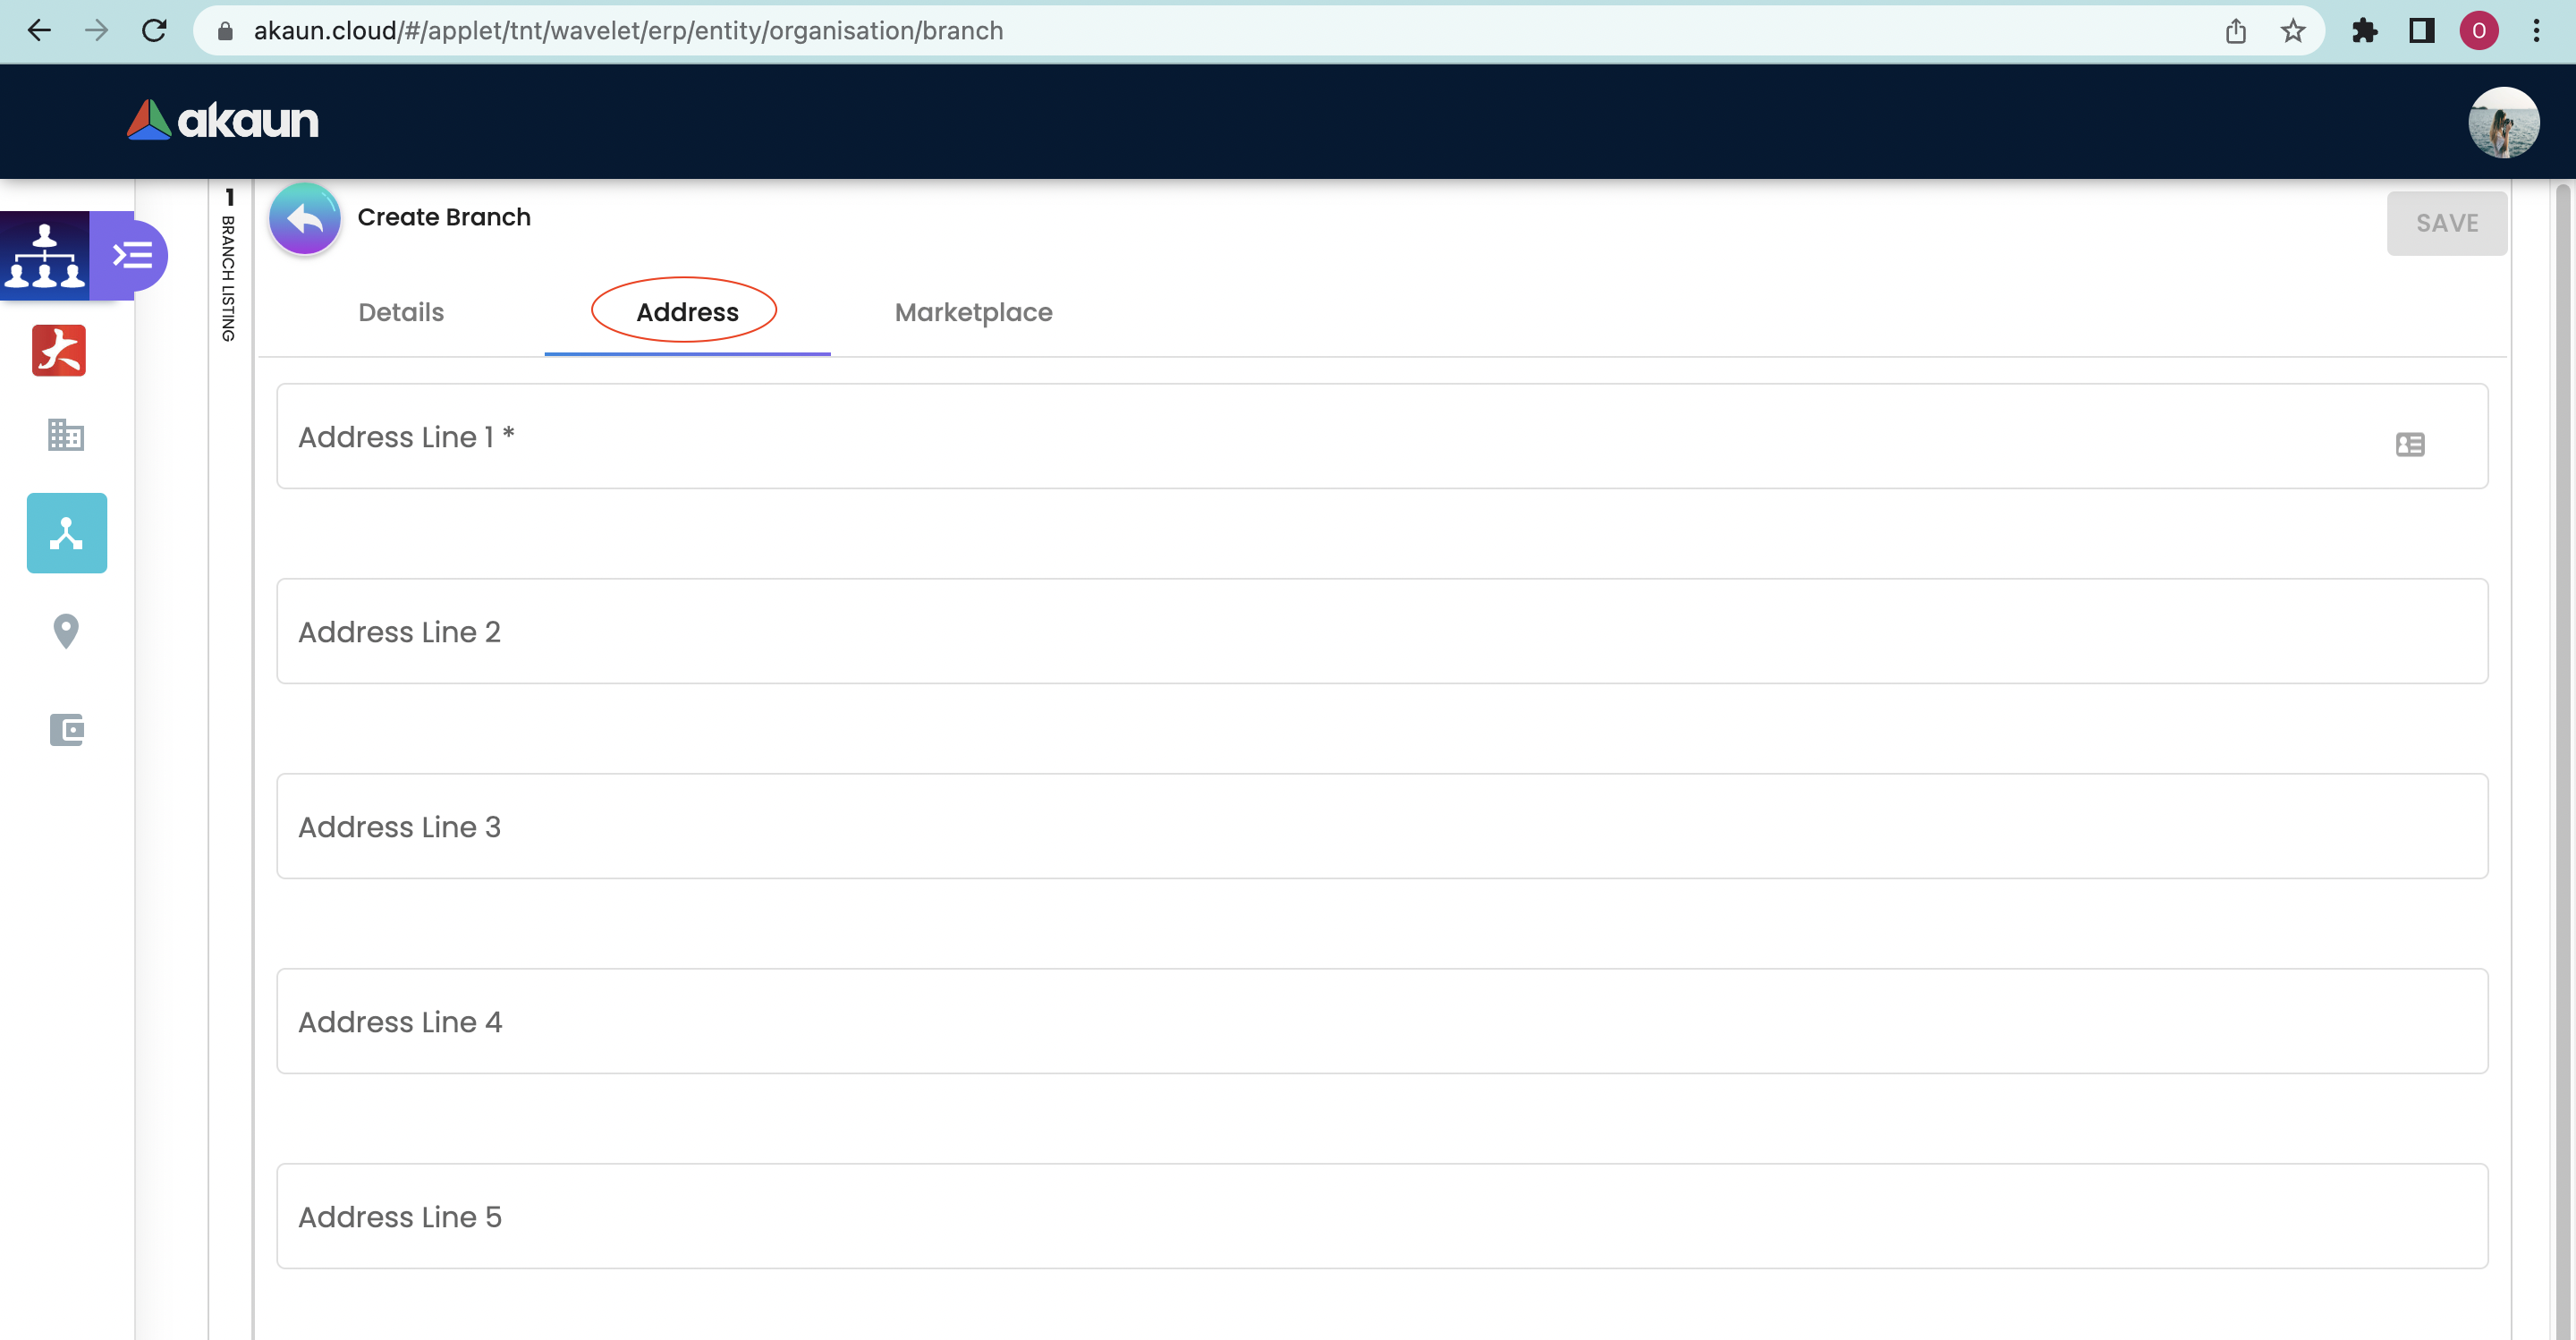
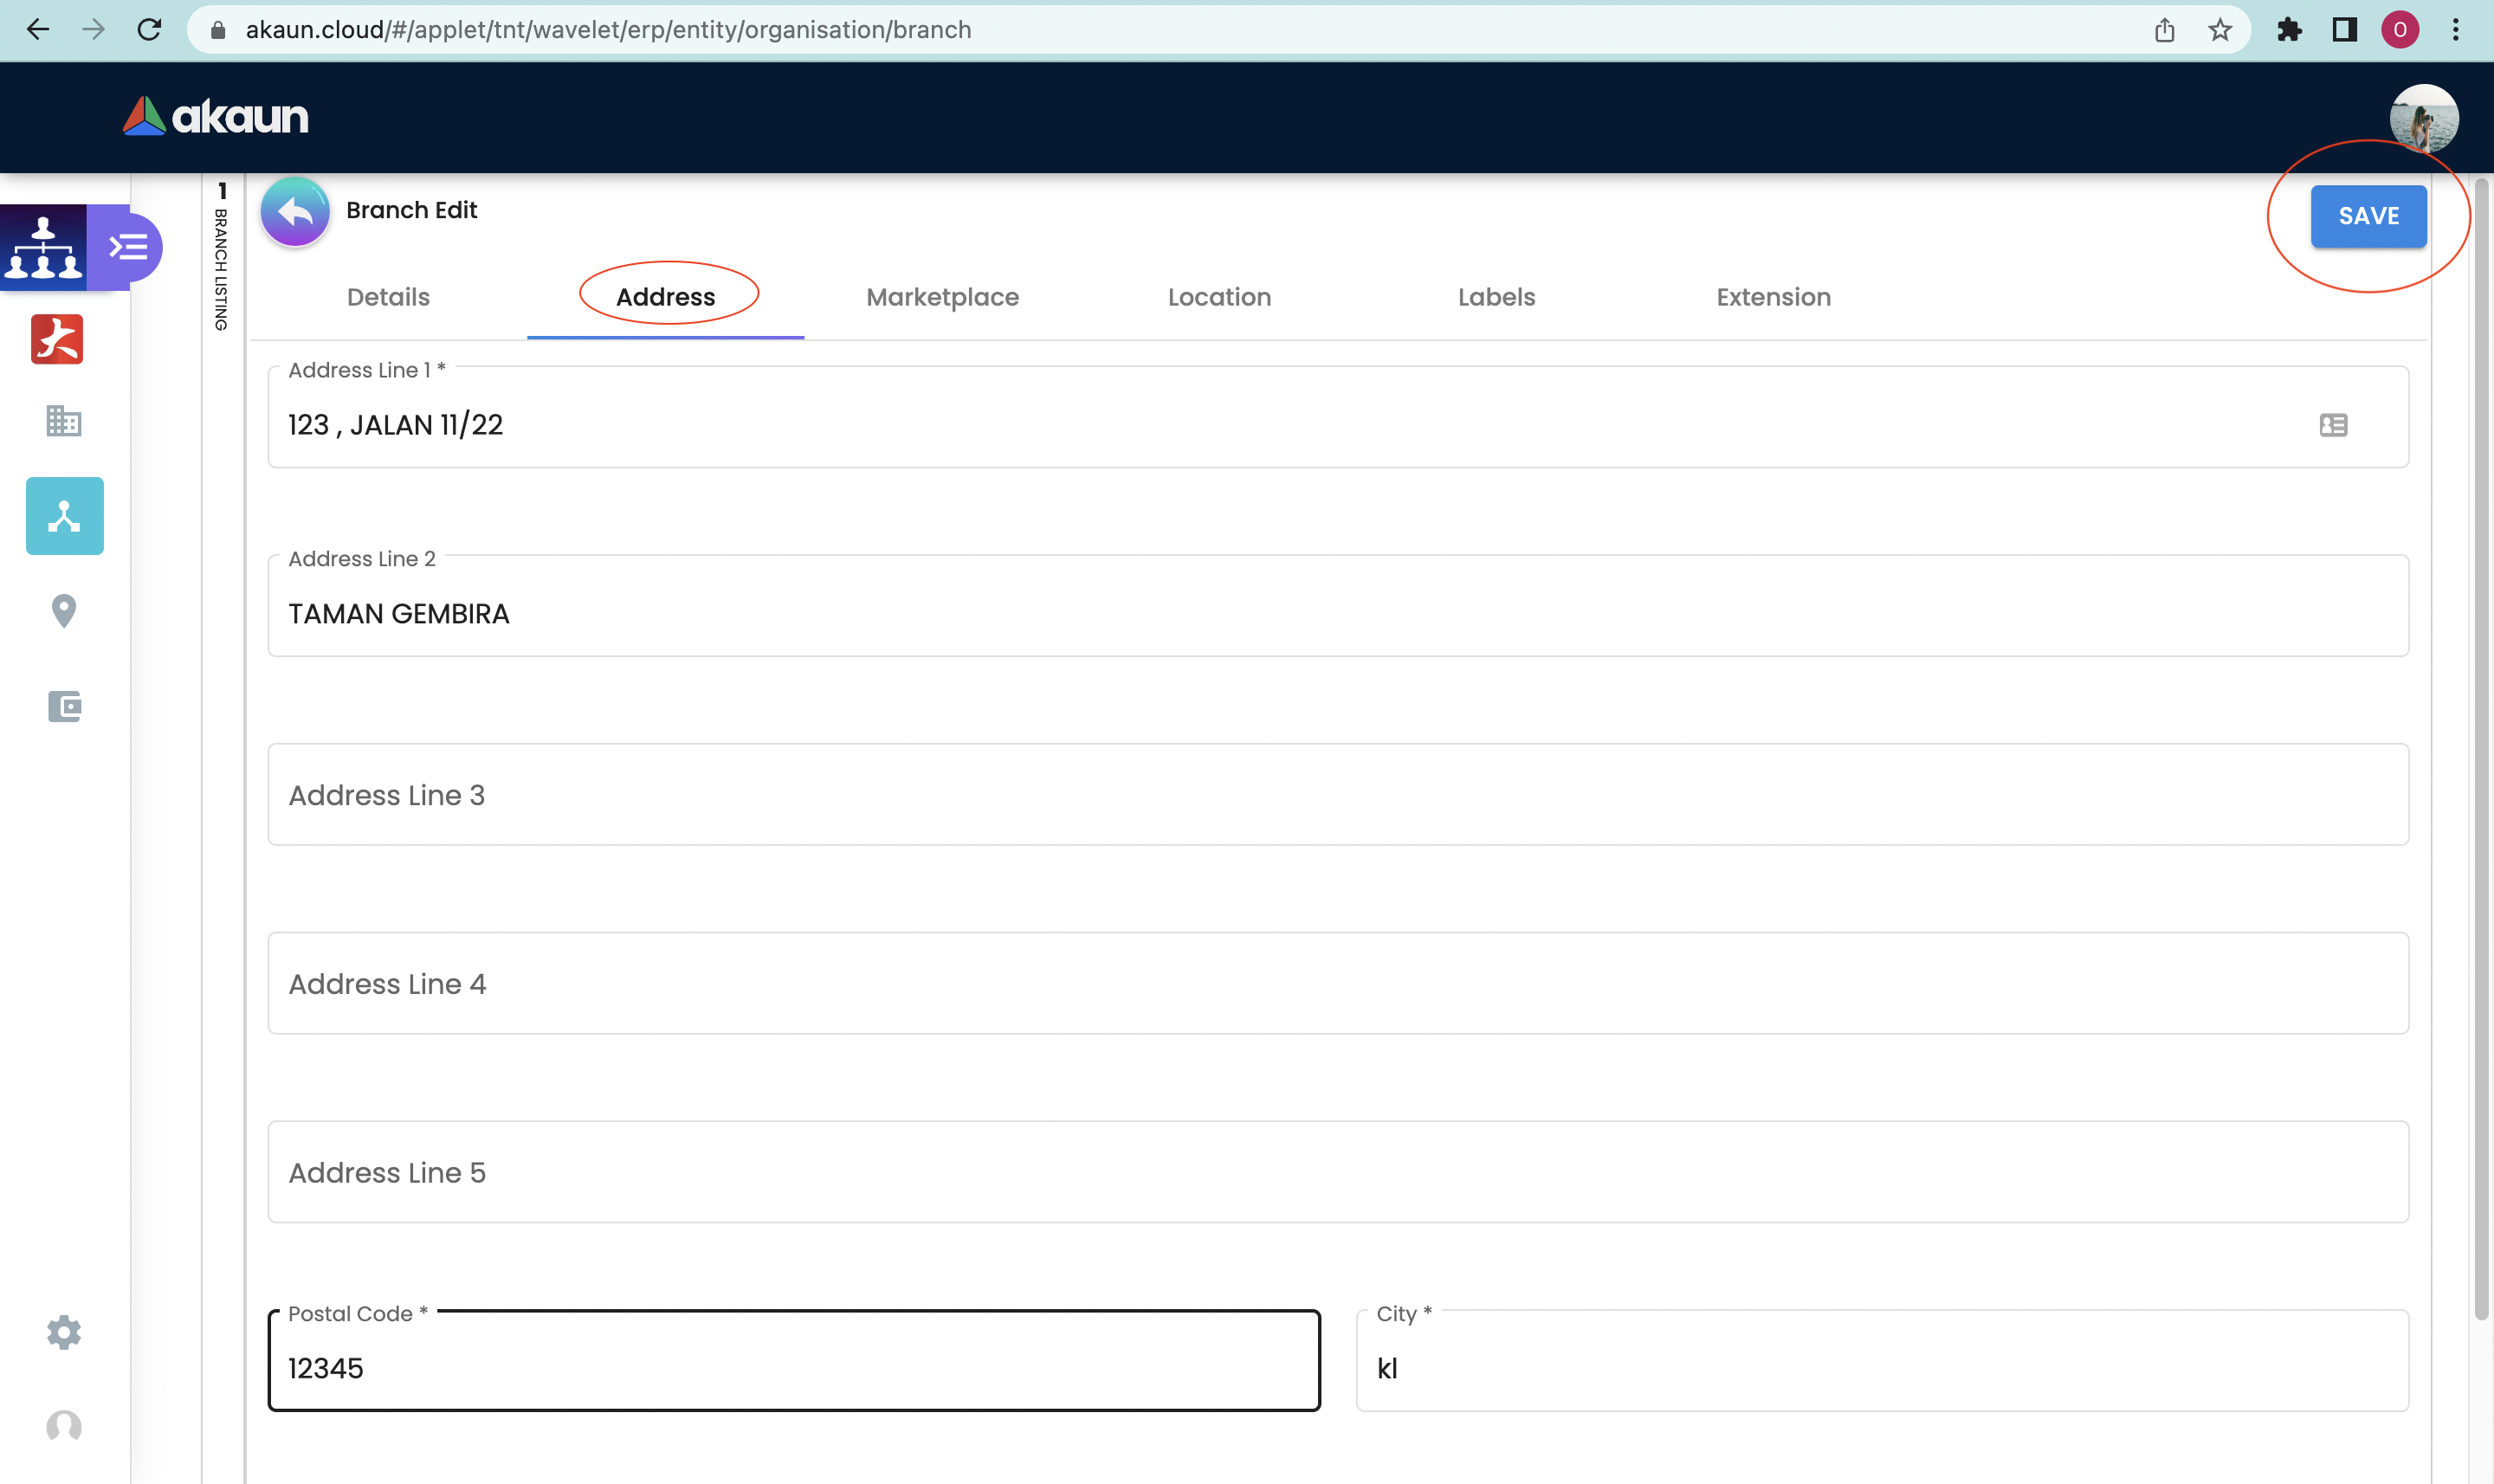
2.1.2 Address Tab
User must fill up compulsory fields :
-
Address Line 1
-
Postcode
-
City
-
Select Country
-
Select State
-
Other fields are optional
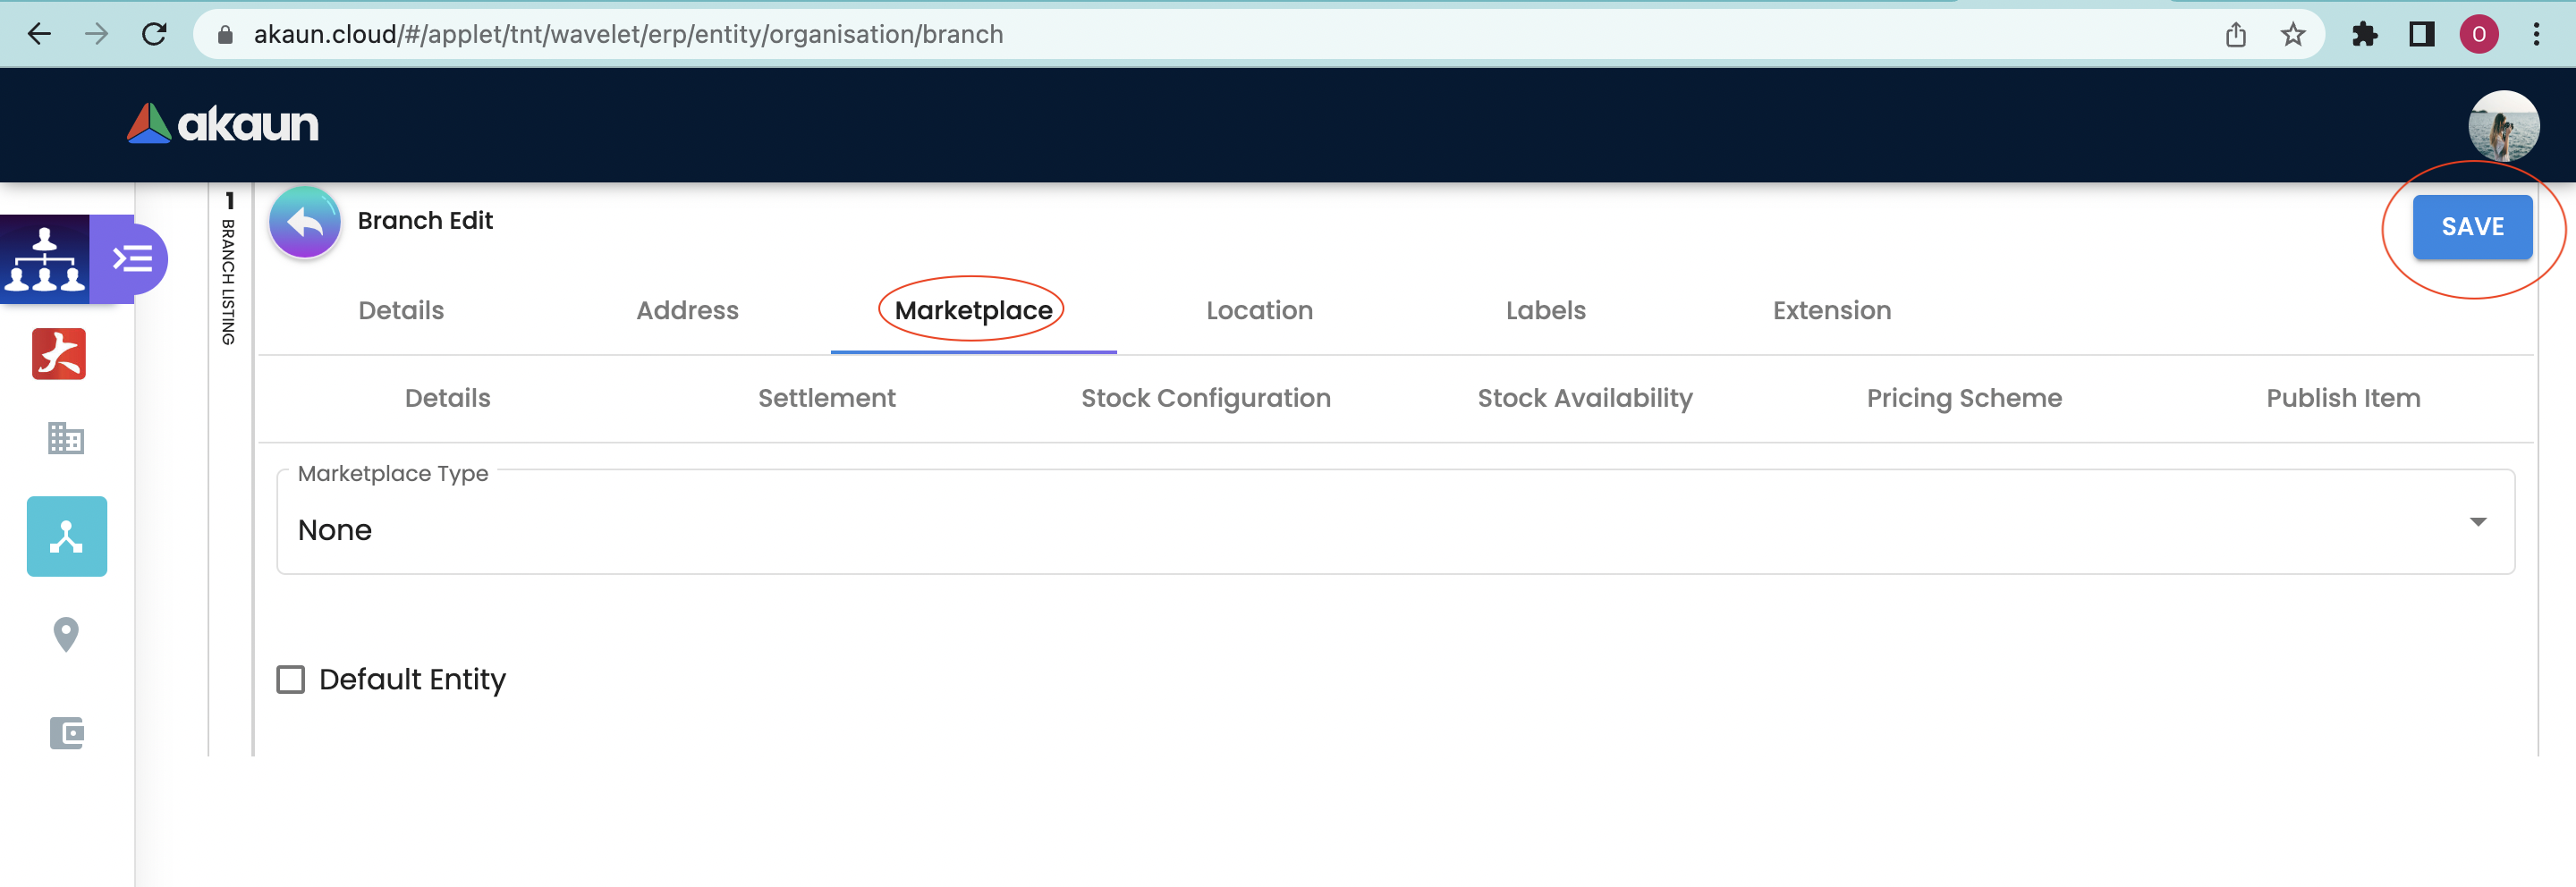
2.1.3 Marketplace Tab
This section allows you to authorise your seller shop with EcomSync Applet.
Users must select a marketplace, after selecting the marketplace user may proceed to SAVE the BRANCH.
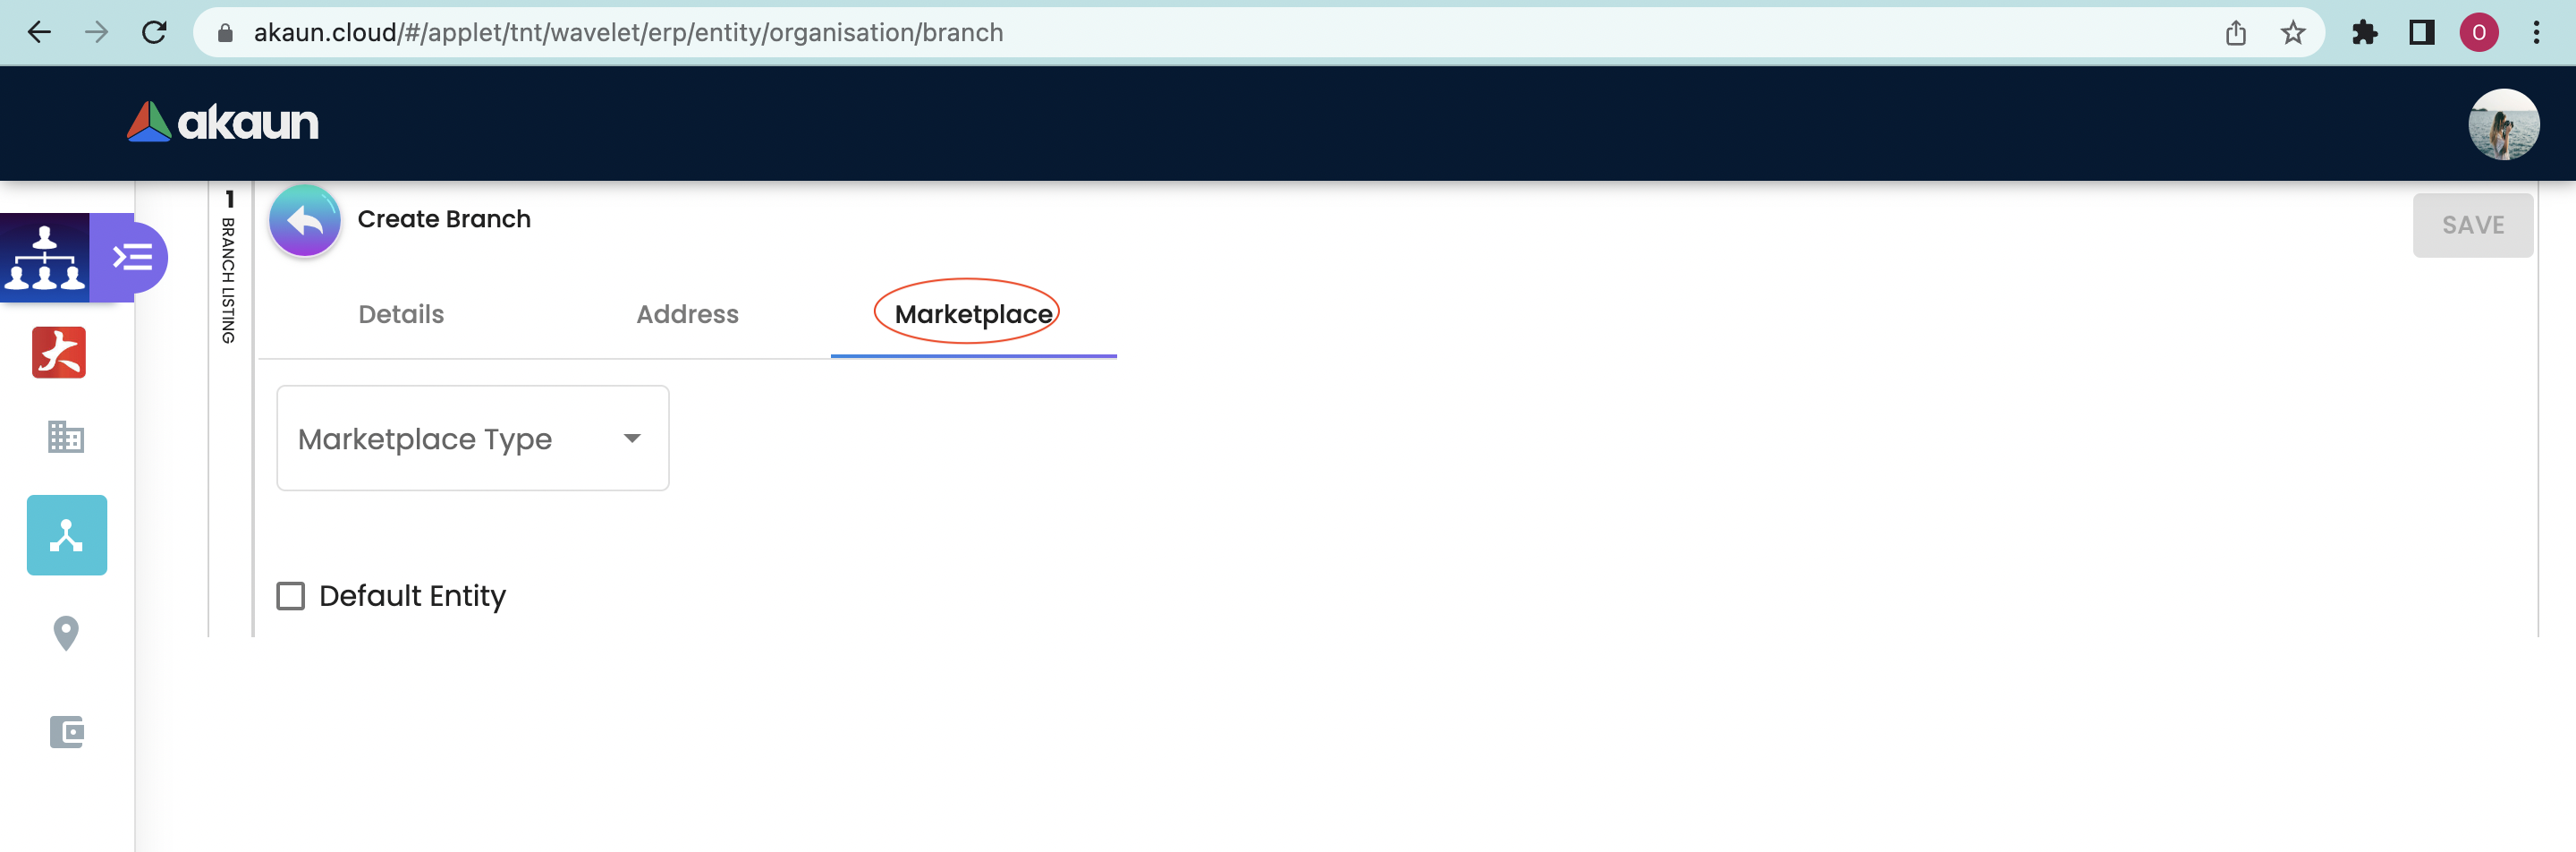
It will relocate to the marketplace website in order to generate Access Token.
After authorising all shops, users may proceed using ECOMSYNC APPLET.
If failed to fill up the compulsory information, the users CANNOT click the SAVE button.
2.2 Branch Listing
Upon clicking the SAVE button, the registered branch will appear in the Branch Listings as below:

2.2.2 Details Tab
This section allows the user to update the branch details.
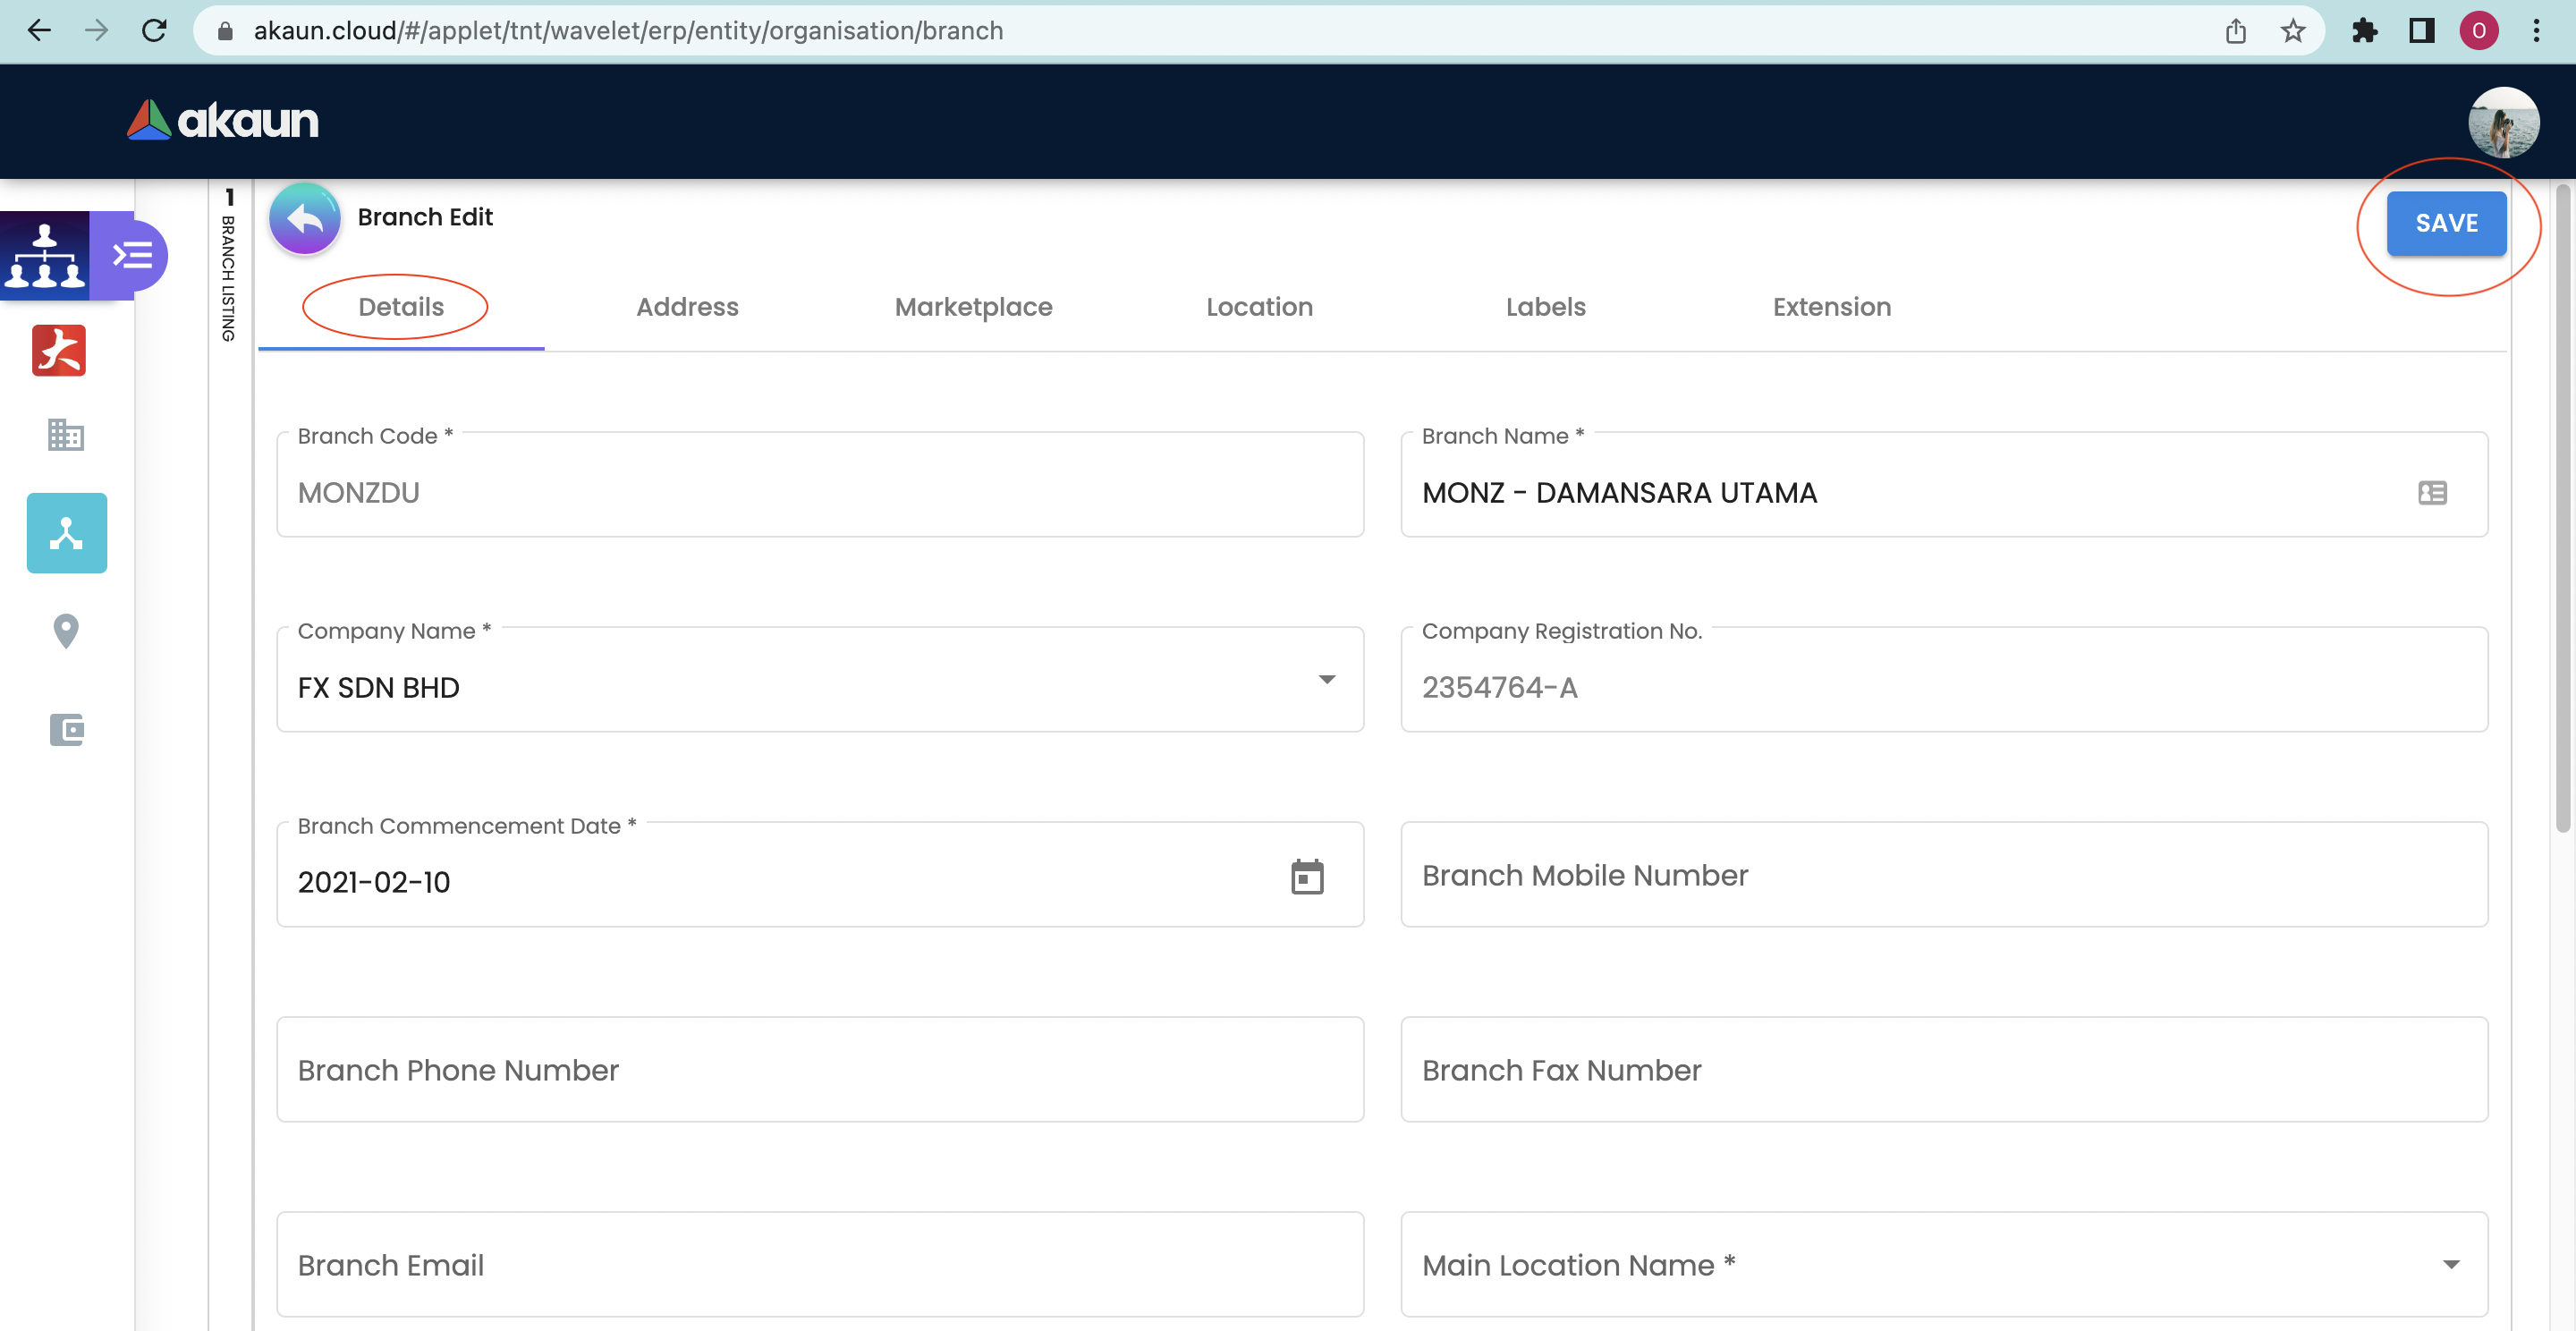
The sections CANNOT be edited:
-
Company Code
-
Created By
-
Modified By
-
Creation Date
-
Modified Date
2.2.5 Location Tab
This section allows the user to view the branch location.
It also allows a branch to connect to multiple locations to manage the user’s transactional movement.
Select location to edit → Edit location
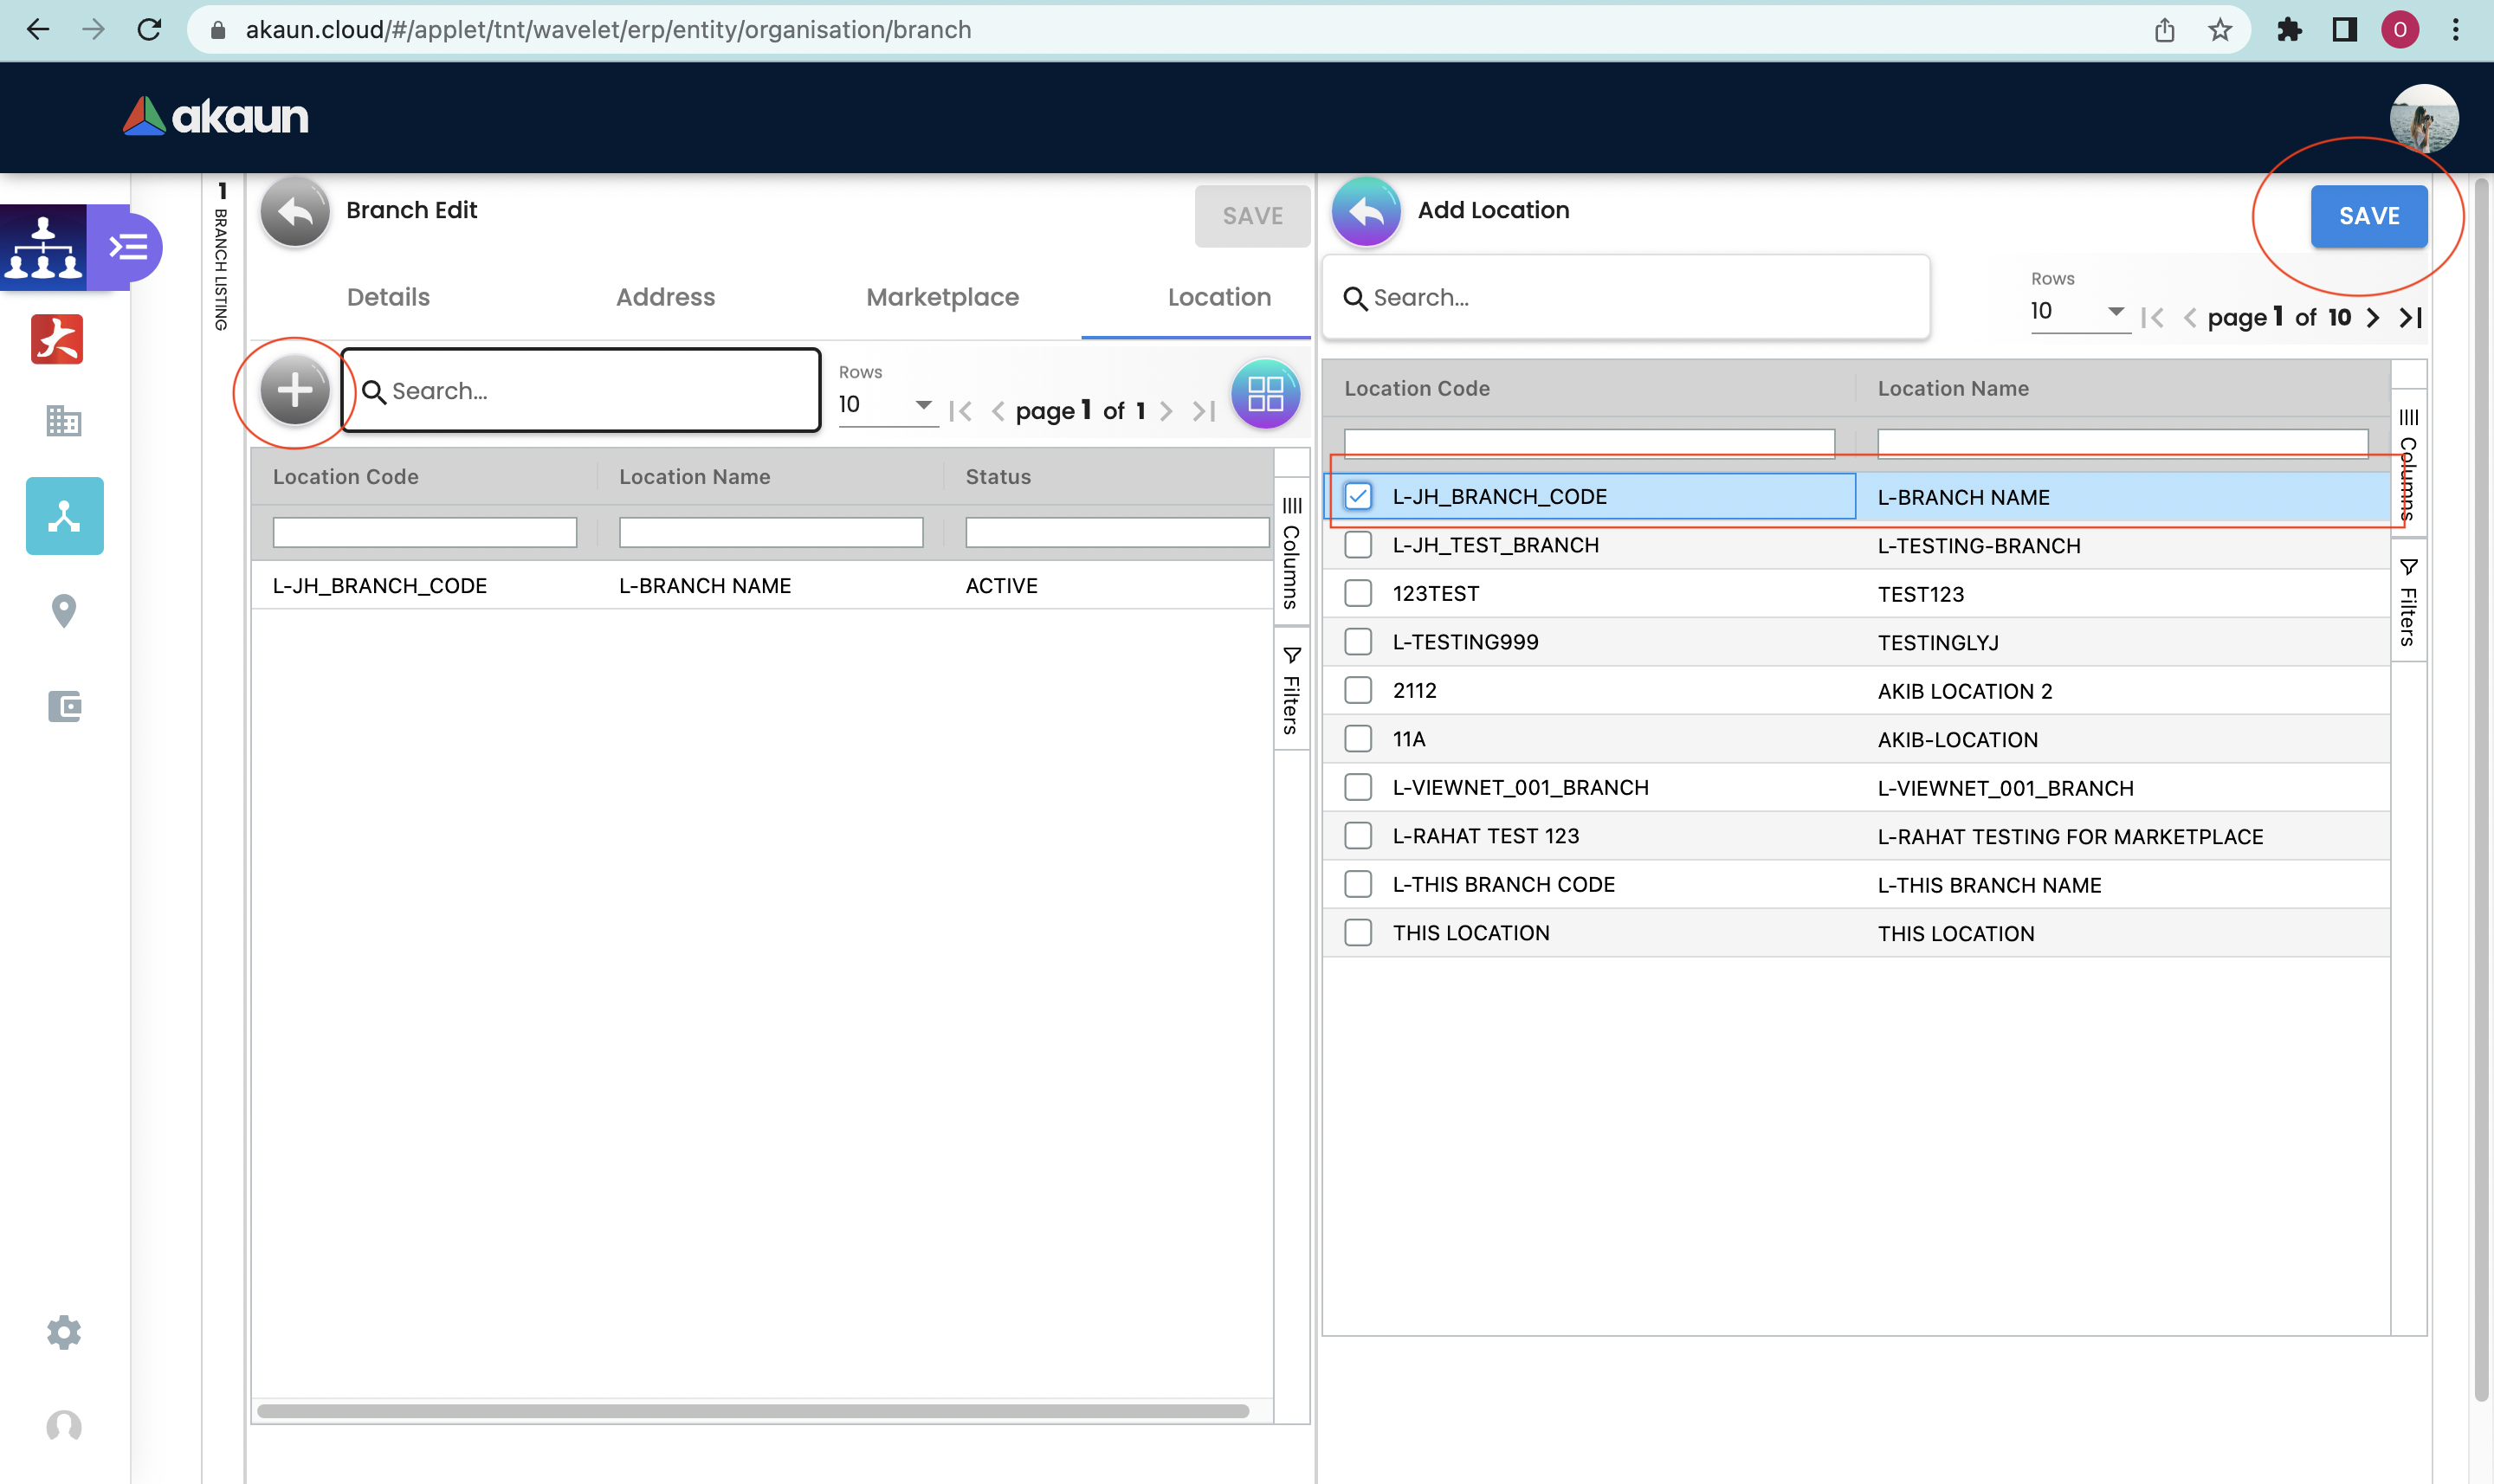
In adding a location to the Branch, users need to click on the "+" sign to open the Add tab and select the location from the drop-down list to add for the branch.
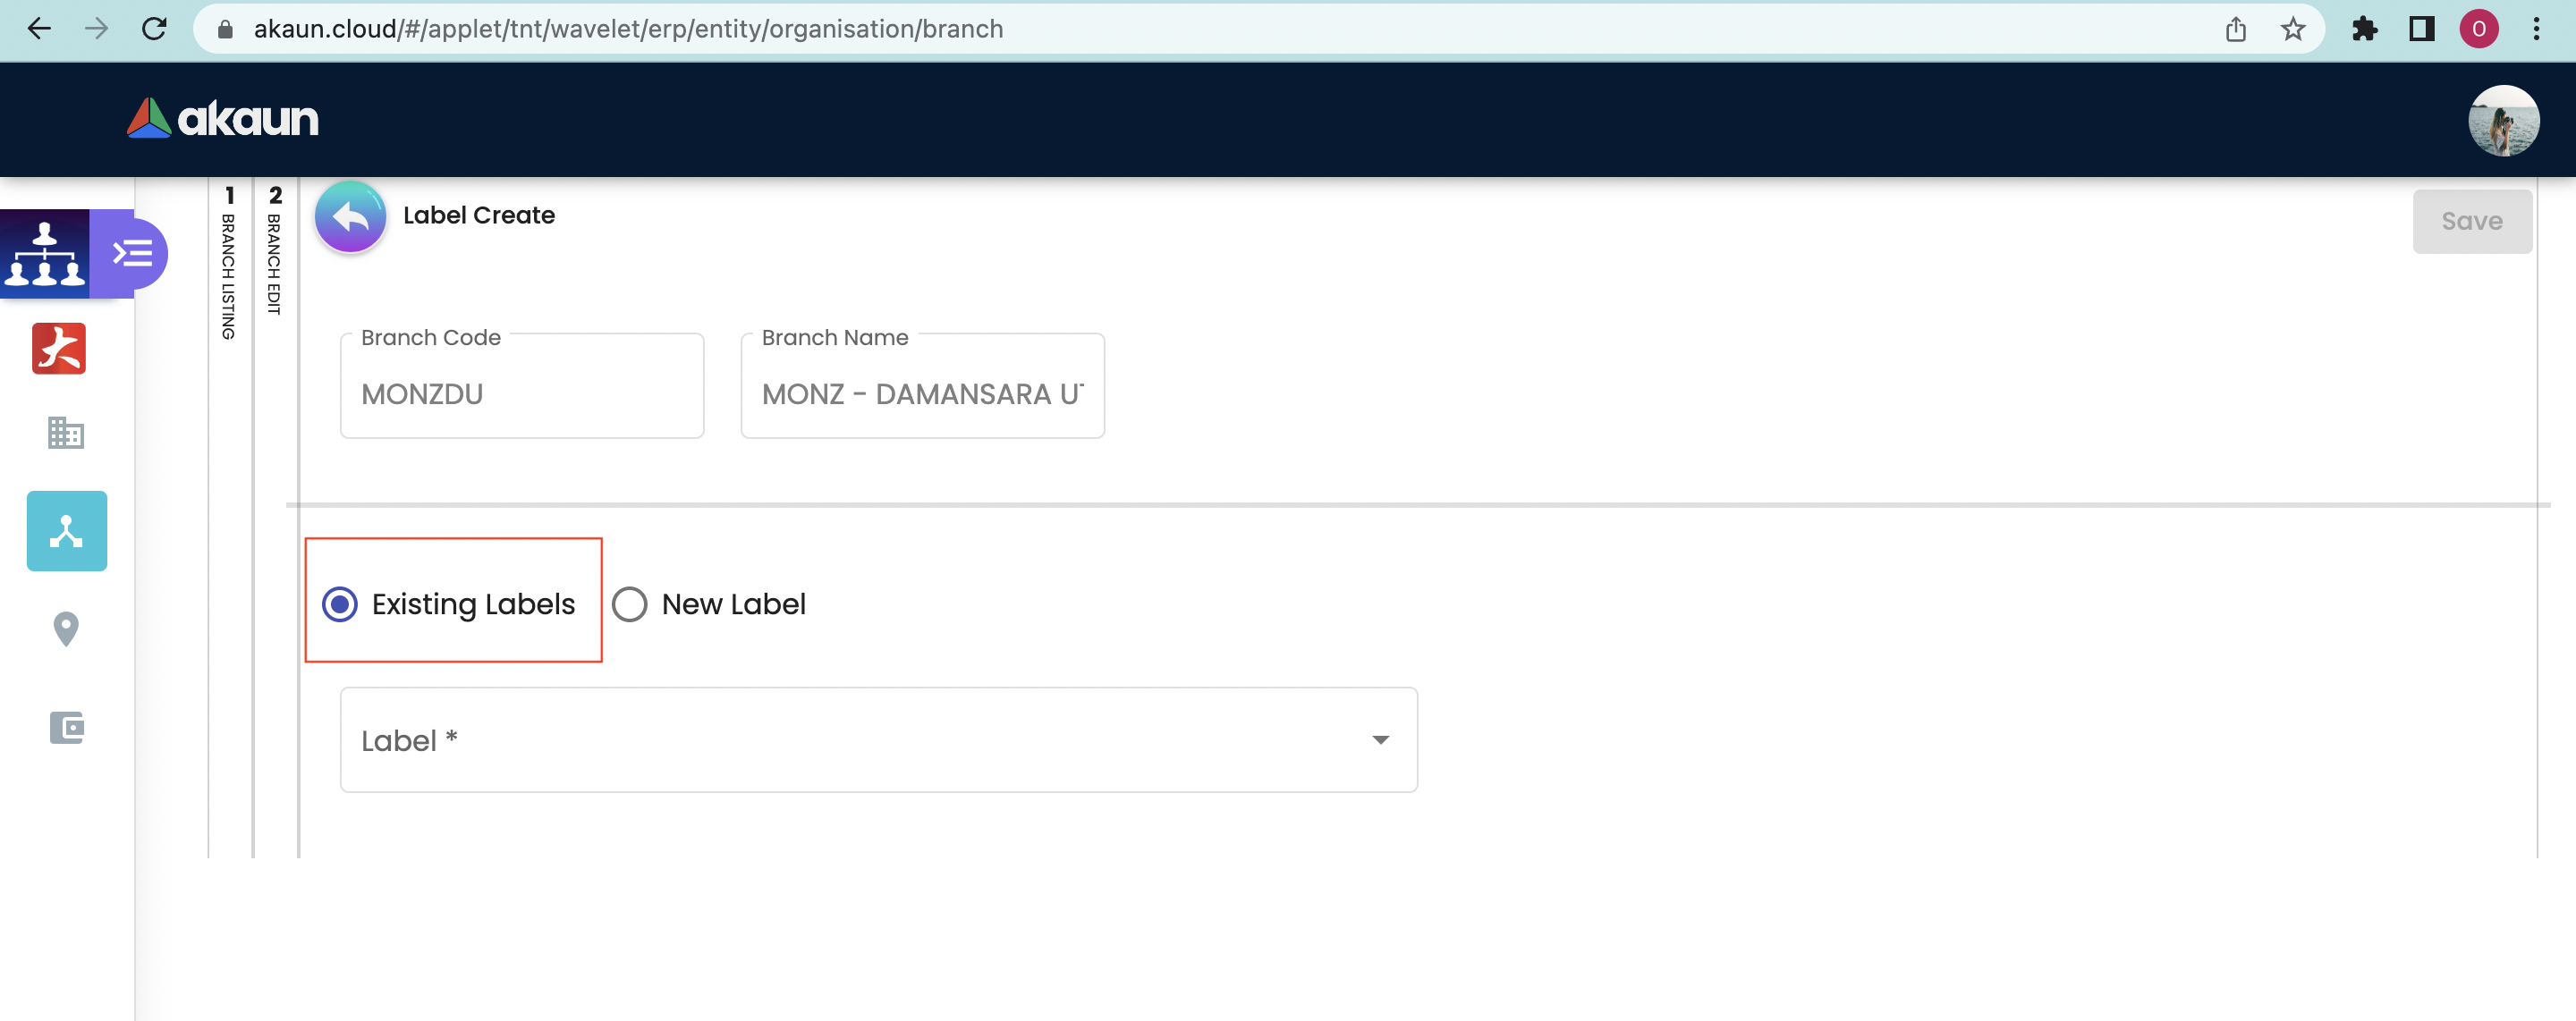
2.2.6 Label Tab
This section allows the user to view the company’s label.
To add a label, users need to click on the "+" button to open the Add tab.
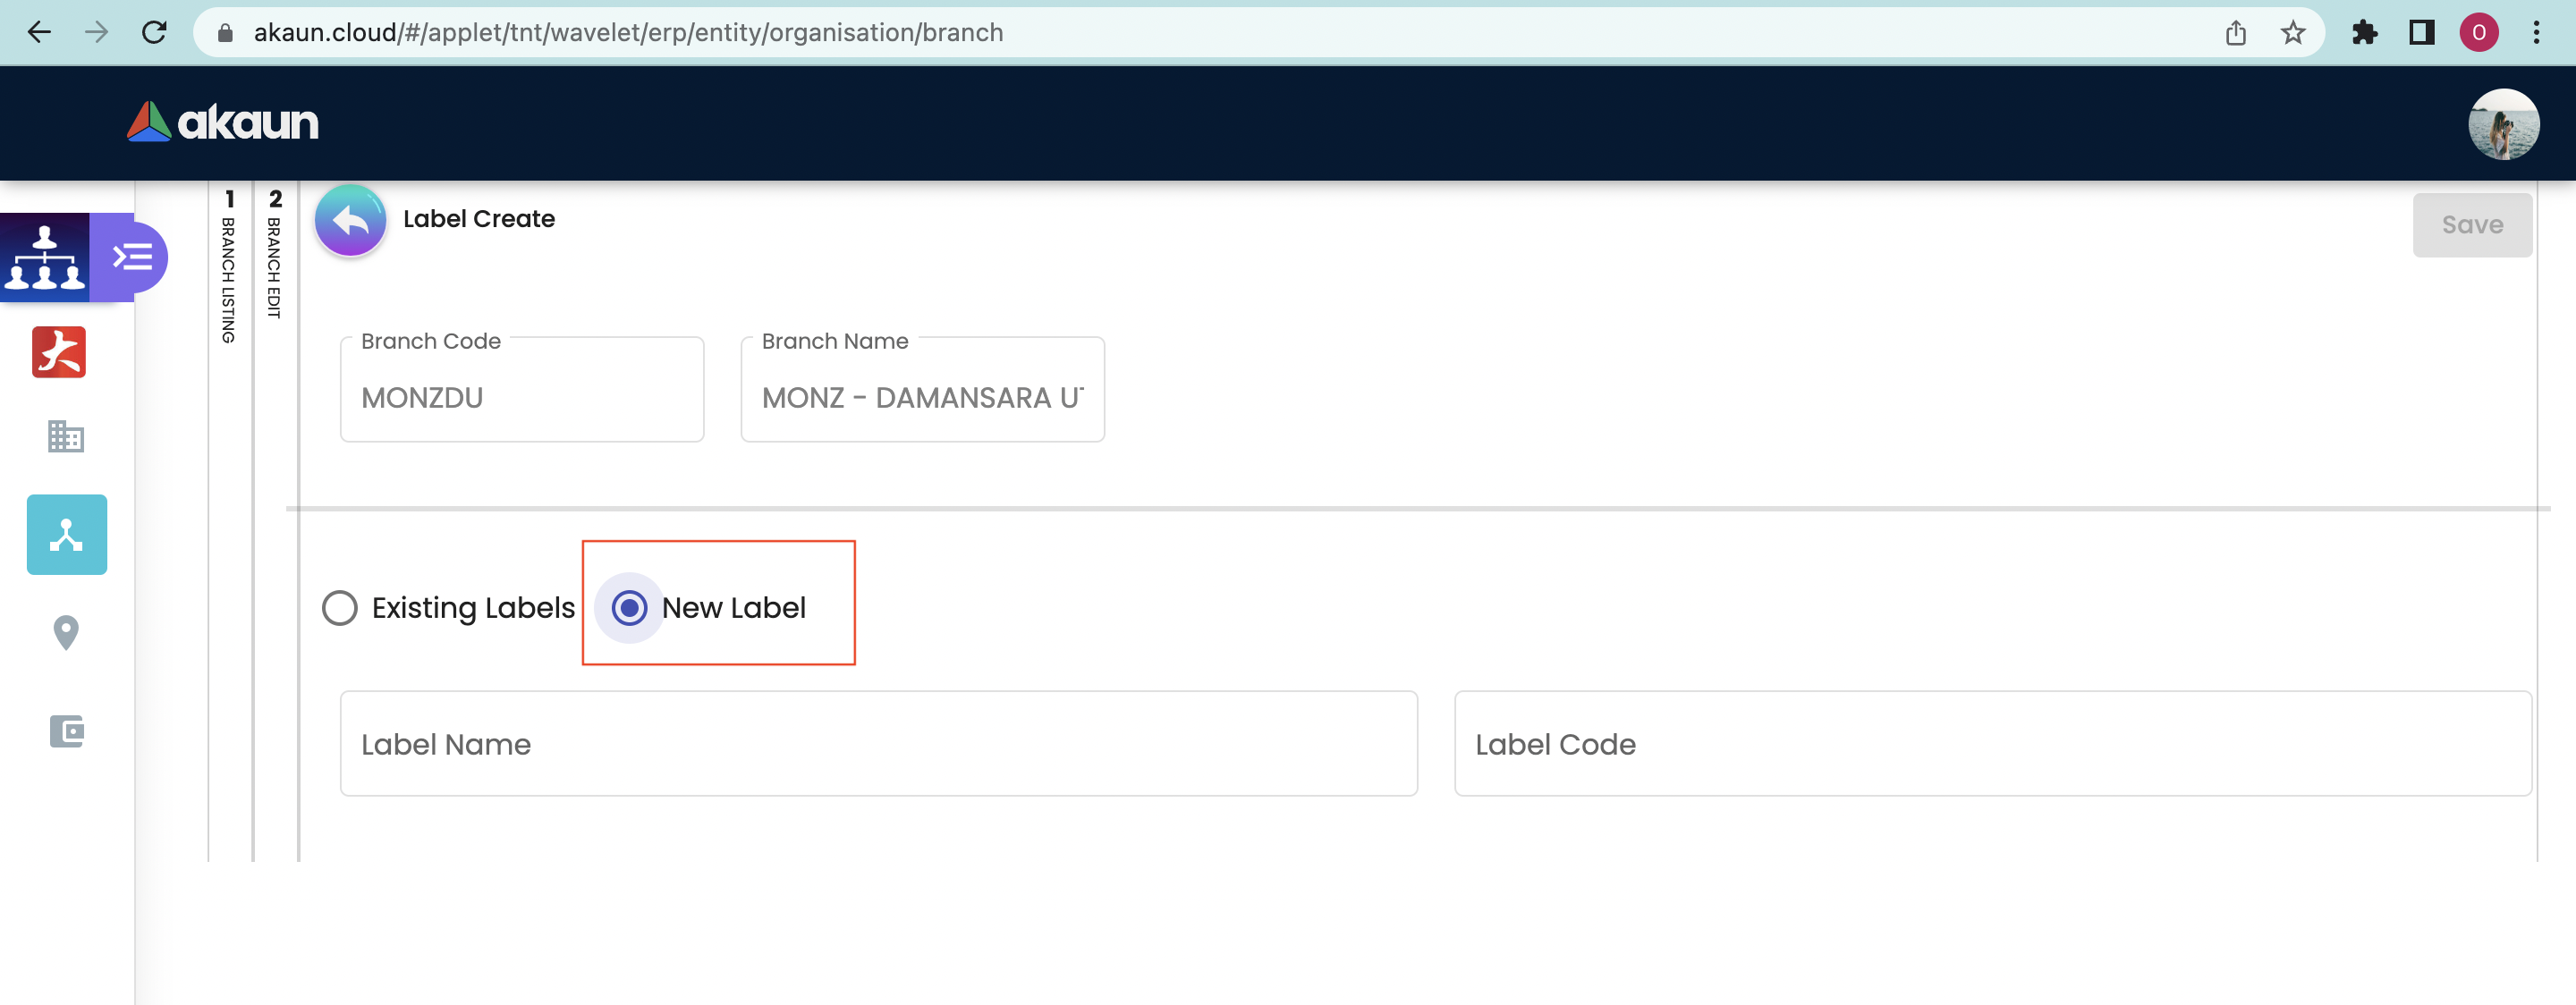
-
Existing Label - Select from the dropdown list of existing labels
-
New Label - Labels can be created directly through this tab or can go to Label Module → Create Label
-
To edit label → Edit label