2.2 Edit Scheduler
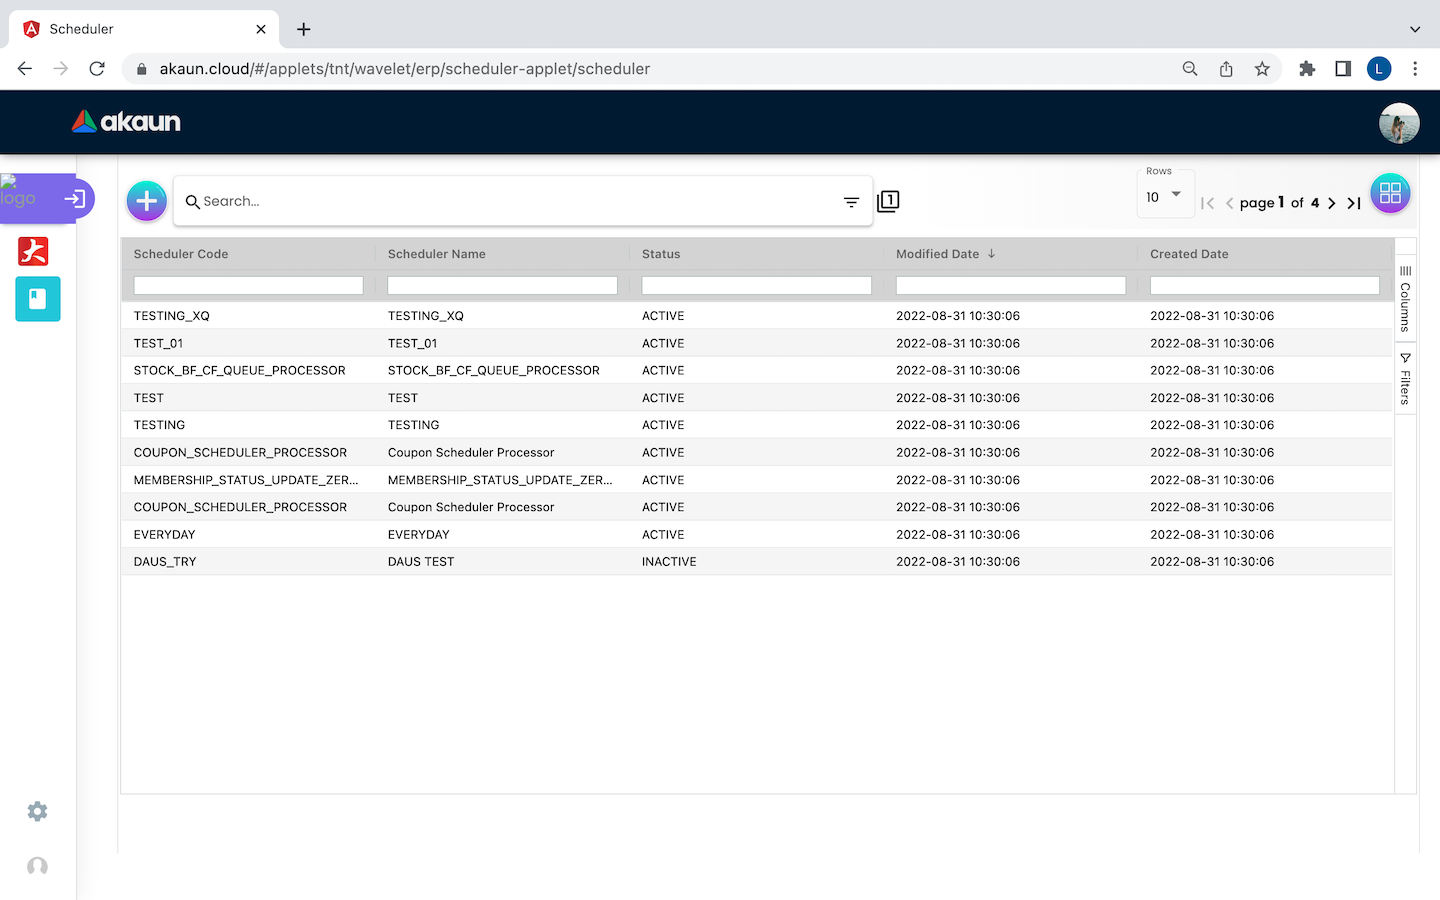
Figure 1. Edit Scheduler
After creating the scheduler successfully, users will be redirected to the Scheduler Listing page and the latest scheduler will be on top of all the schedulers. To edit the scheduler, users can click on any of it.
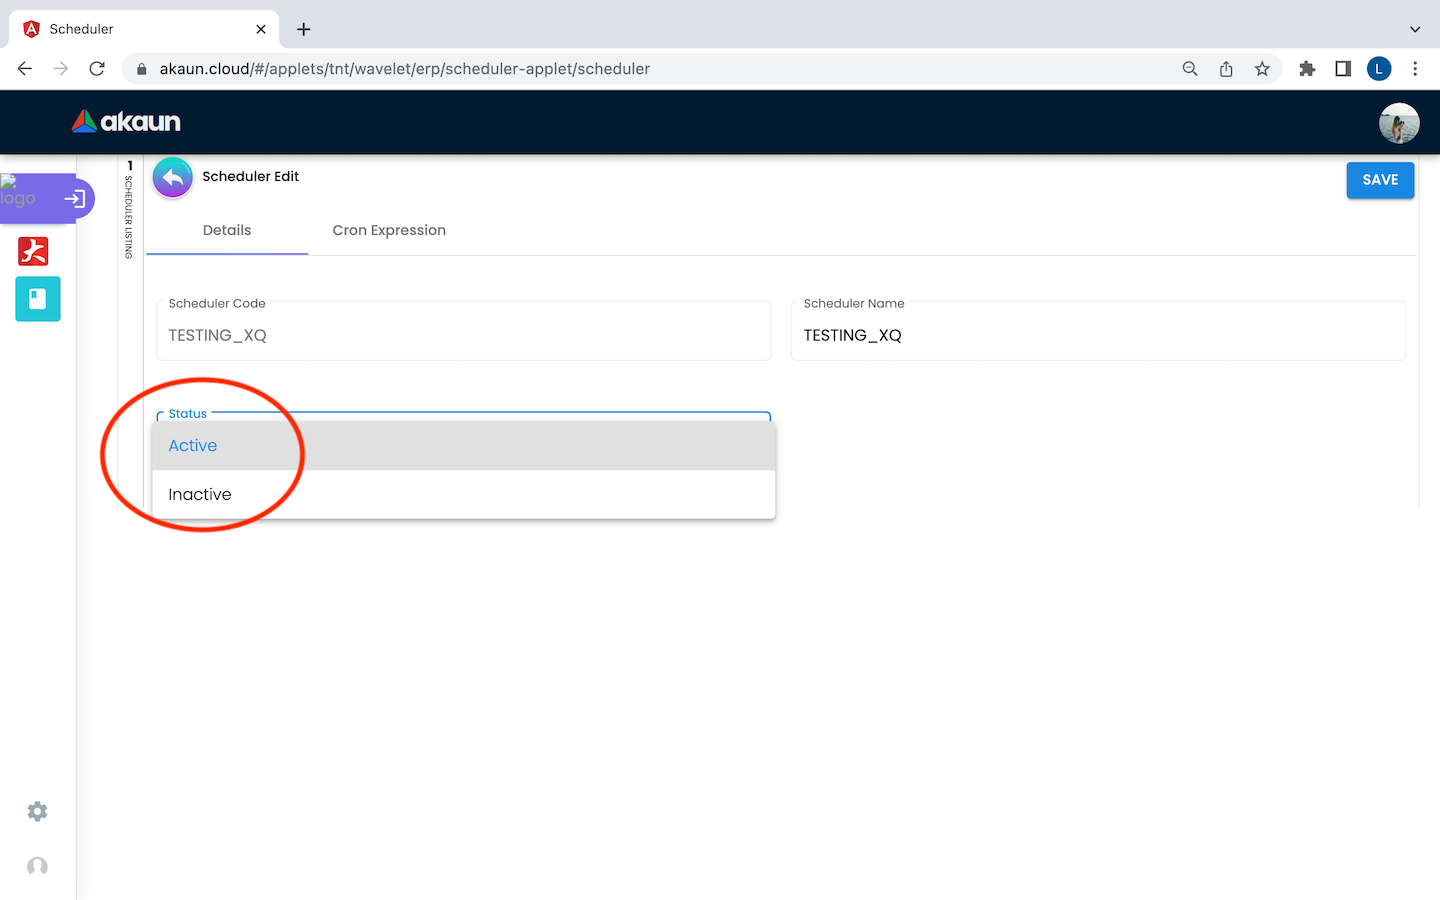
Figure 2. Edit Scheduler - Status Field
Every column in the edit scheduler is the same as the create scheduler page, except there is a status column that allows the users to select the processors to be “ACTIVE” or “INACTIVE”. Please note that every column can be edited, except the scheduler code.
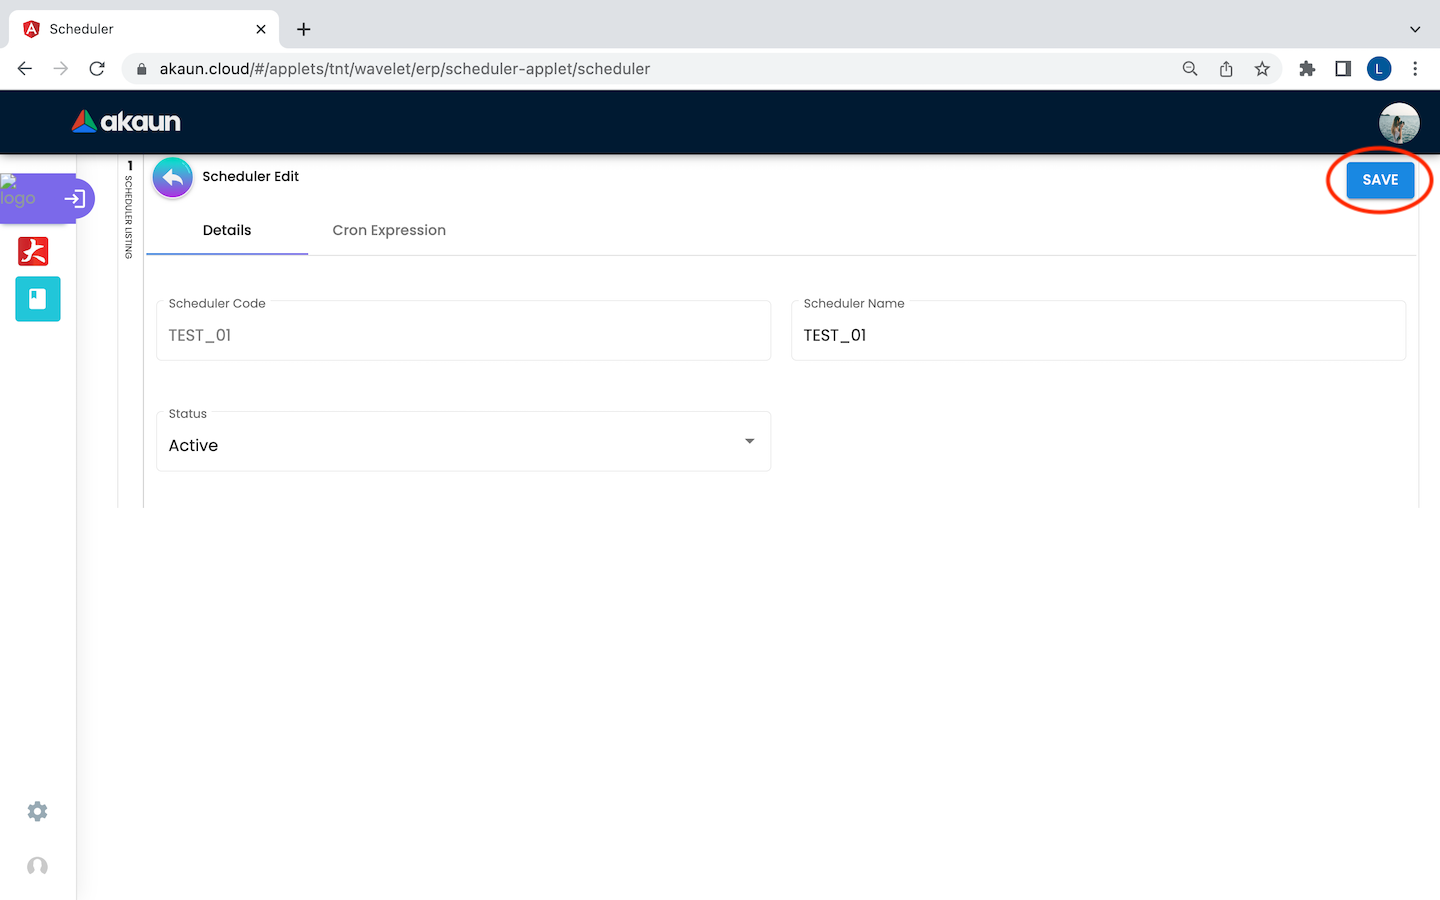
Figure 3. Edit Scheduler - Save Button
Upon making all the changes, users can click on the “SAVE” button in the top right corner to save all the changes.