4.0 Customer
4.1 Create Customer
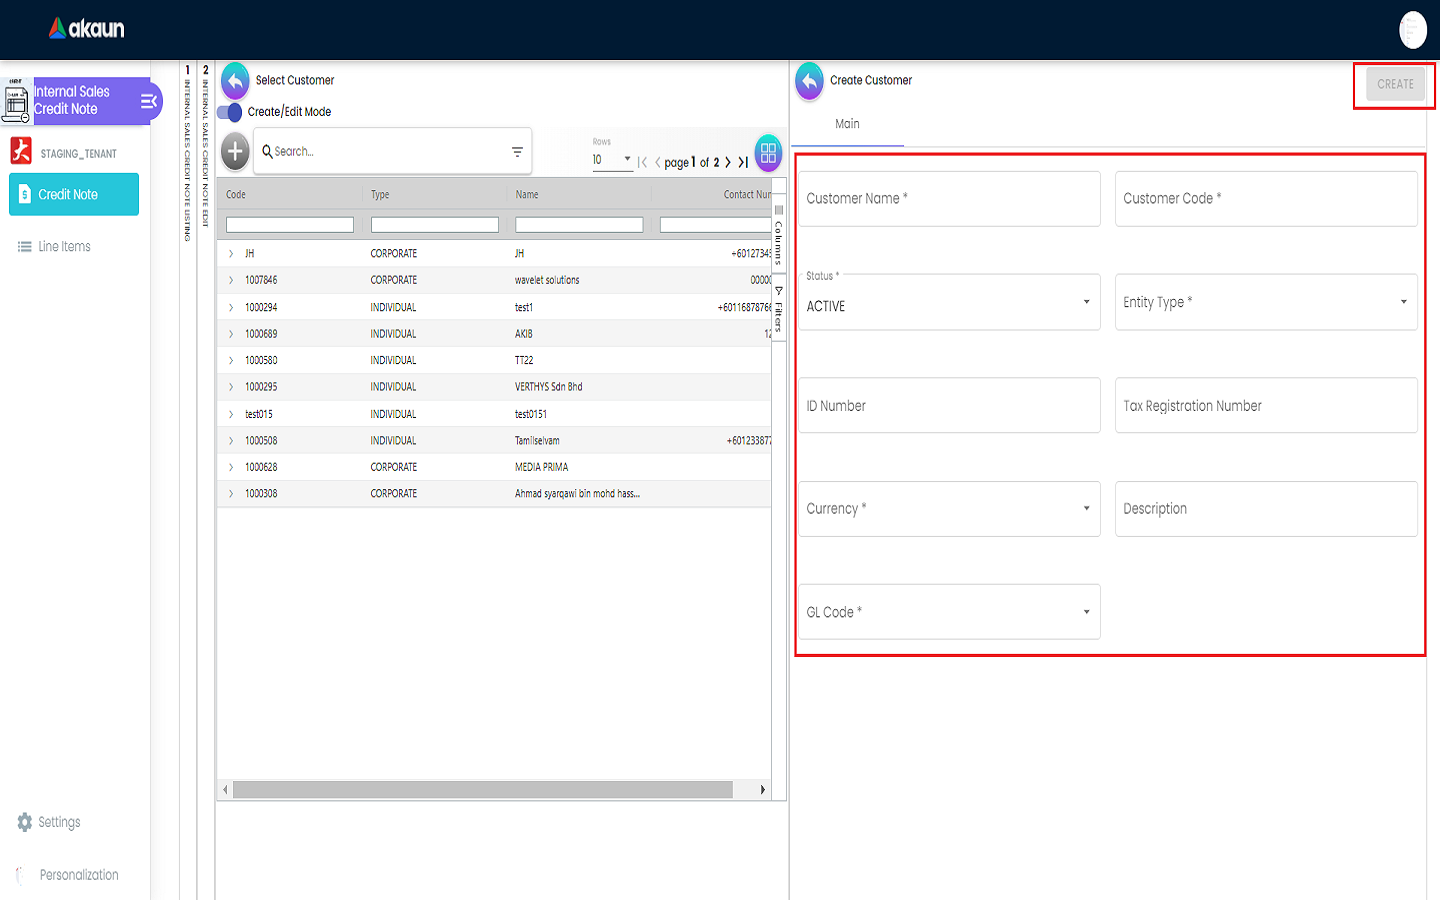
Users are required to fill in all the compulsory fields such as:
-
Customer Name
-
Customer Code
-
Status
-
Entity Type (INDIVIDUAL or CORPORATE)
-
Currency
-
GL Code
The optional fields for the entity type of:
-
INDIVIDUAL - Identity Type, ID Number, Gender, Tax Registration Number, and Description
-
CORPORATE - Company Registration Number, Company Tax Registration Number, and Description
New customer can be created once all the compulsory fields are filled and the ‘CREATE’ button is clicked.
4.2 Customer Edit
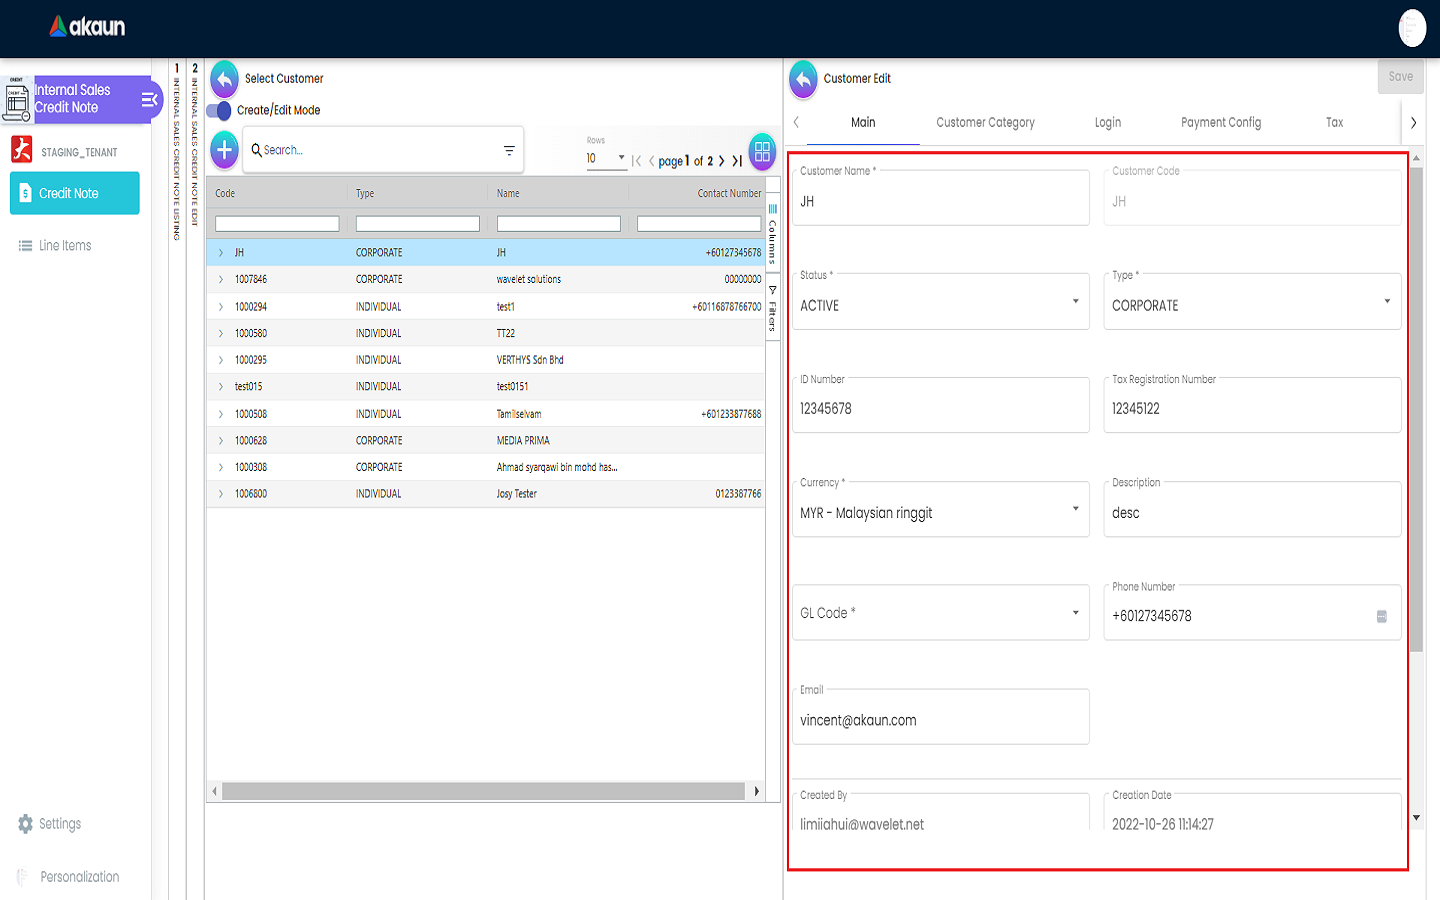
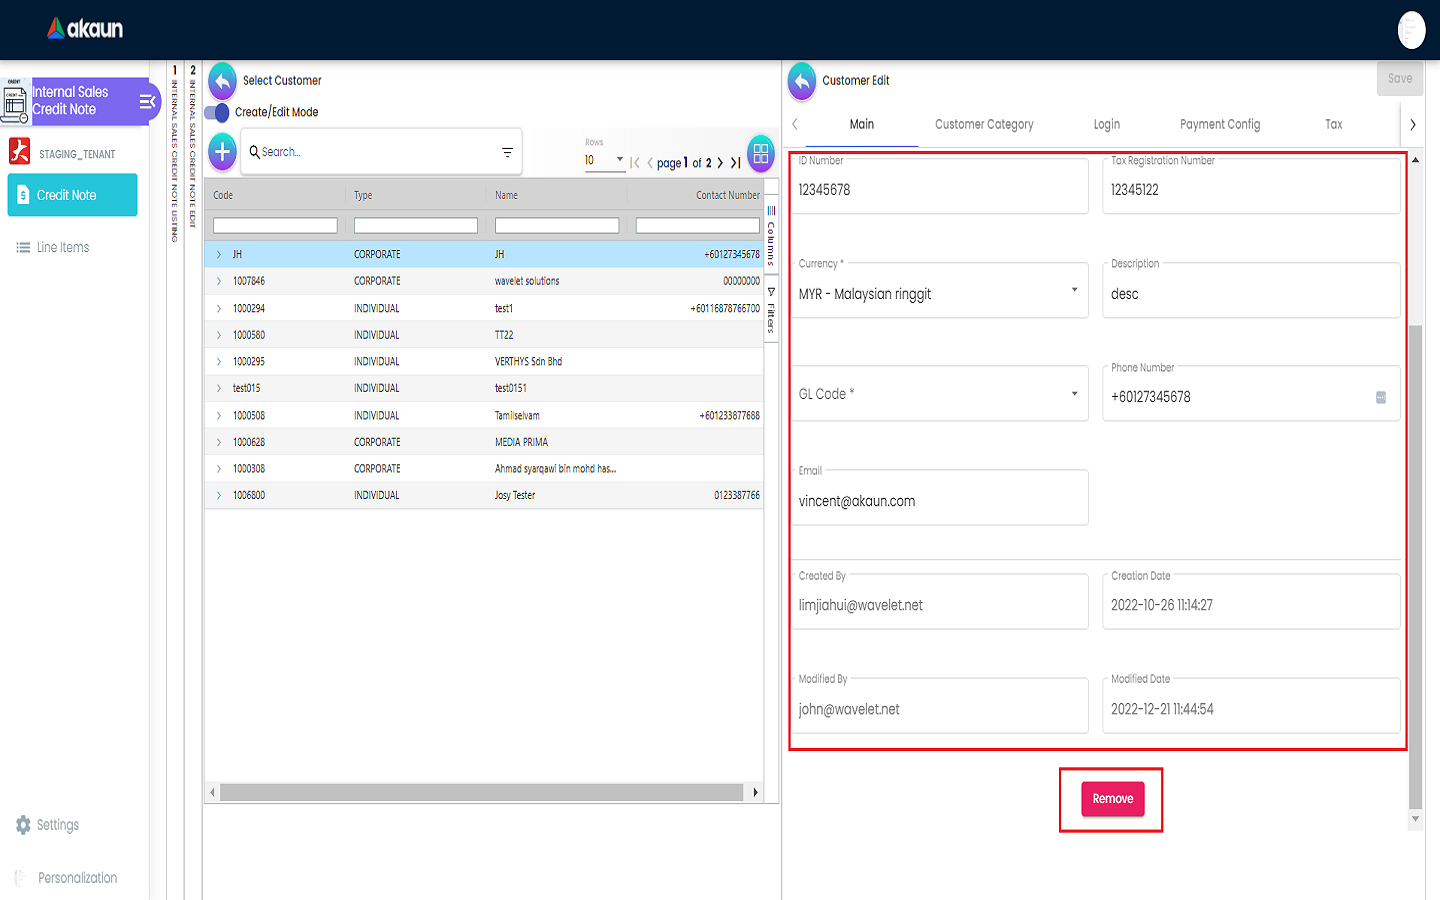
4.2.1 Main Tab
Please fill up the compulsory (*) information for creating the customer. After filling up the compulsory information, please click Create to add a new customer. There are 9 components which allow the user to make changes respectively:
-
Customer Name
-
Customer Code
-
Status
-
Entity Type
-
ID Number
-
Tax Registration Number
-
Currency
-
Description
-
GL Code
Users can remove the selected customer by clicking on the ‘REMOVE’ button.
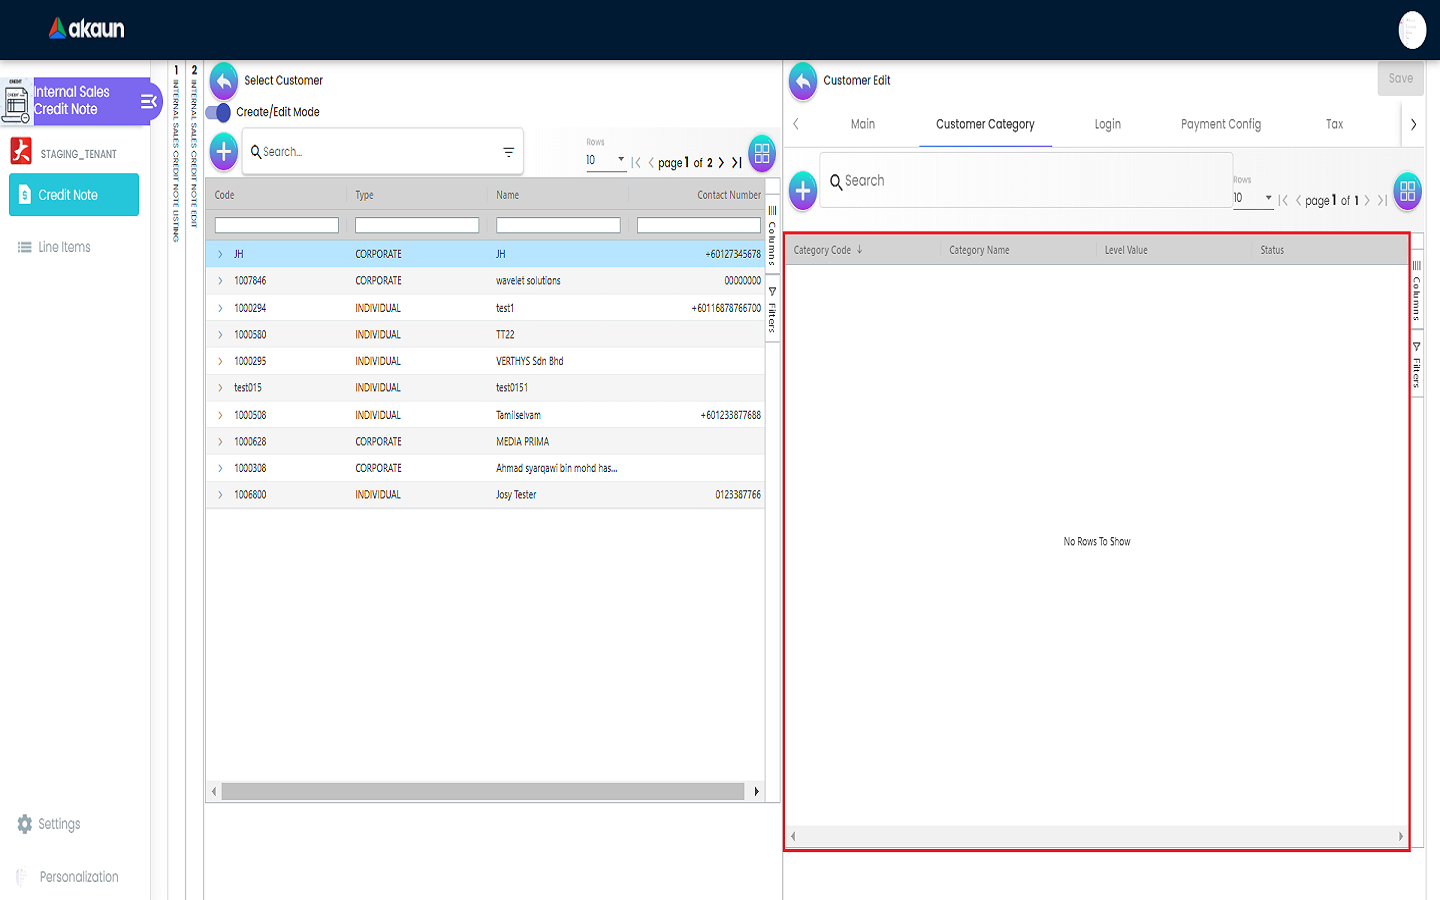
4.2.2 Customer Category Tab
A list of customer category assigned to the selected customer can be viewed in this tab along with the information like:
-
Category Code
-
Category Name
-
Level Value
-
Status
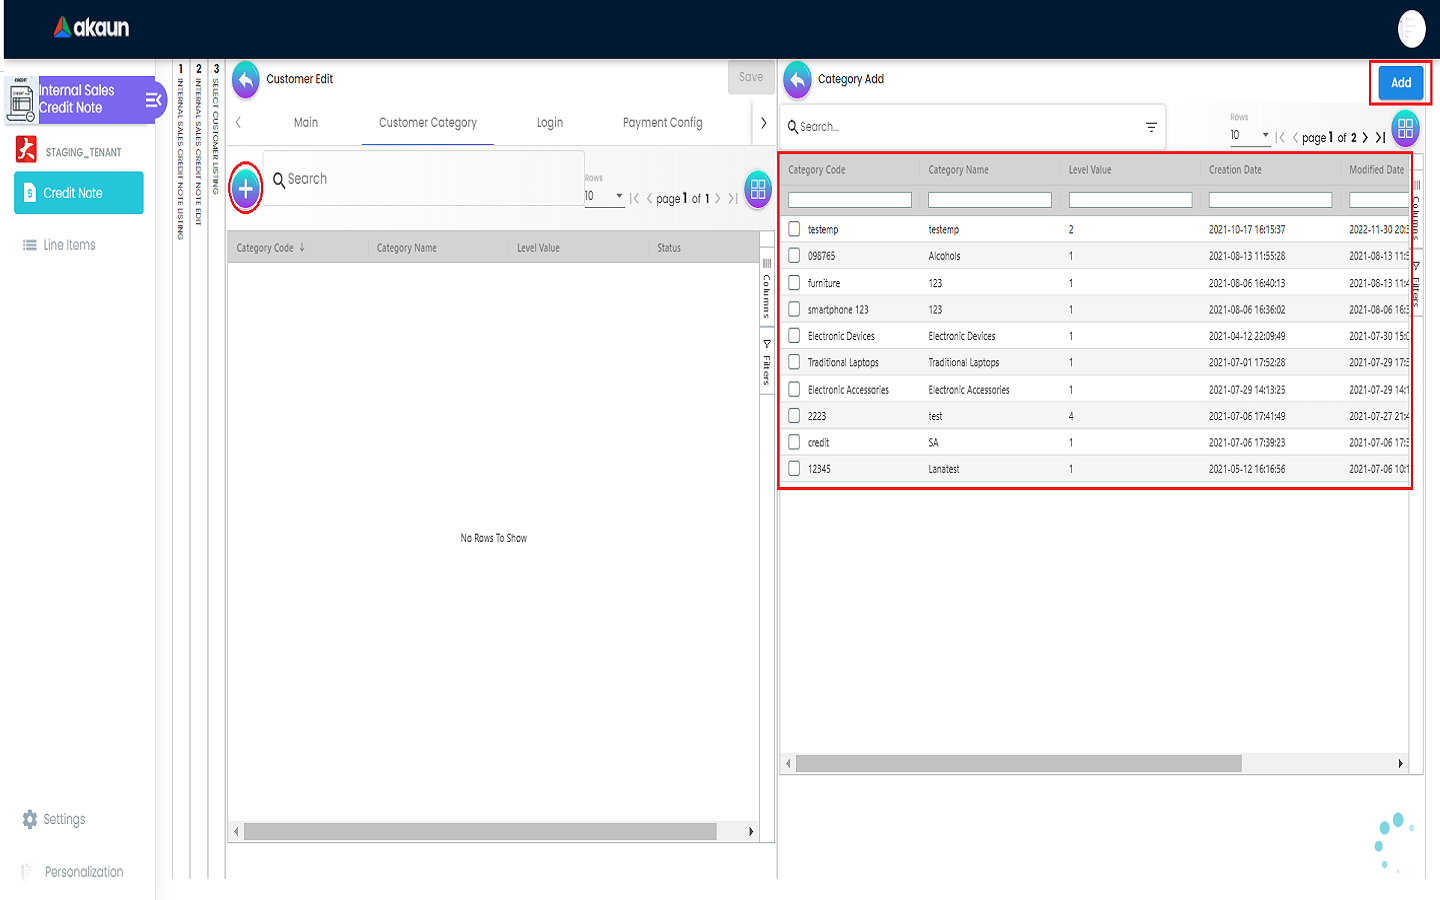
Users can add a new category by clicking on the ‘+’ button which will open Category Add page on the right side.
After that, users can add one or more categories by selecting the categories from the listing and then clicking on the ‘ADD’ button.
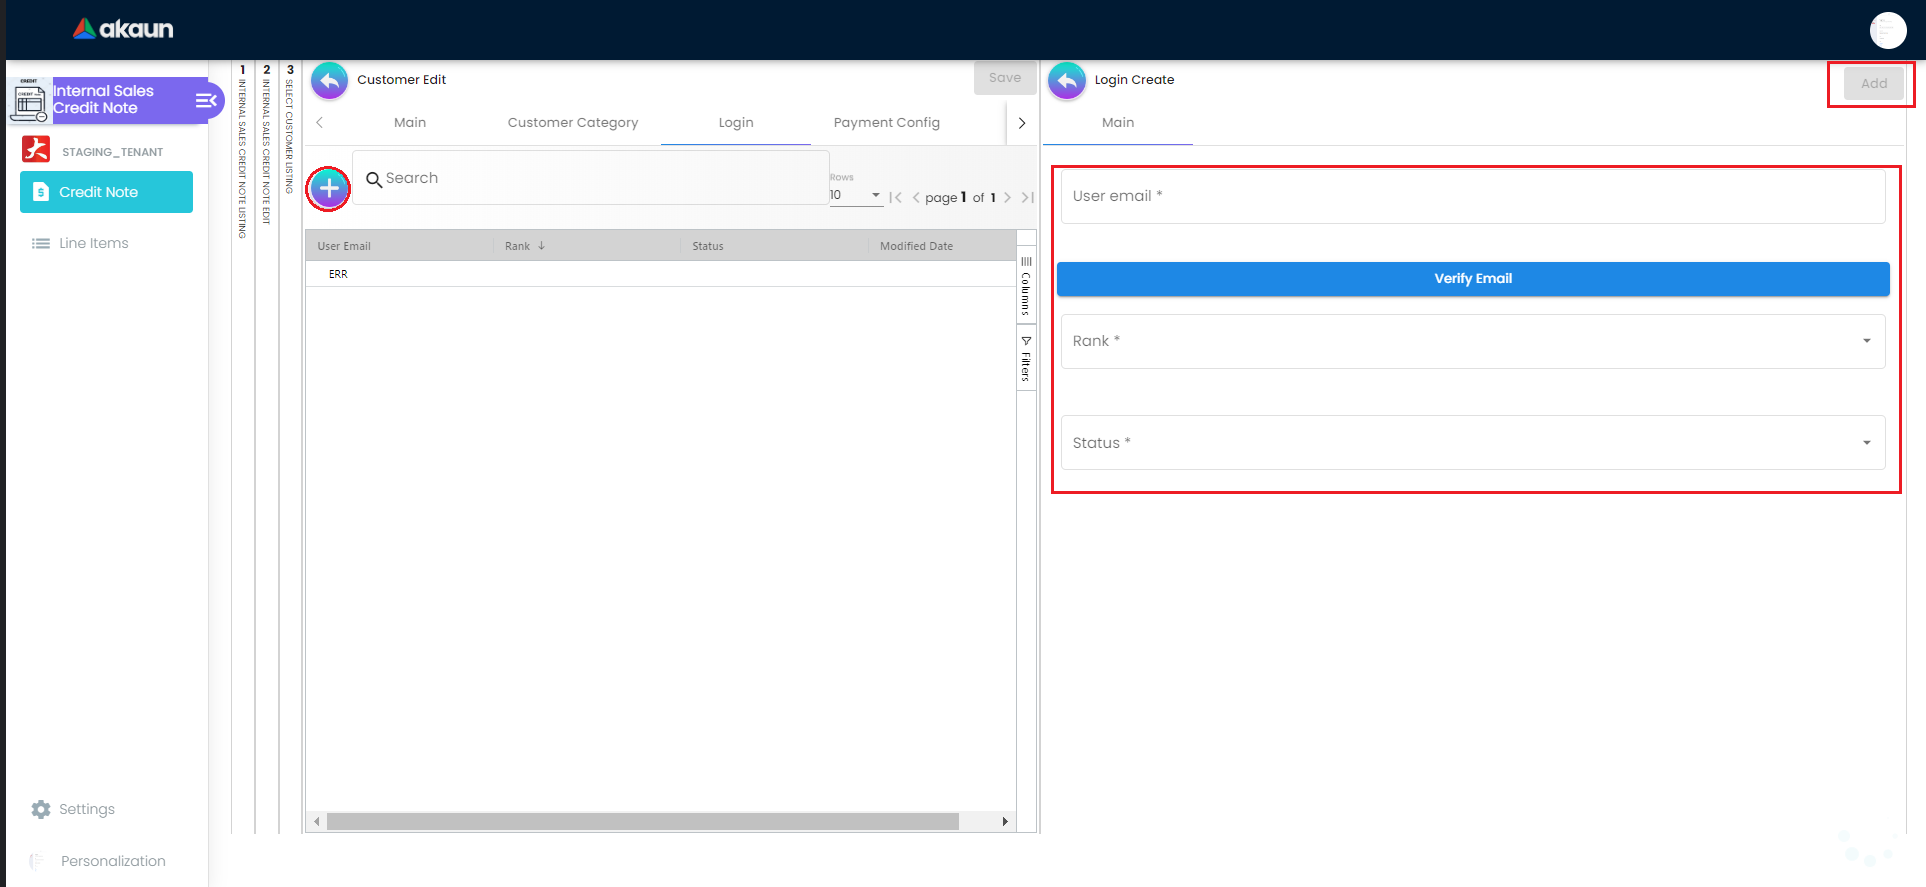
4.2.3 Login Tab
A list of logins can be viewed in this tab and Login Create page will be opened on the right side when the ‘+’ button is clicked.
In the Login Create page, all fields are compulsory to be filled and a verification email will be sent to the email address filled in the User email field after clicking on the ‘Verify Email’ button.

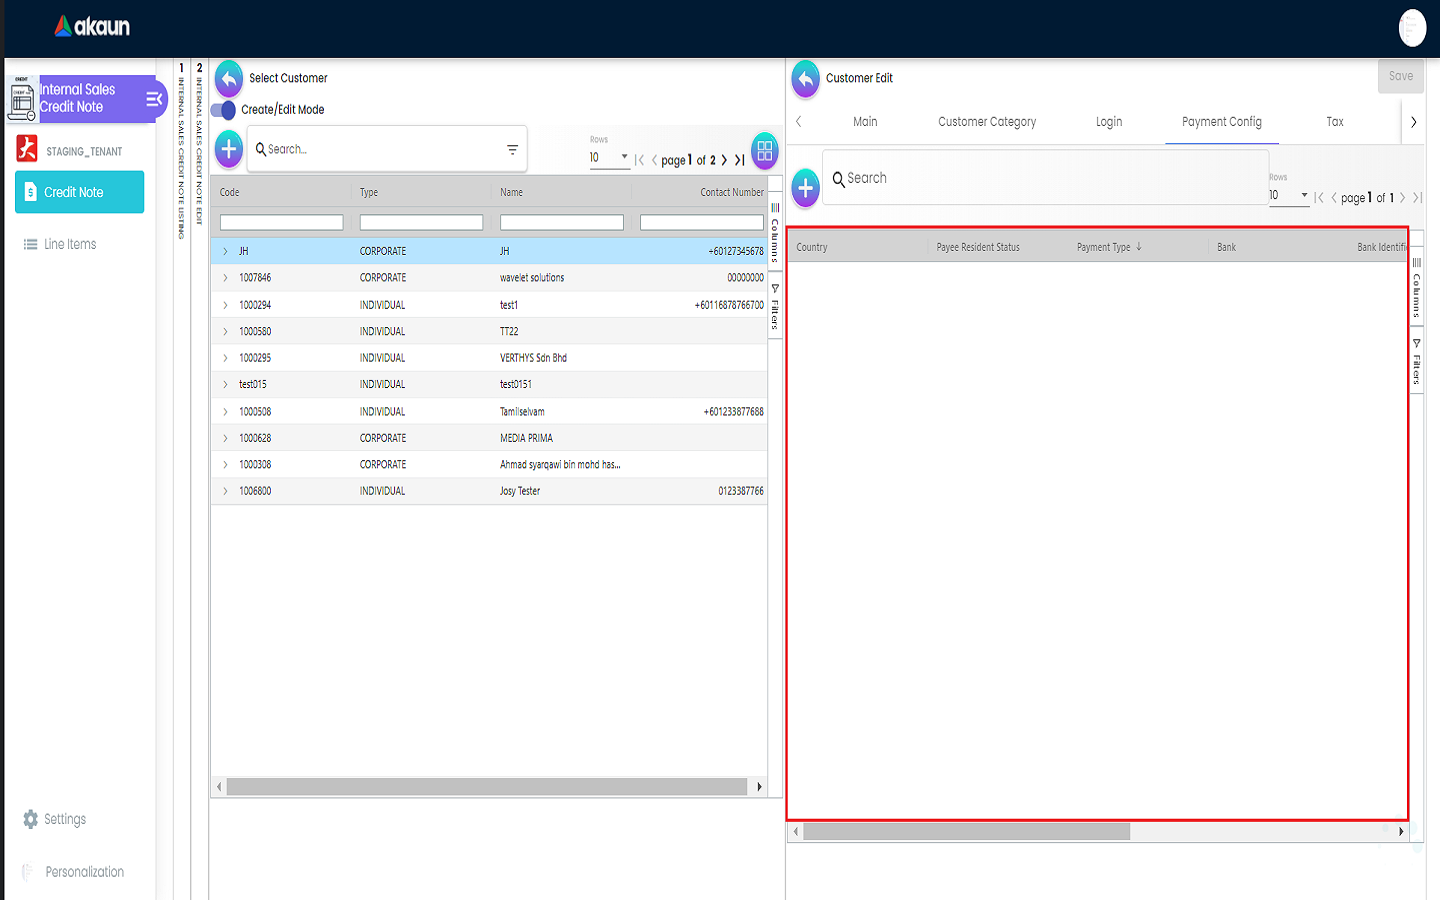
4.2.4 Payment Config Tab
A list of payment config can be viewed in this tab with the information like:
-
Country
-
Payee Resident Status
-
Payment Type
-
Bank
-
Bank Identifier Code
-
Bank Acc. No.
-
Bank Acc. Holder Name
-
IBN No.
Payment Config Create page will be opened on the right side once the ‘+’ button is clicked.
Users are required to fill in all the compulsory fields to complete the creation process. After filling up the compulsory information, please click the ‘Add’ button to add a new payment config.
Compulsory Information:
-
Payee Residential Status (Only have Resident or Non-Resident)
-
Payment Type (Can add new Payment Type in Cashbook Applet)
-
Country
-
Other fields are optional

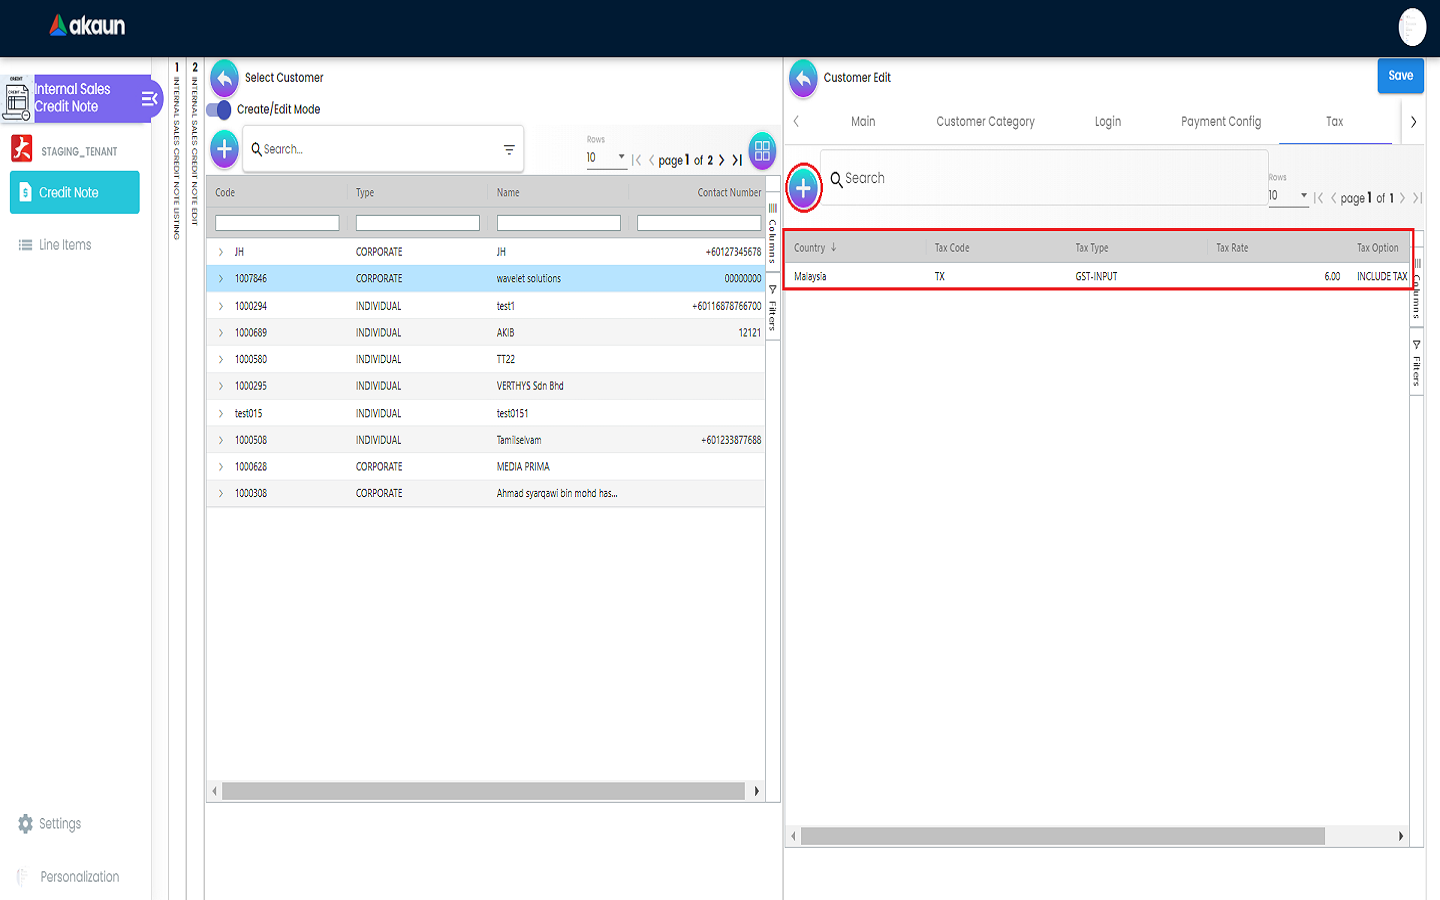
4.2.5 Tax Tab
A list of tax can be viewed in this tab.
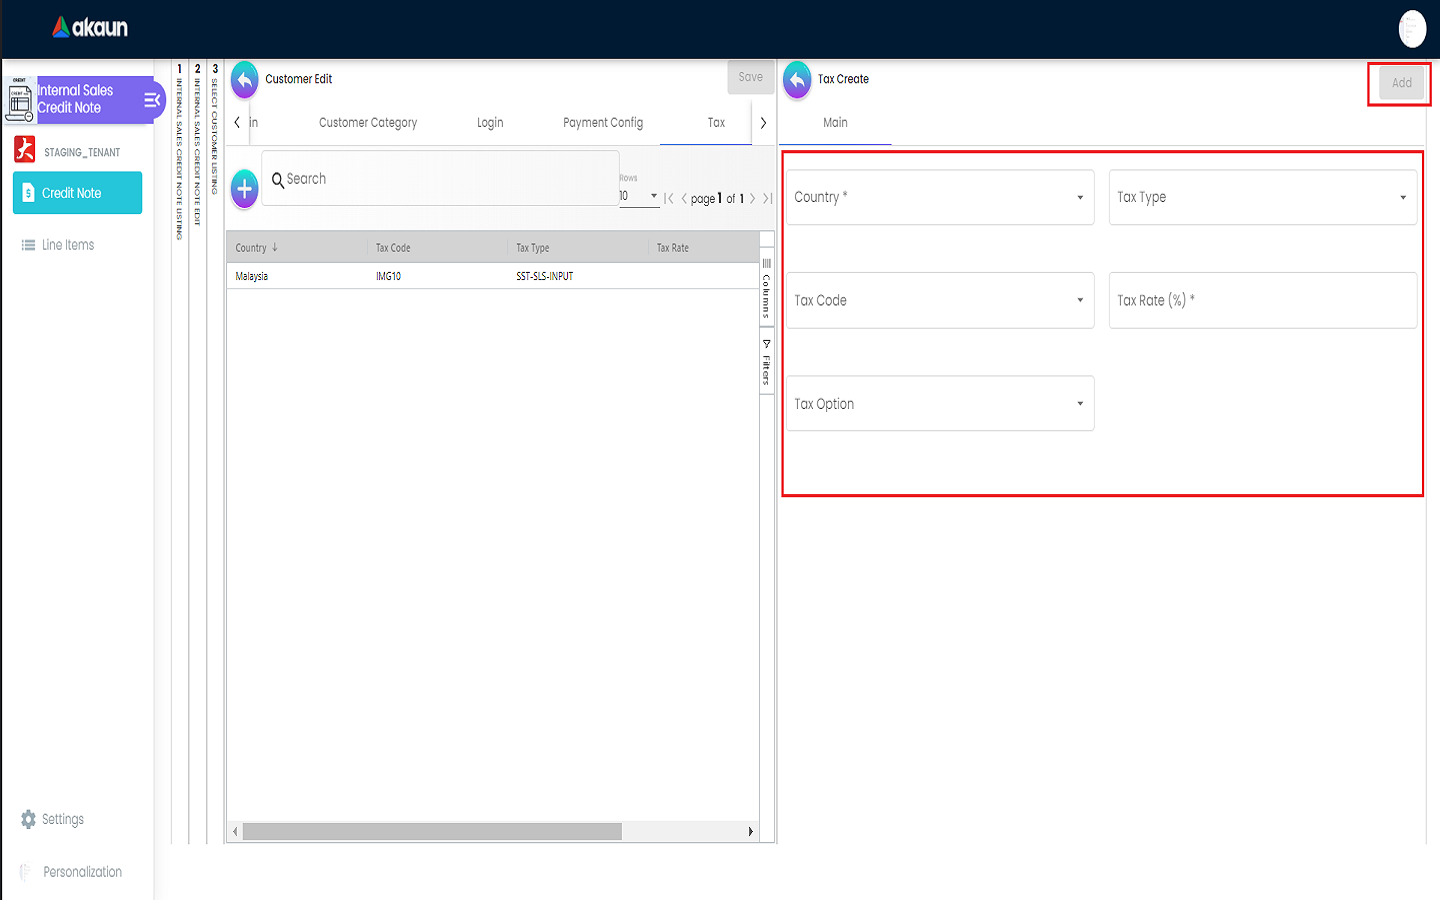
Tax Create page will be opened on the right side once the ‘+’ button is clicked.
Users are required to fill in all the compulsory fields to complete the creation process. After filling up the compulsory information, please click the ‘Add’ button to add a new tax.
Compulsory Information:
-
Country
-
Tax Type-Show based on the Country selected
-
Tax Code-Show based on the Tax Type selected
-
Tax Rate-Auto show based on the Tax Code selected
-
Tax Option-Have Include Tax and Exclude Tax Options
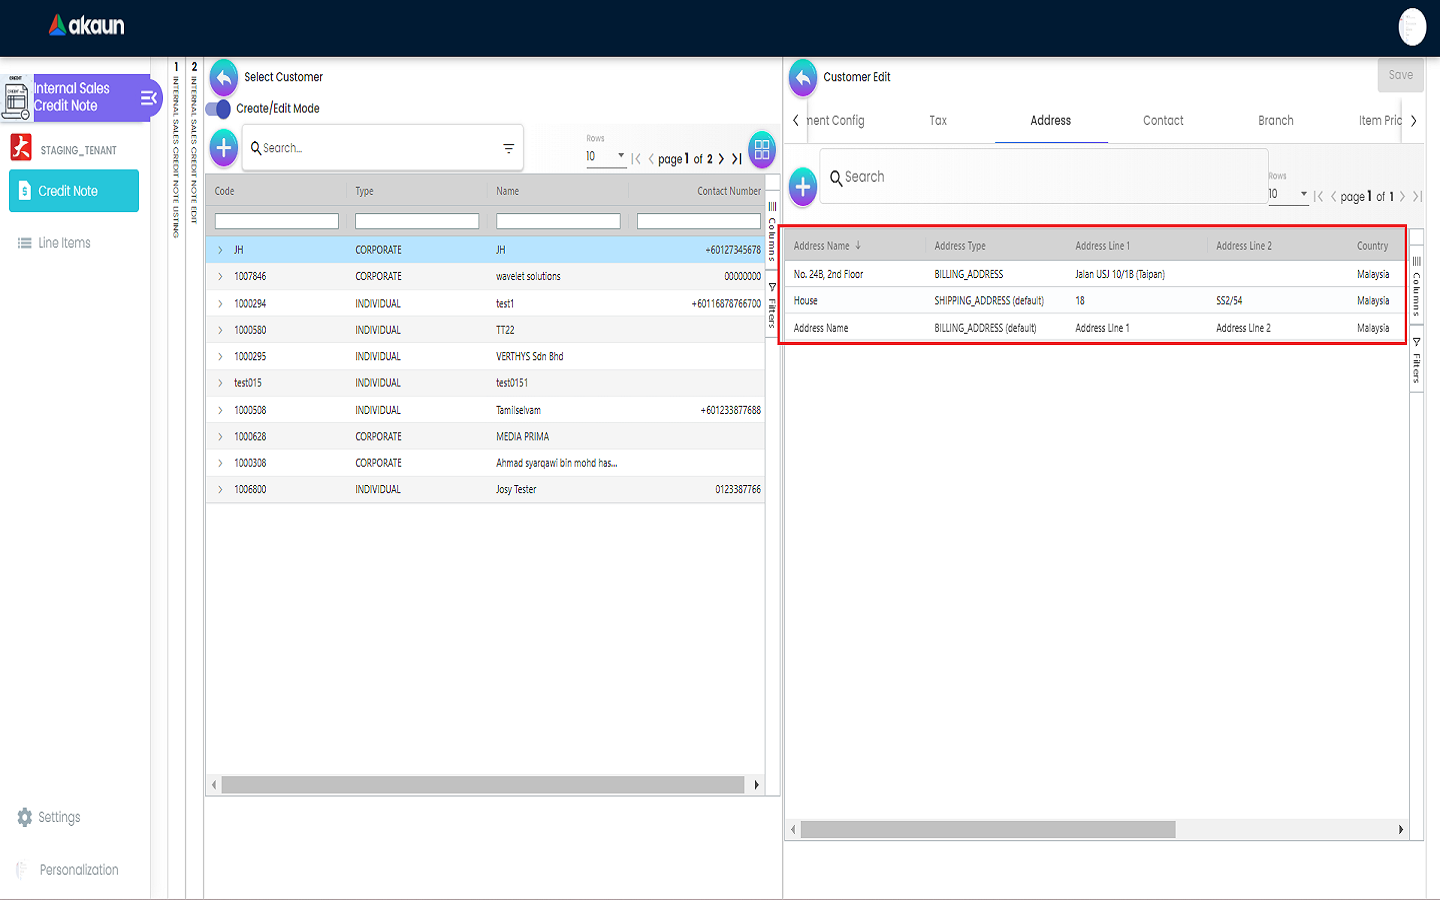
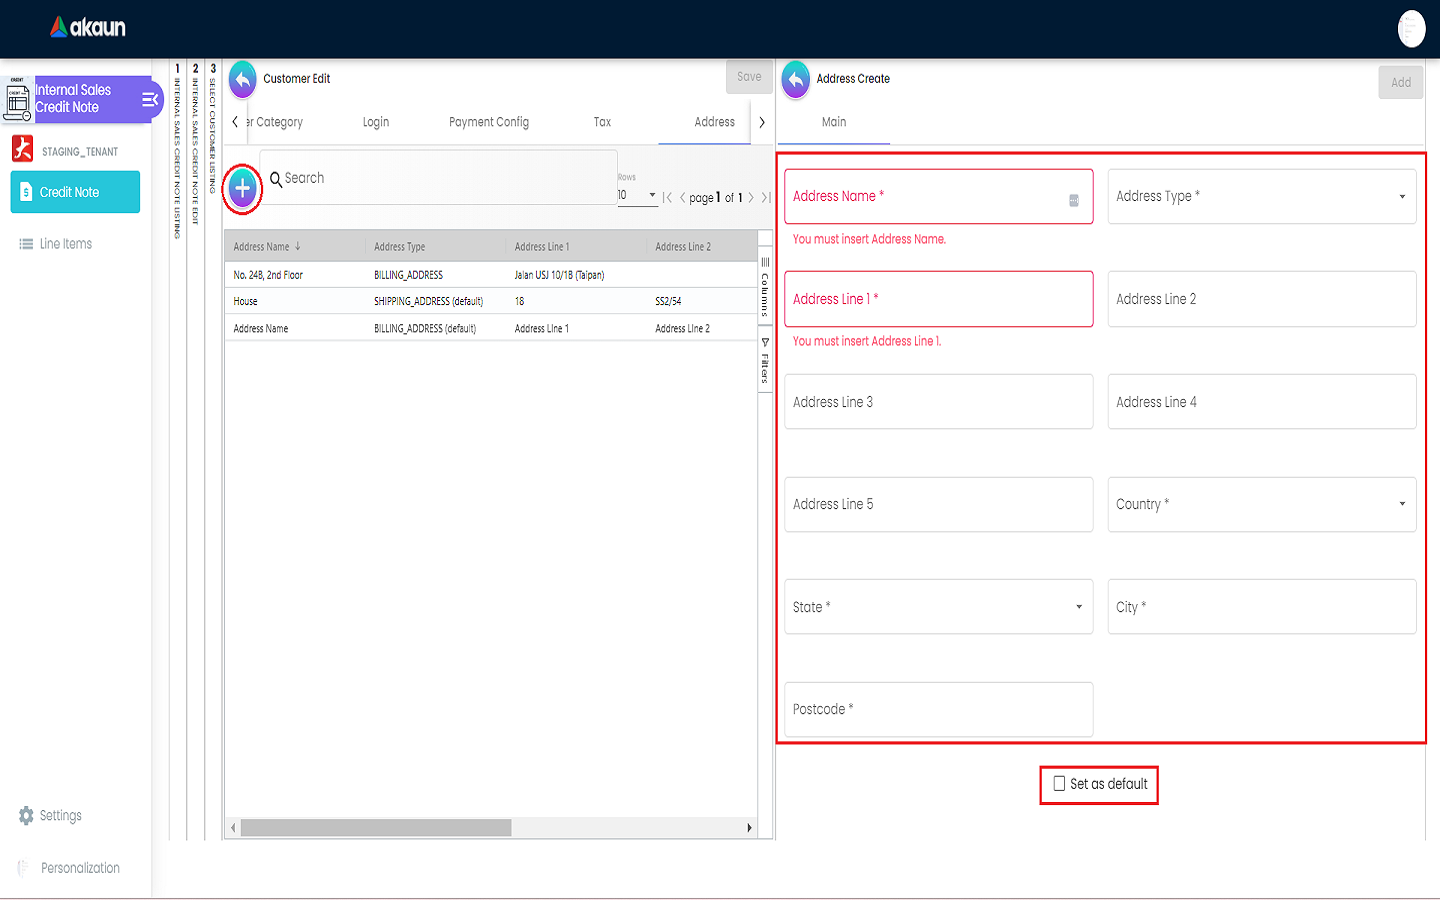
4.2.6 Address Tab
A list of addresses can be viewed in this tab.
Address Create page will be opened on the right side once the ‘+’ button is clicked.
Users are required to fill in all the compulsory fields to complete the creation process. After filling up the compulsory information, please click the ‘Add’ button to add a new address.
Compulsory Information: a. Address Name b. Address Type c. Address Line 1 d. Address Line 2 e. Address Line 3 f. Address Line 4 g. Address Line 5 h. Country i. State j. City k. Postcode
Users can tick on ‘Set as default’ for future default use.
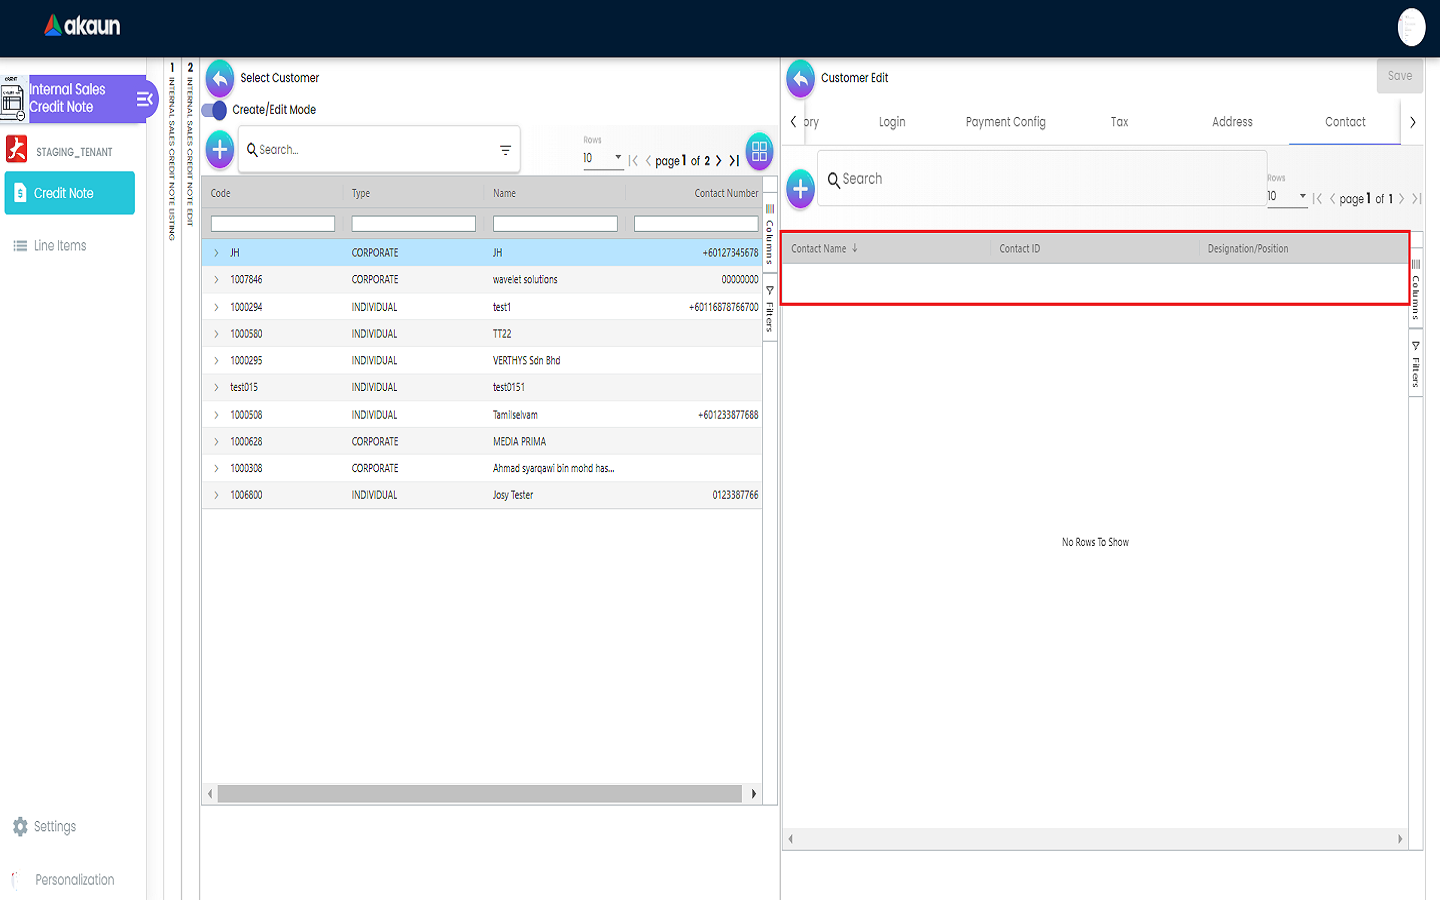
4.2.7 Contact Tab
A list of contact can be viewed in this tab.
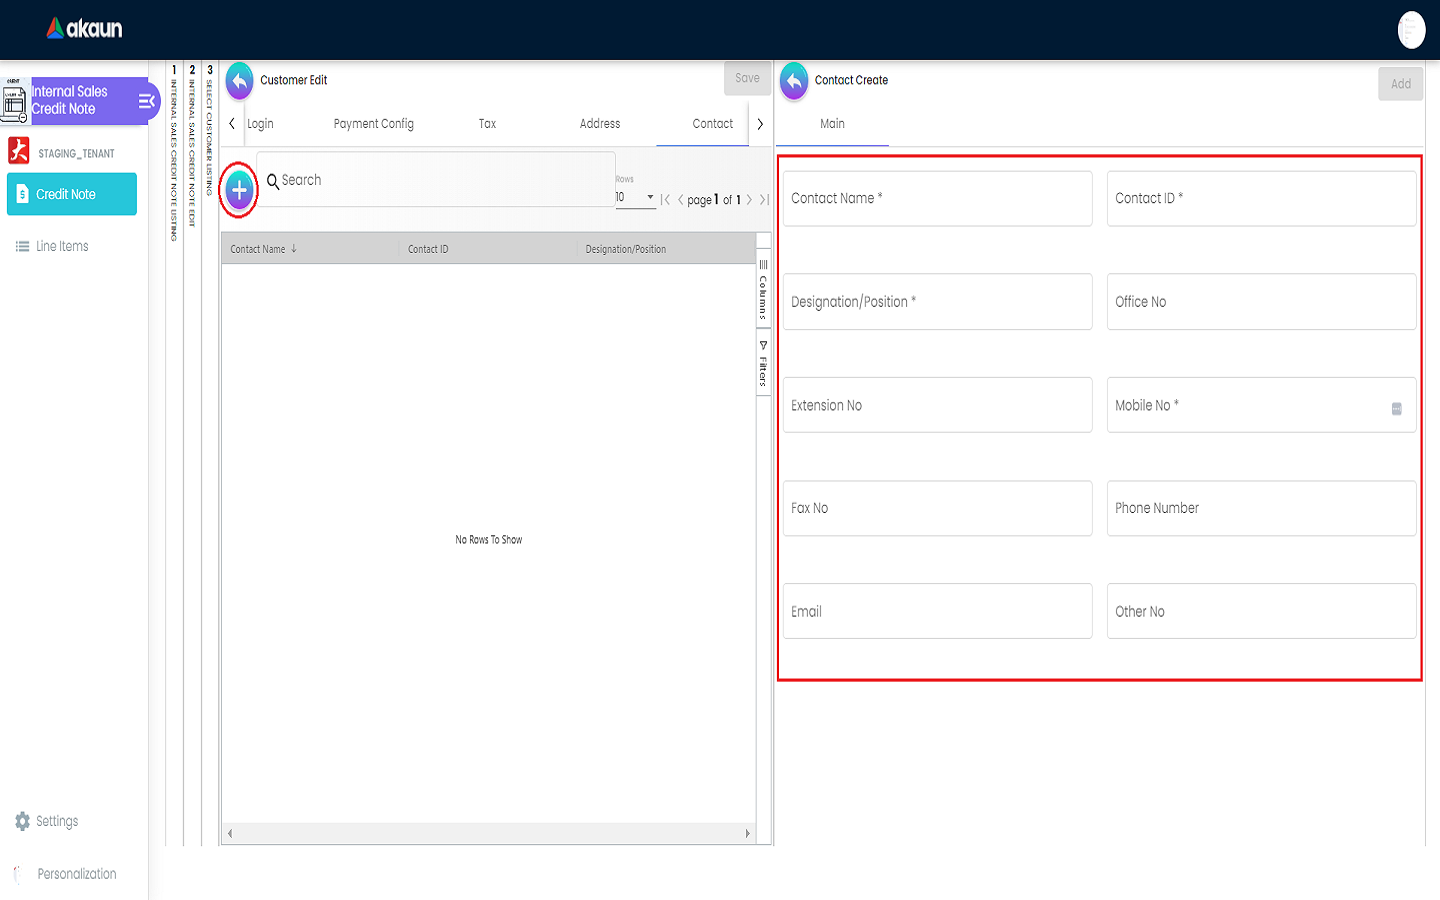
Contact Create page will be opened on the right side once the ‘+’ button is clicked.
Users are required to fill in all the compulsory fields to complete the creation process. After filling up the compulsory information, please click the ‘Add’ button to add a new contact.
Compulsory Information: a. Contact Name b. Contact ID c. Designation/Position d. Office No e. Extension No f. Mobile No g. Fax No h. Phone Number i. Email j. Other No
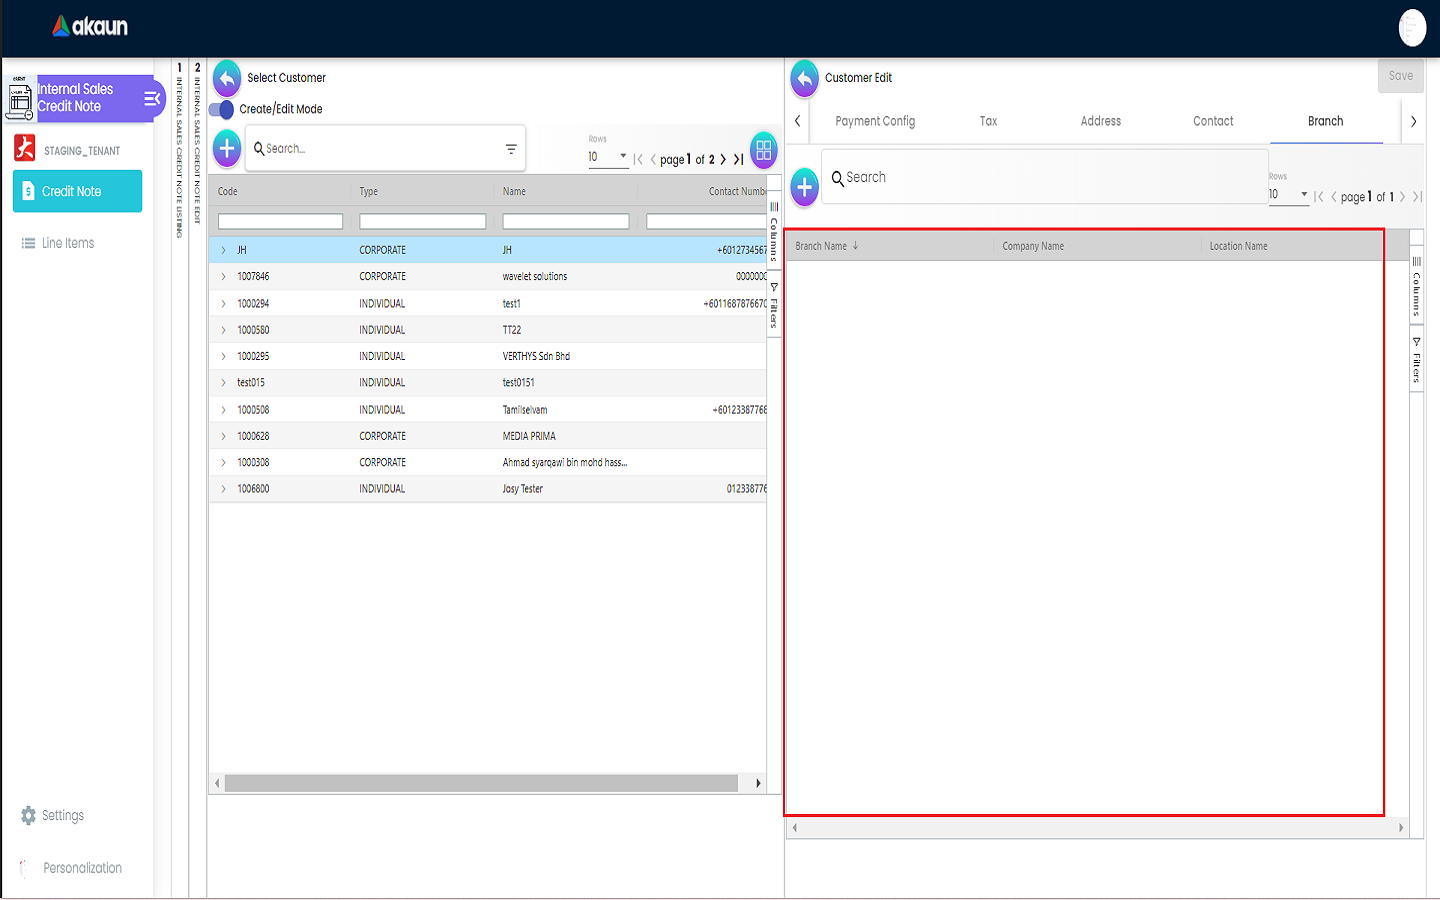
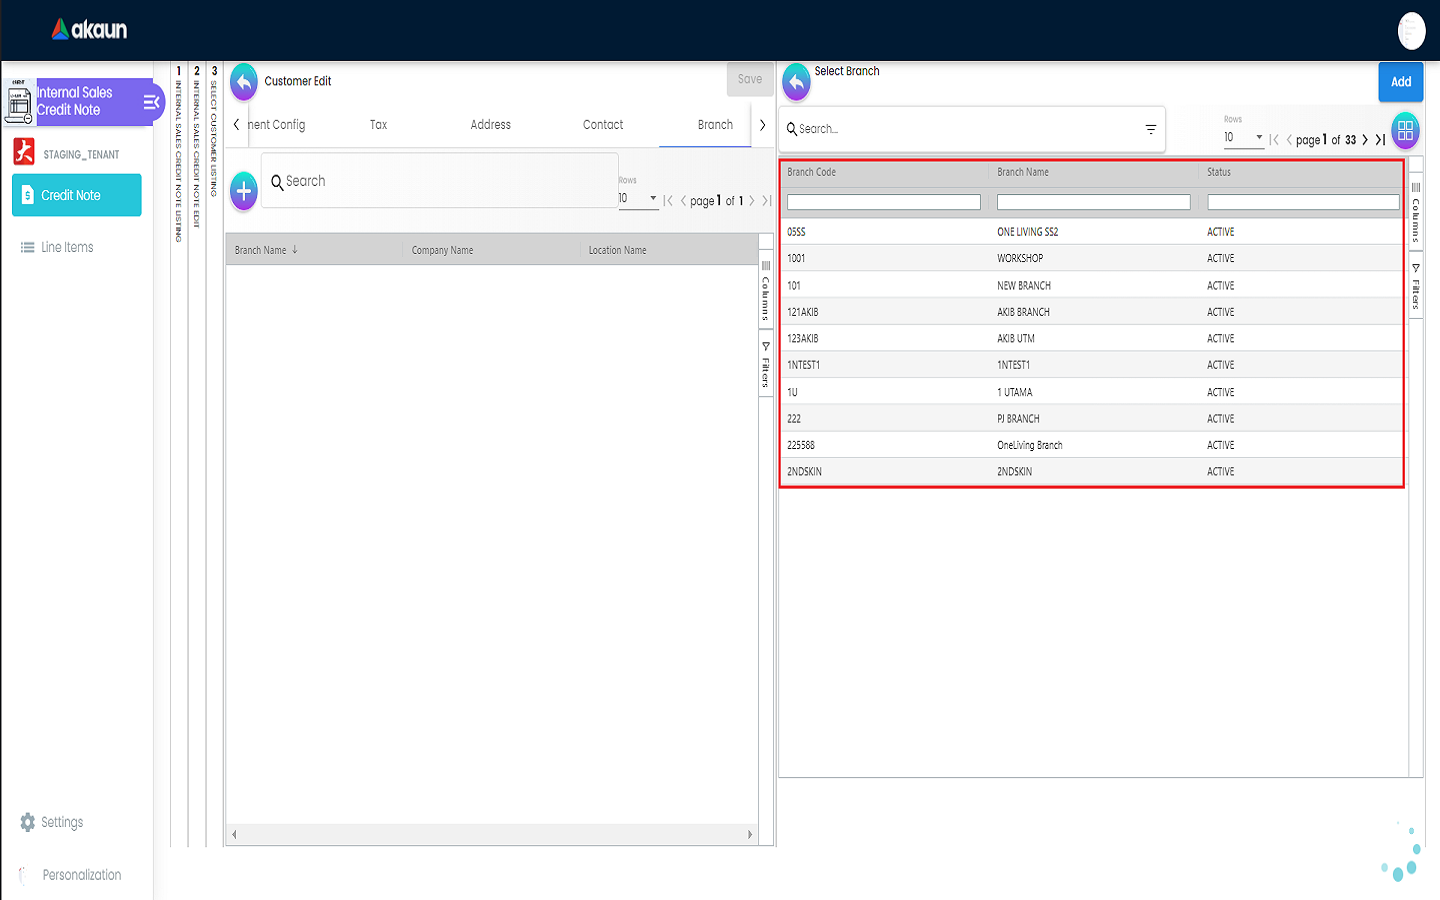
4.2.8 Branch Tab
A list of branches can be viewed in this tab.
Select Branch page will be opened on the right side once the ‘+’ button is clicked.
Users can select the branch and then click the ‘Add’ button to add the branch.
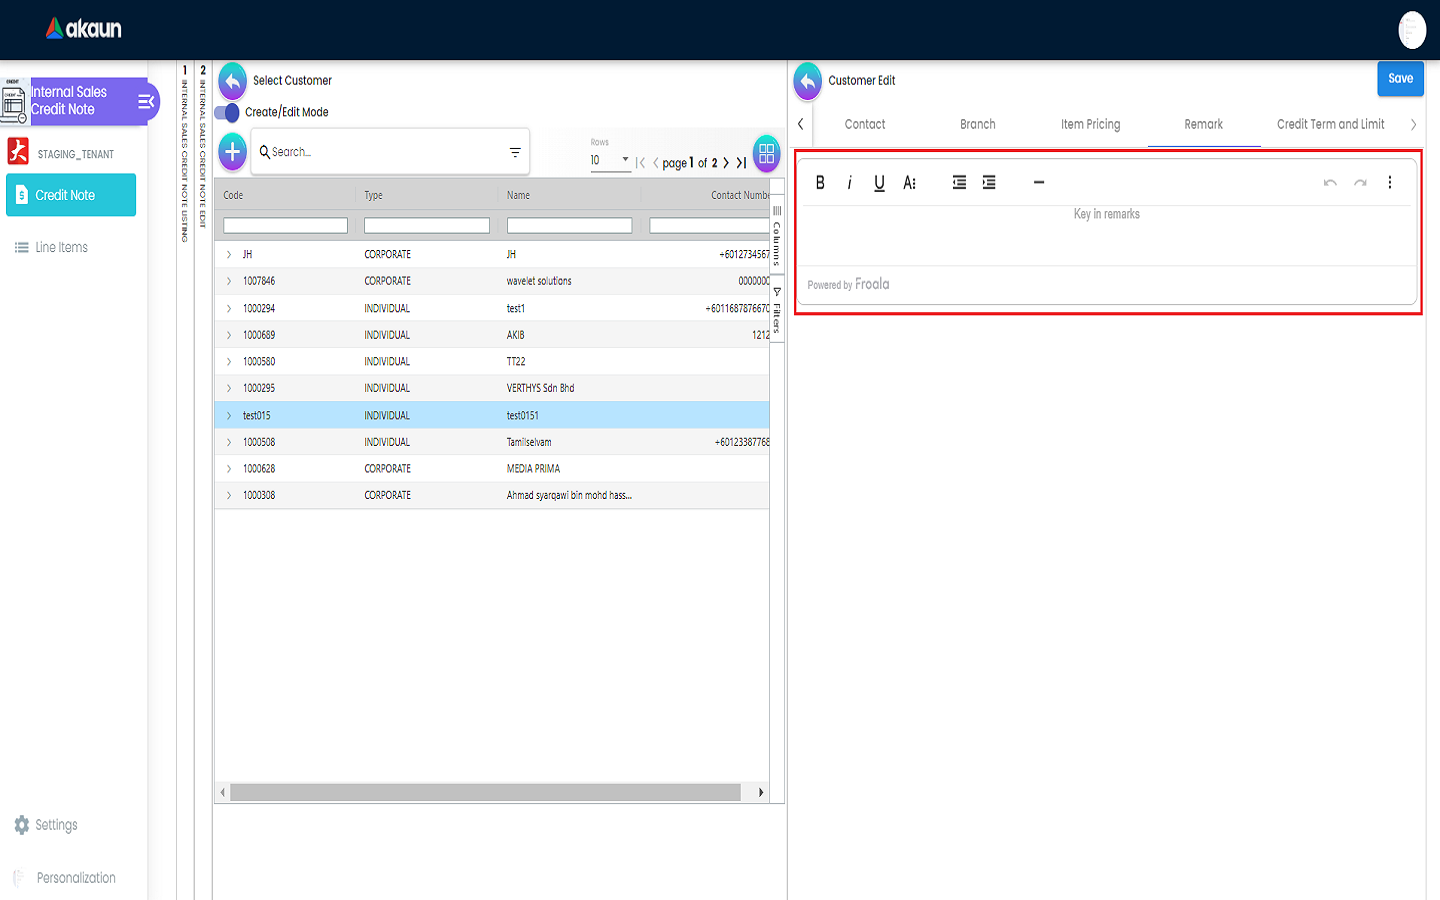
4.2.10 Remark Tab
Users can type in their remark and then click the ‘Save’ button to save the changes.
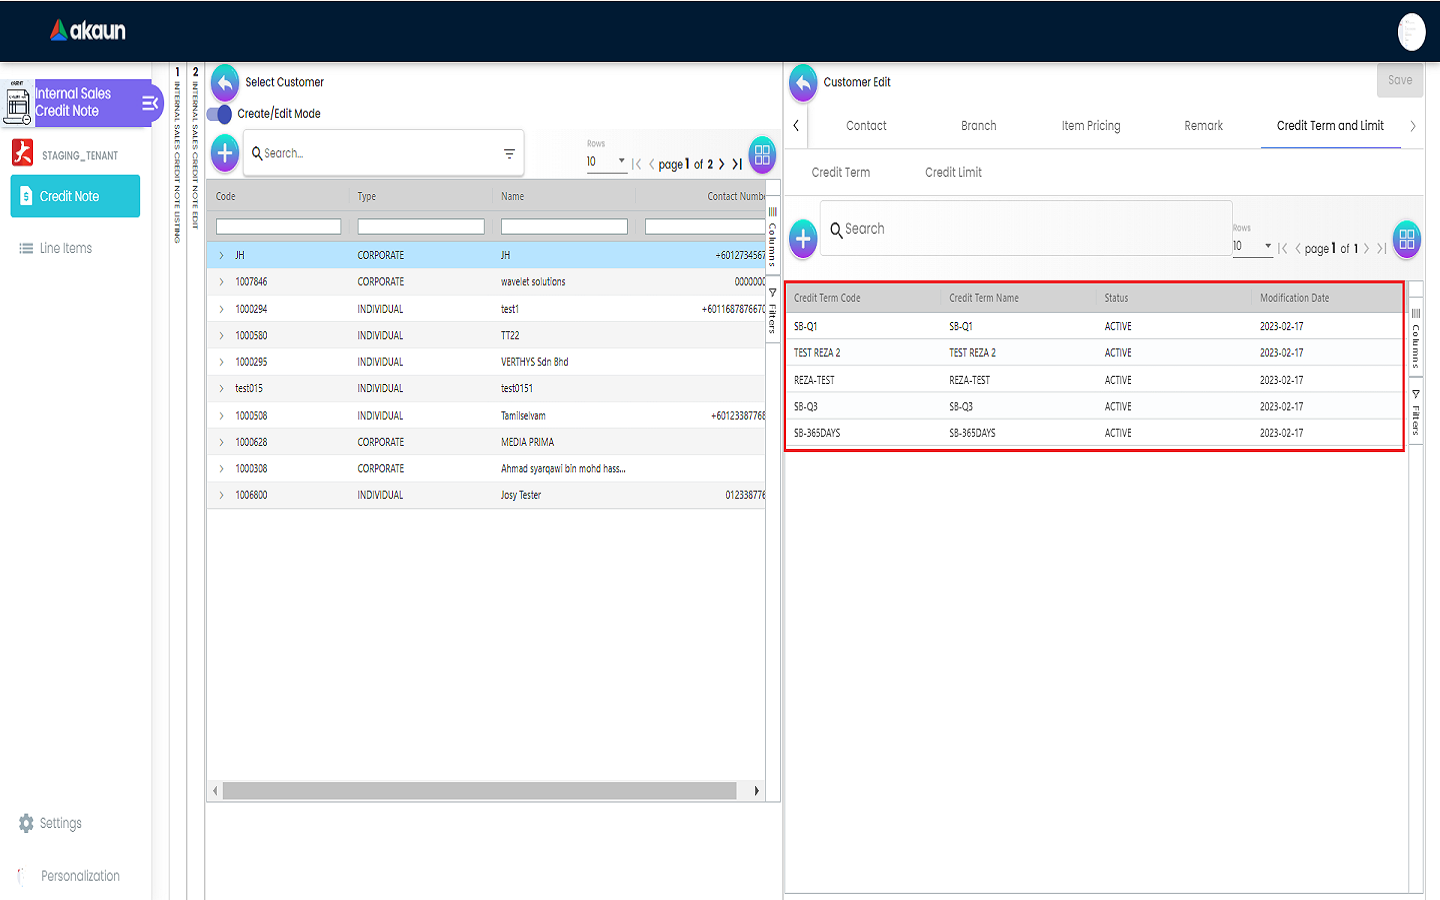
4.2.11 Credit Term and Limit Tab
4.2.11.1 Credit Term Tab
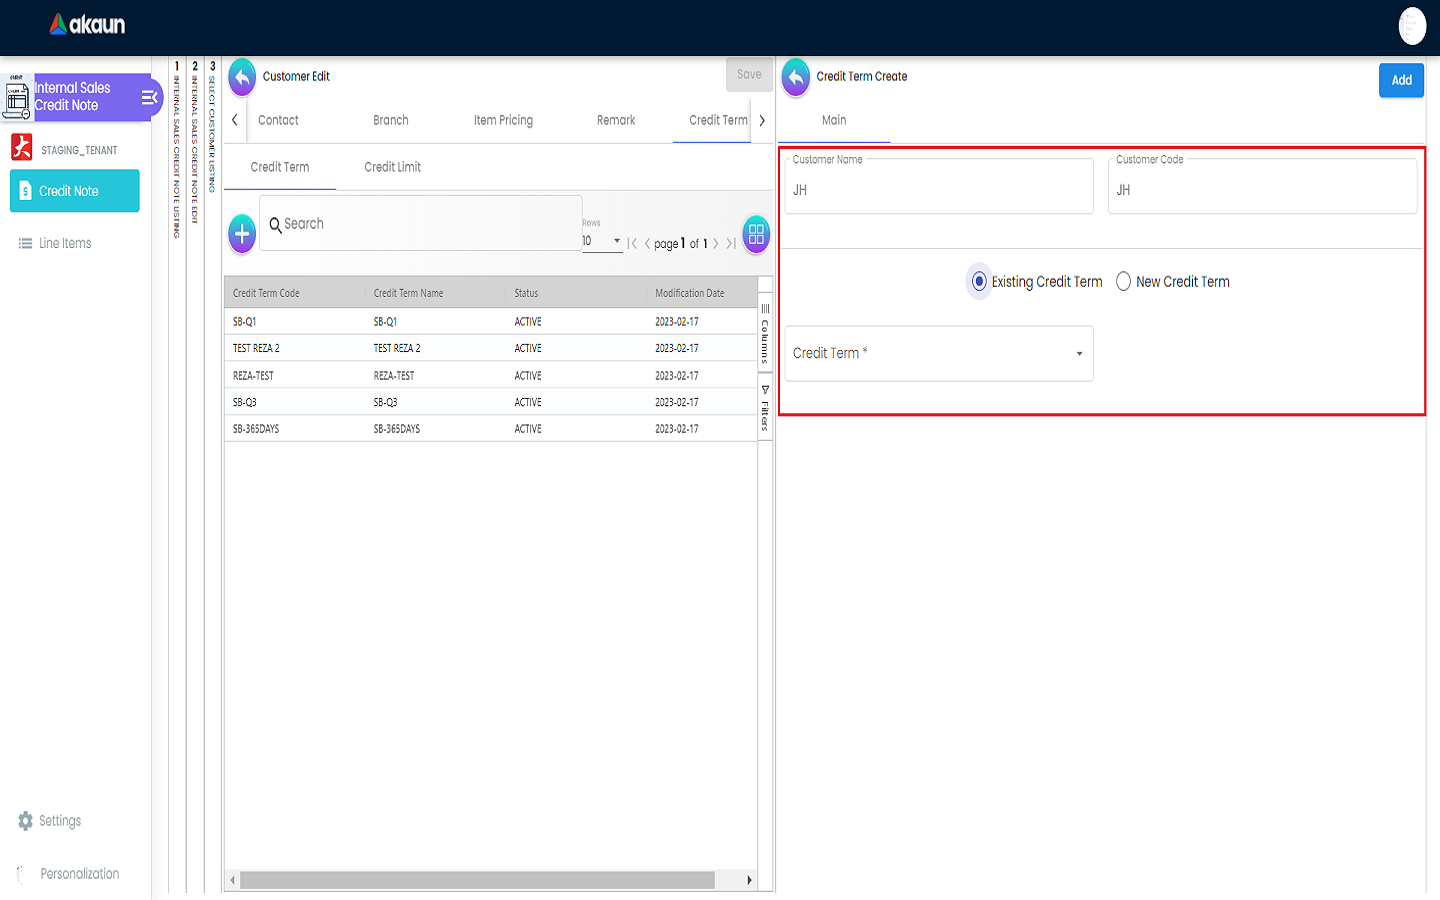
A list of credit terms can be viewed in this tab.
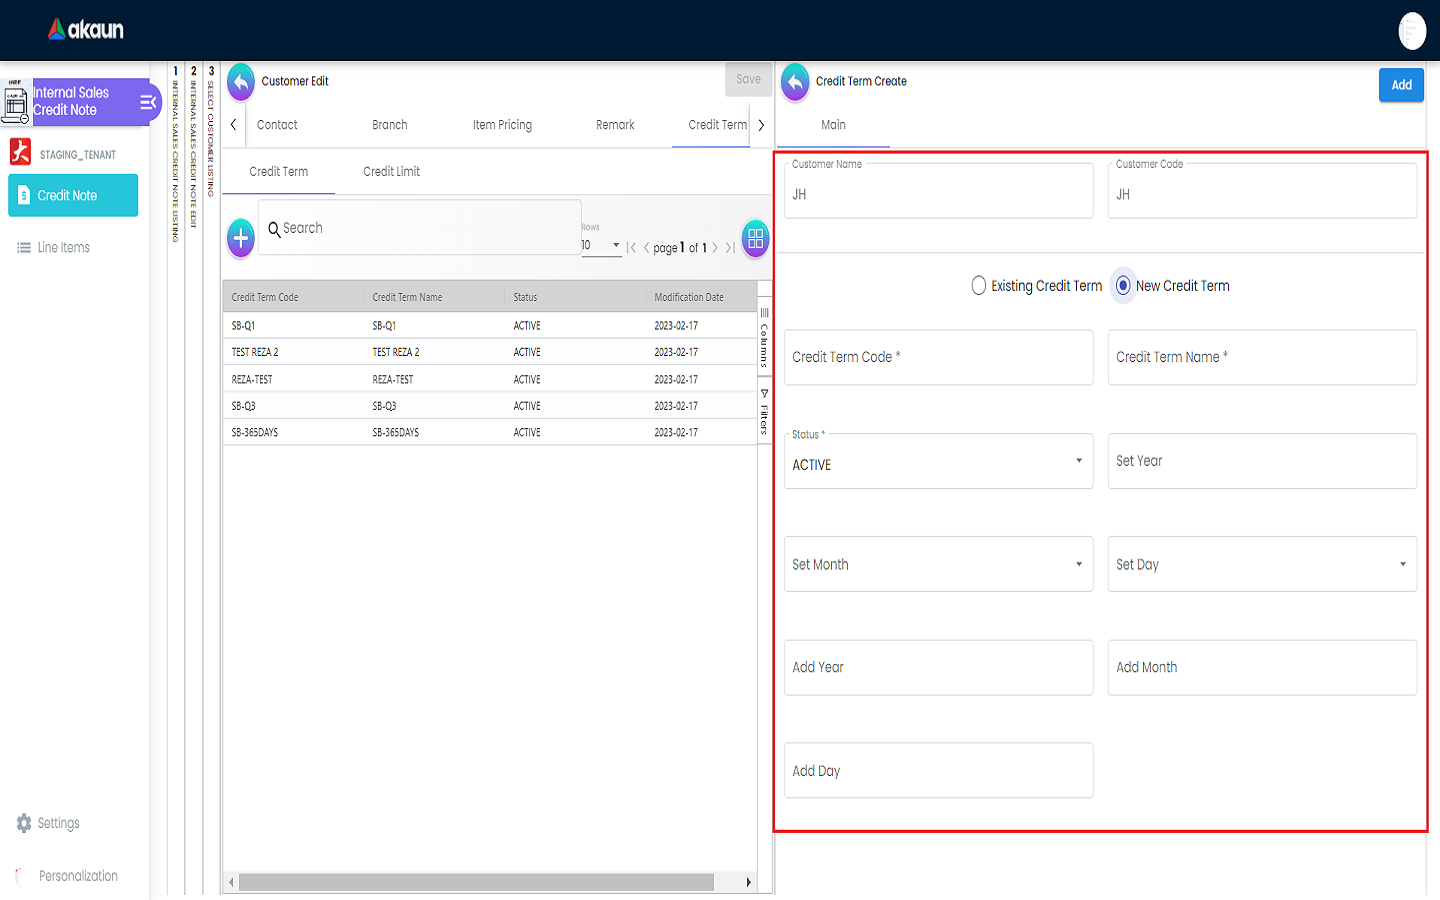
Credit Term Create page will be opened on the right side once the ‘+’ button is clicked.
4.2.11.1.1 New Credit Term
Users are required to fill in all the compulsory fields to complete the creation process. After filling up the compulsory information, please click the ‘Add’ button to add a new contact.
Compulsory Information:
-
Credit Term Code
-
Credit Term Name
-
Status
-
Set Year
-
Set Month
-
Set Day
-
Add Year
-
Add Month
-
Add Day
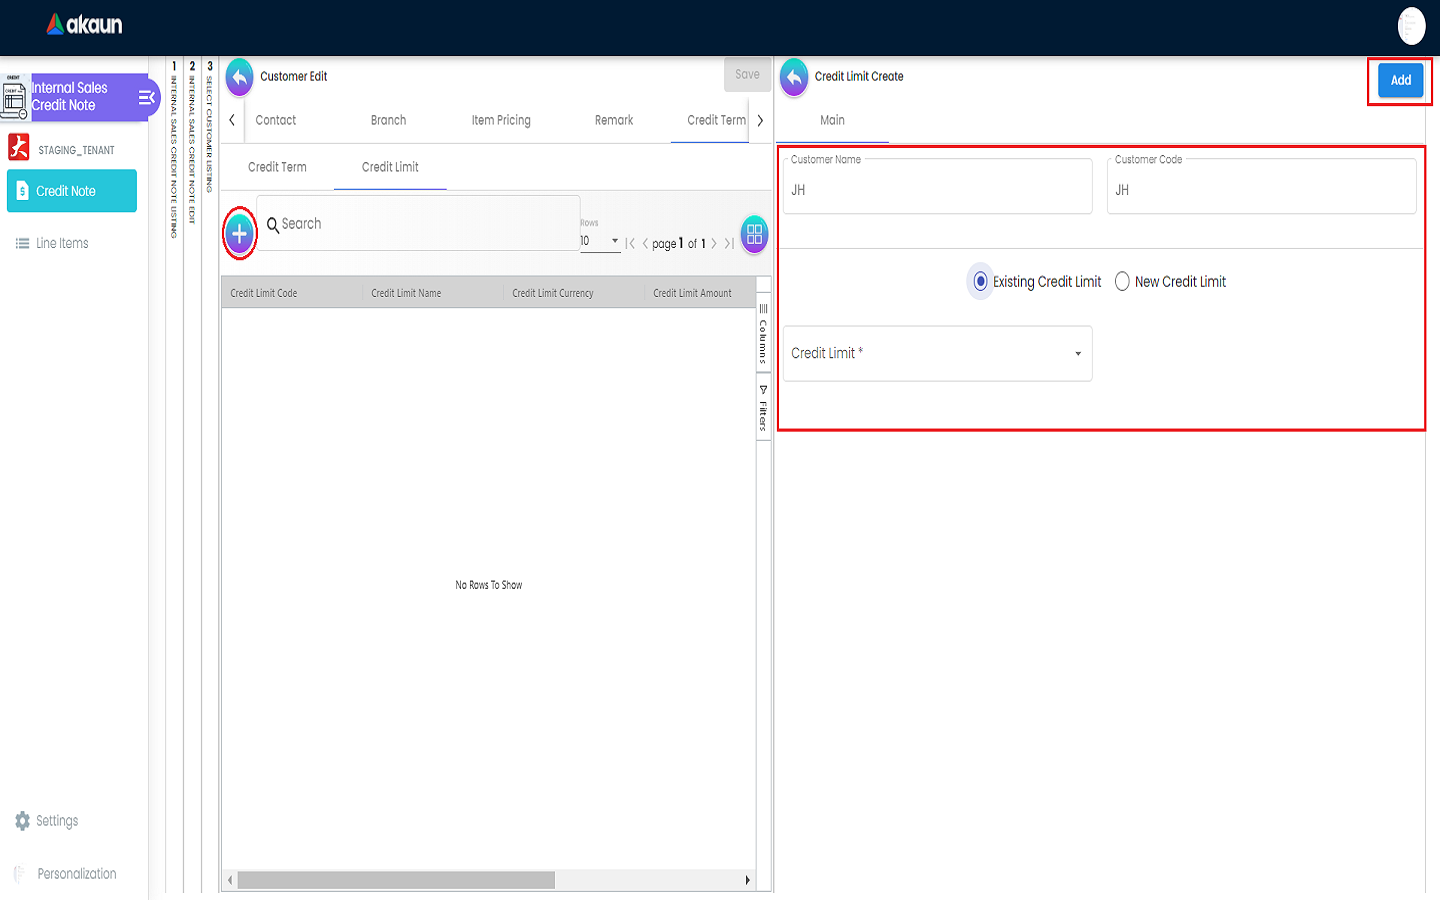
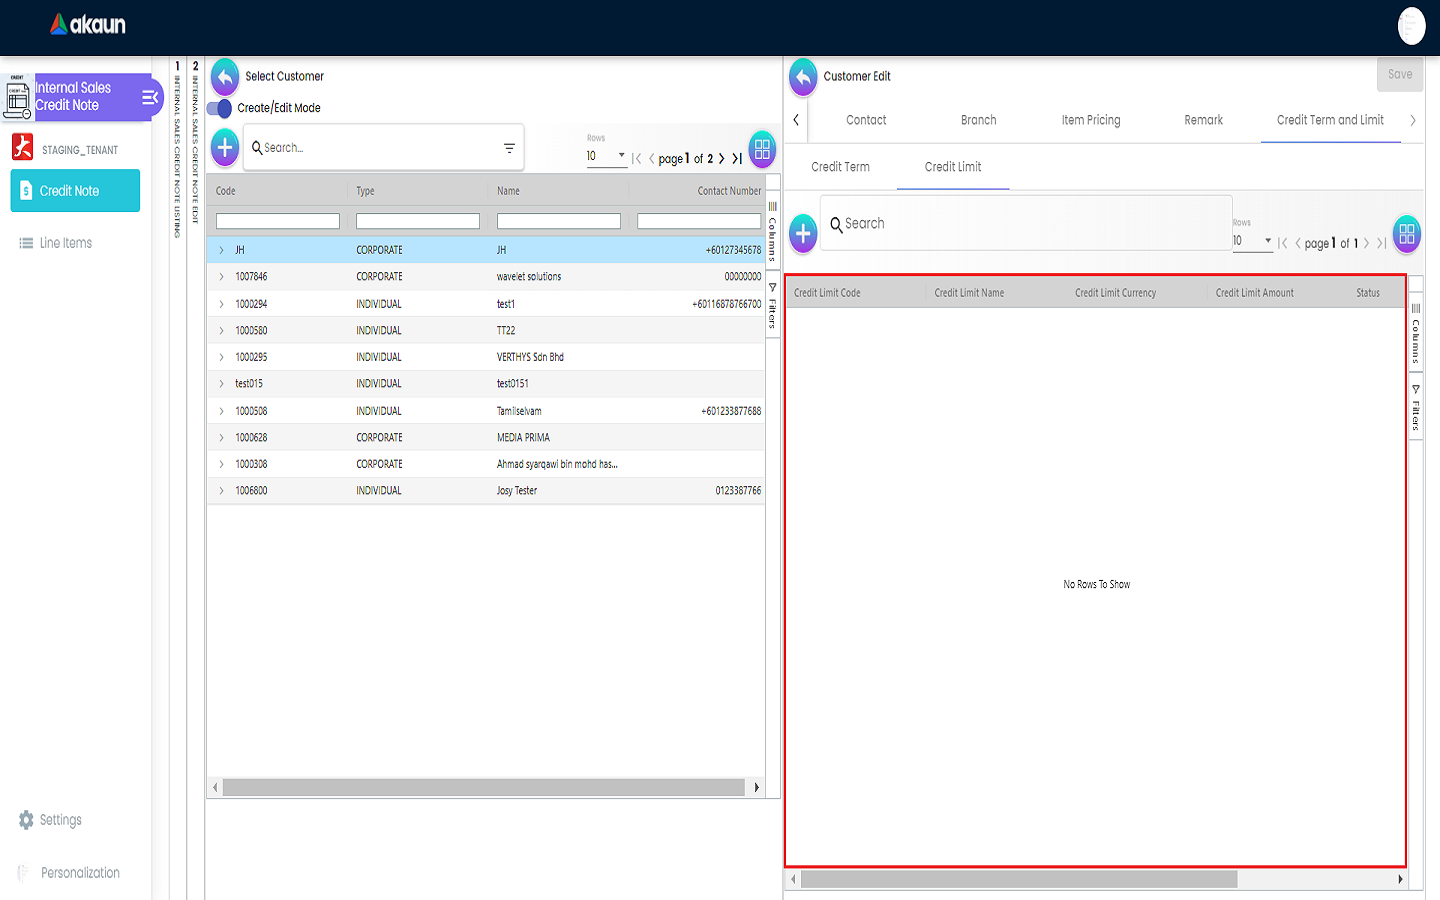
4.2.11.2 Credit Limit Tab
A list of credit limits can be viewed in this tab.
Credit Limit Create page will be opened on the right side once the ‘+’ button is clicked.
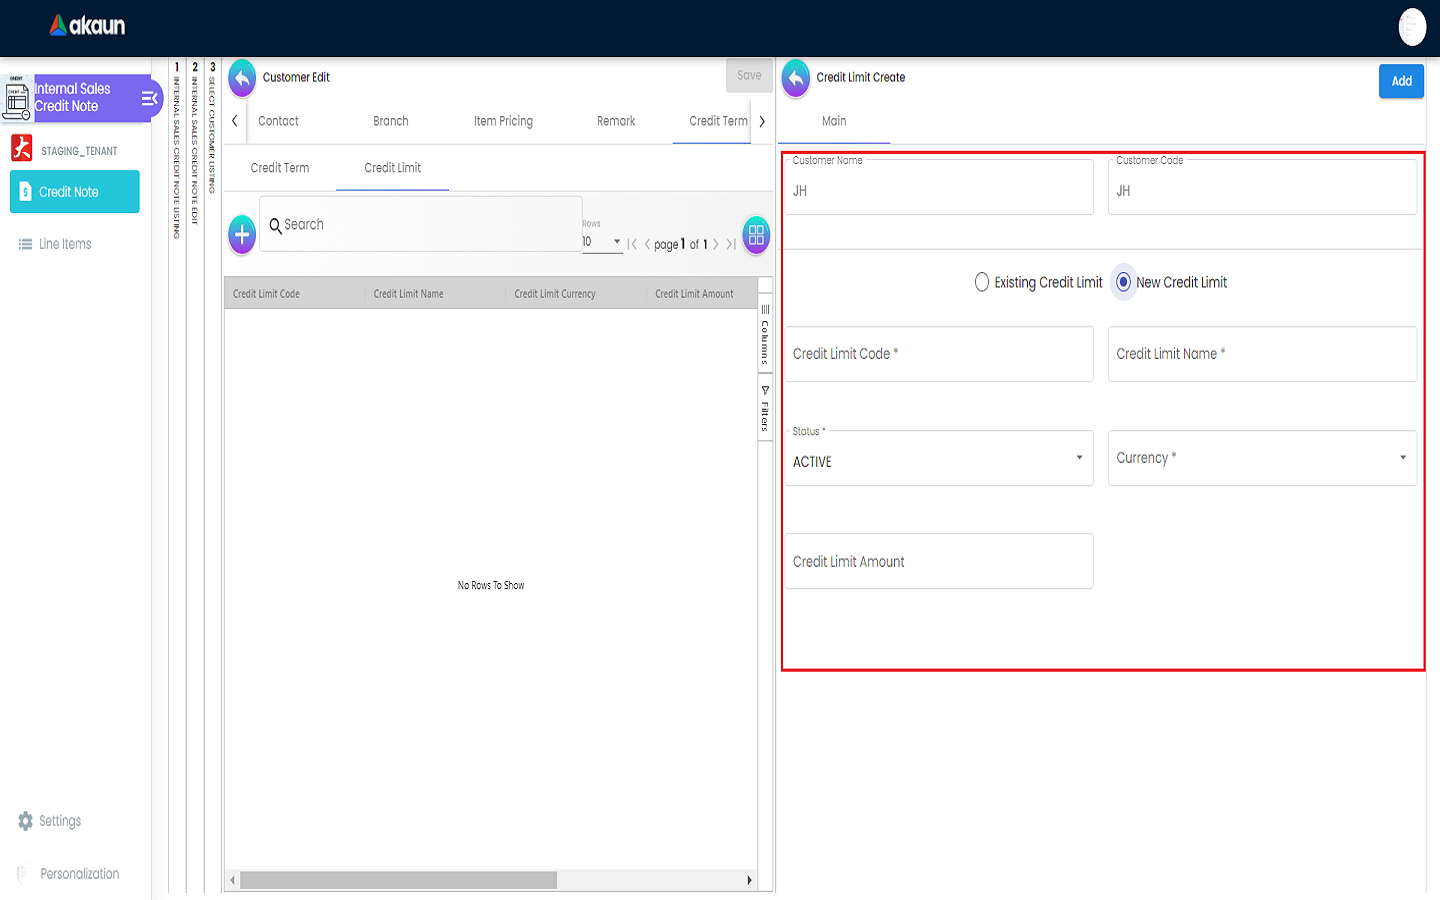
4.2.11.2.1 New Credit Limit
Users are required to fill in all the compulsory fields to complete the creation process. After filling up the compulsory information, please click the ‘Add’ button to add a new contact.
Compulsory Information:
-
Credit Term Code
-
Credit Term Name
-
Status
-
Currency
-
Credit Limit Amount