2.0 Features
2.1 Inventory Items Listing
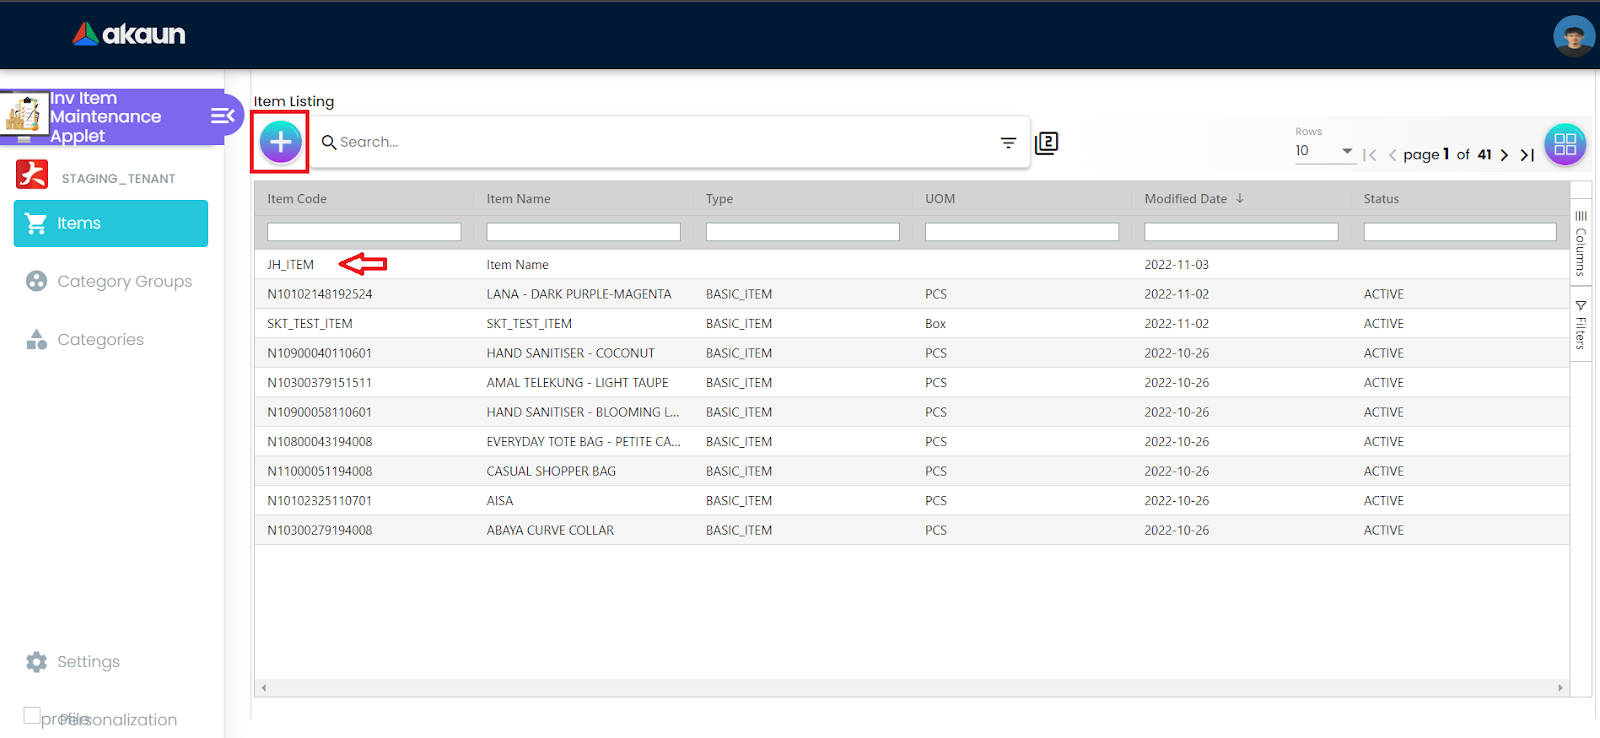
By default, users will land on the Inventory Items Listing page, users are able to create a new item by clicking on the “+” button, or edit an existing item by clicking on the specific row.
Alternatively using the sidebar, users are also able to reach the listing page by clicking on the “Items” icon.
2.1.1 Creating Items
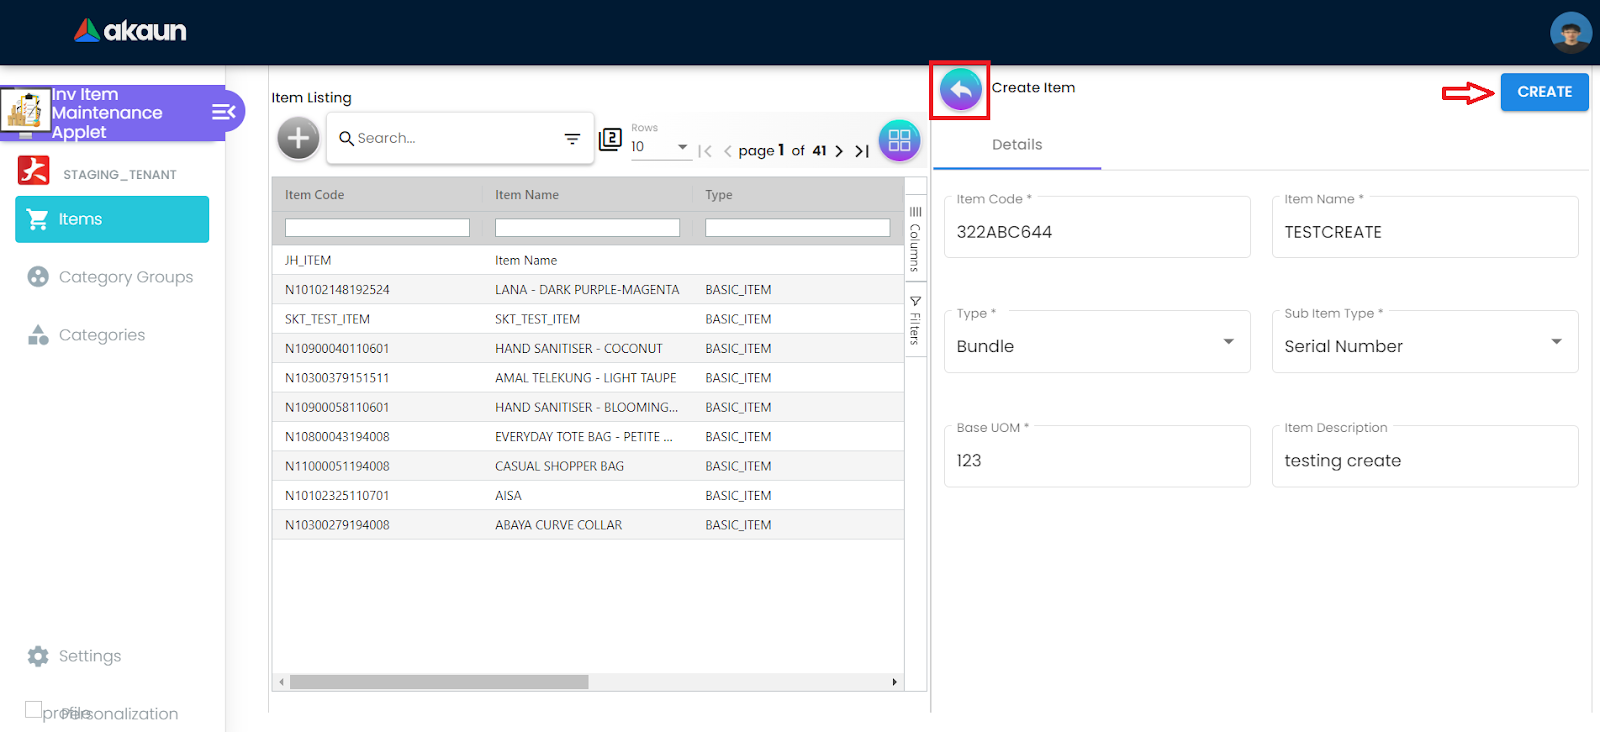
After clicking on the “+” button, users will initiate the create sequence. Here, the user needs to fill the required fields in order to complete the creation of an item. By clicking the “CREATE” button will finish the process, while the back button will terminate the creation process.
All the required fields are marked with “*”, indicating that it must be filled in to complete the item creation process.
2.1.2 Editing Items
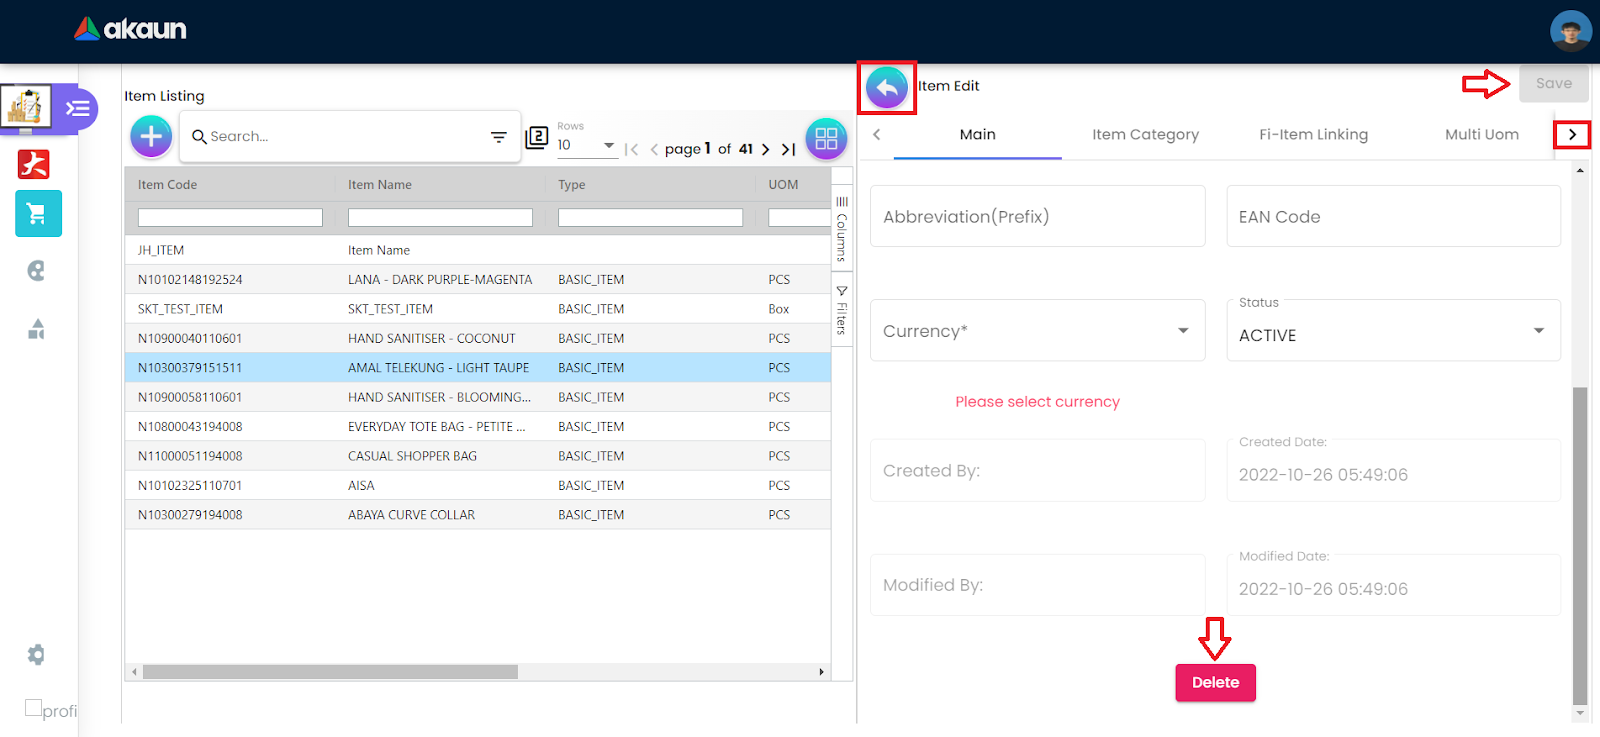
After clicking on the desired item row, the user will initiate the edit sequence. Here, different details of the item are displayed according to the tabs. Users by default will land on the “Main” tab. Changing any of the details will result in the “Save” button turning blue, indicating that it can be saved. Users can also exit the edit sequence by clicking the back button, discarding any changes.
By scrolling down the “Main” tab, users will find a “Delete” button, clicking on it will delete the item, removing it from the listing.
To navigate between the tabs, users can click the “>” button.
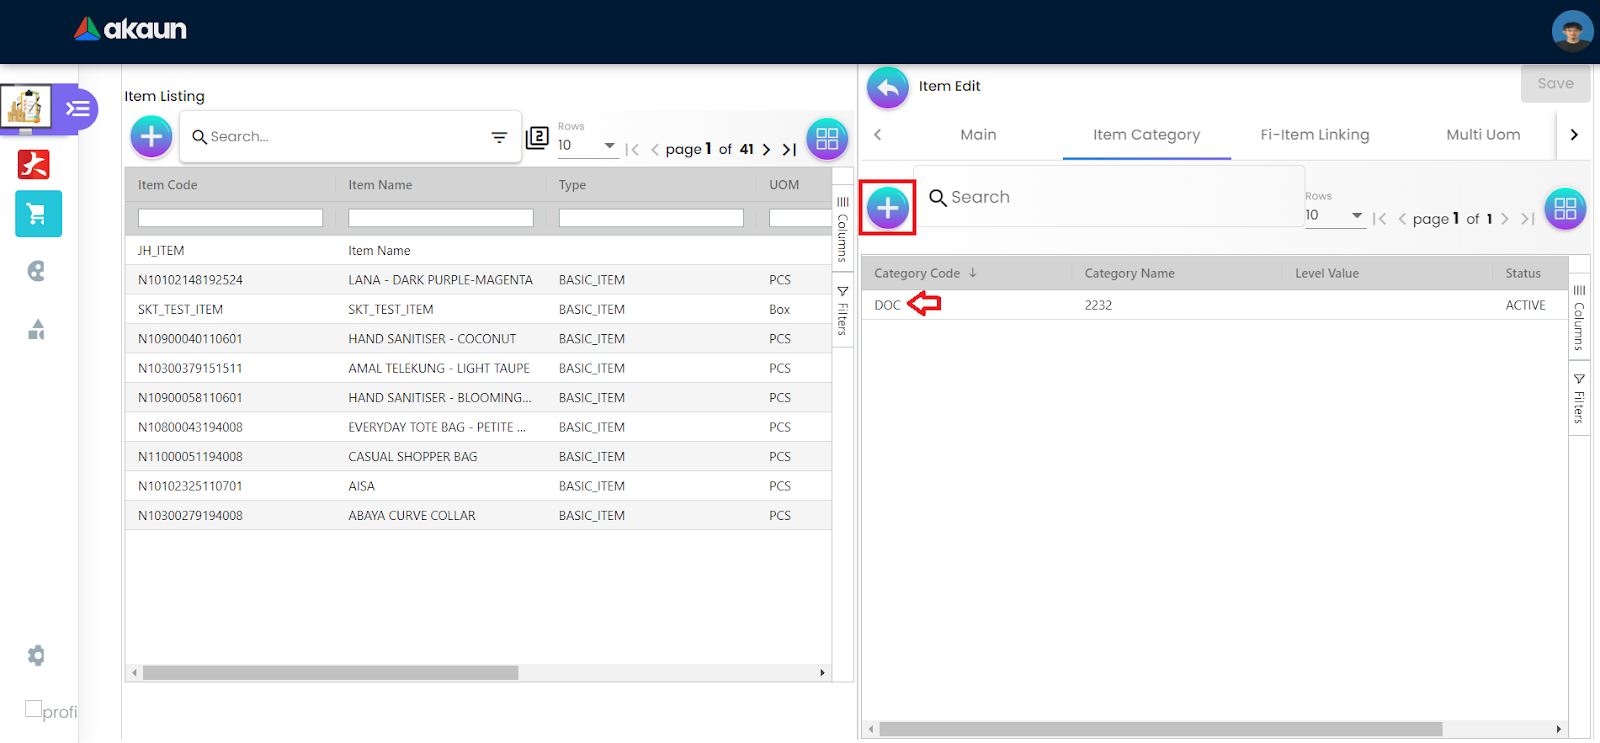
Certain tabs in this applet involve items from different listings, such as “Item Category” and “Fi-Item Linking”. To add an item category, the user will need to click on the “+” button, while to view the category details, the user simply needs to click on the specific item row.
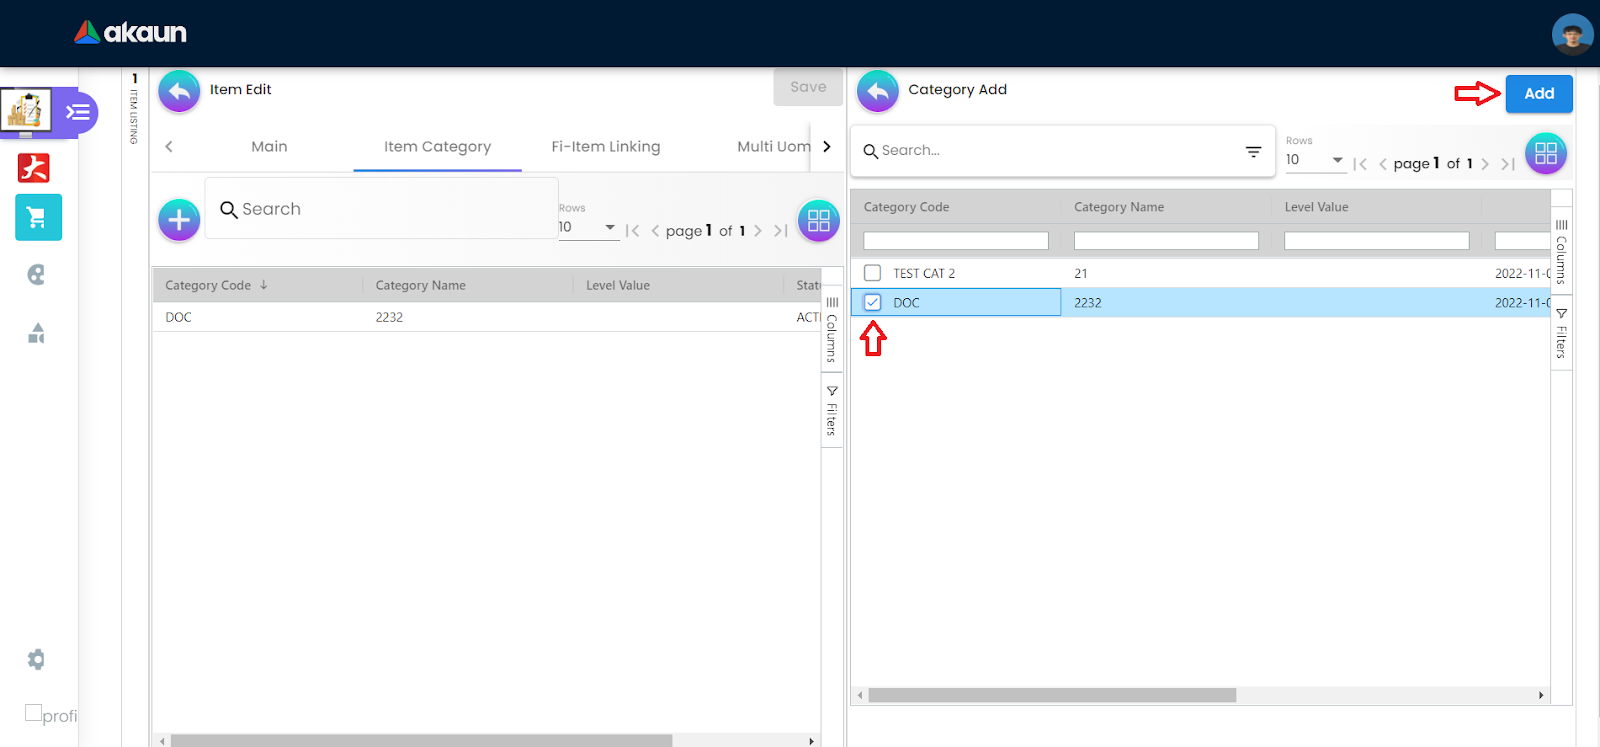
Here, the categories created are displayed. The user can select the desired category by ticking the box, and clicking the “Add” button will successfully add the selected categories to the item
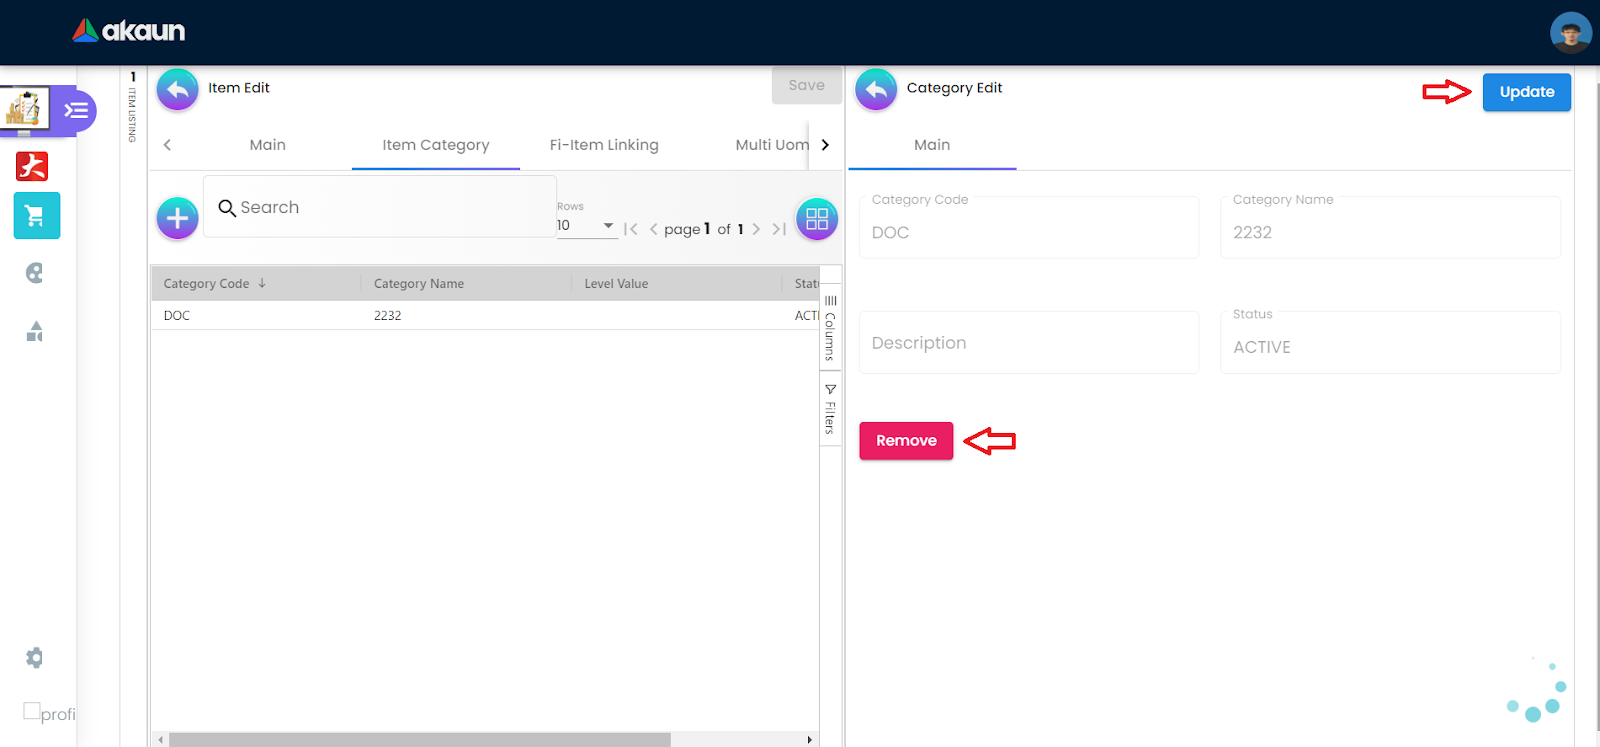
Here, users are able to view the details of the Category selected. Users are able to update the details by clicking the“Update” button after making any changes, or remove the added category by clicking the “Remove” button
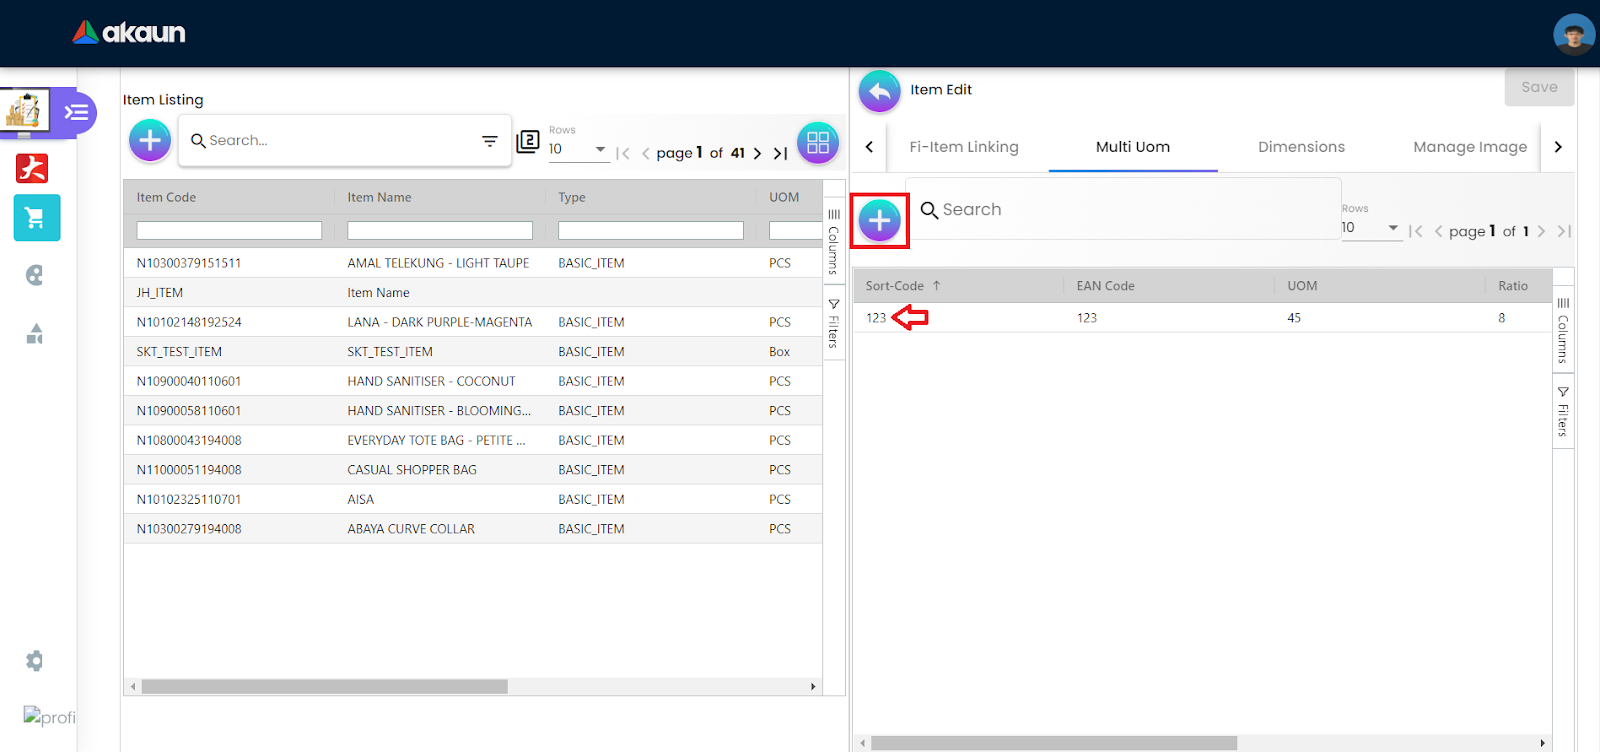
Certain tabs in this applet such as “Multi Uom” and “Manage Image” can have multiple data. In the “Multi Uom” Tab, the user can add uom by clicking on the “+” button, or edit an existing uom by clicking on the specific row.
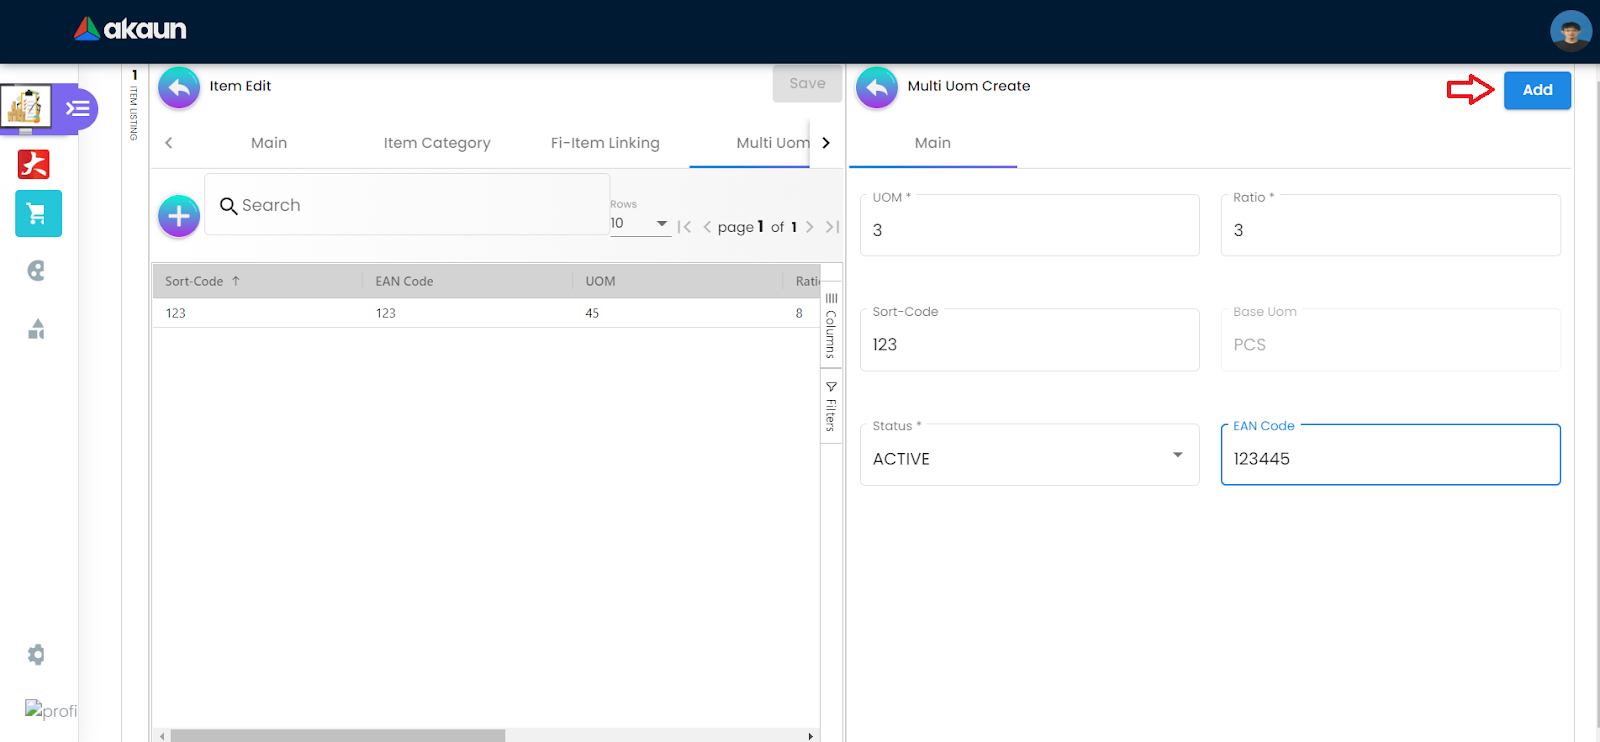
Users will need to fill in the required fields, then clicking on the “Add” button to finish the addition of the uom.
All the required fields are marked with “*”, indicating that it must be filled in to complete the item creation process.
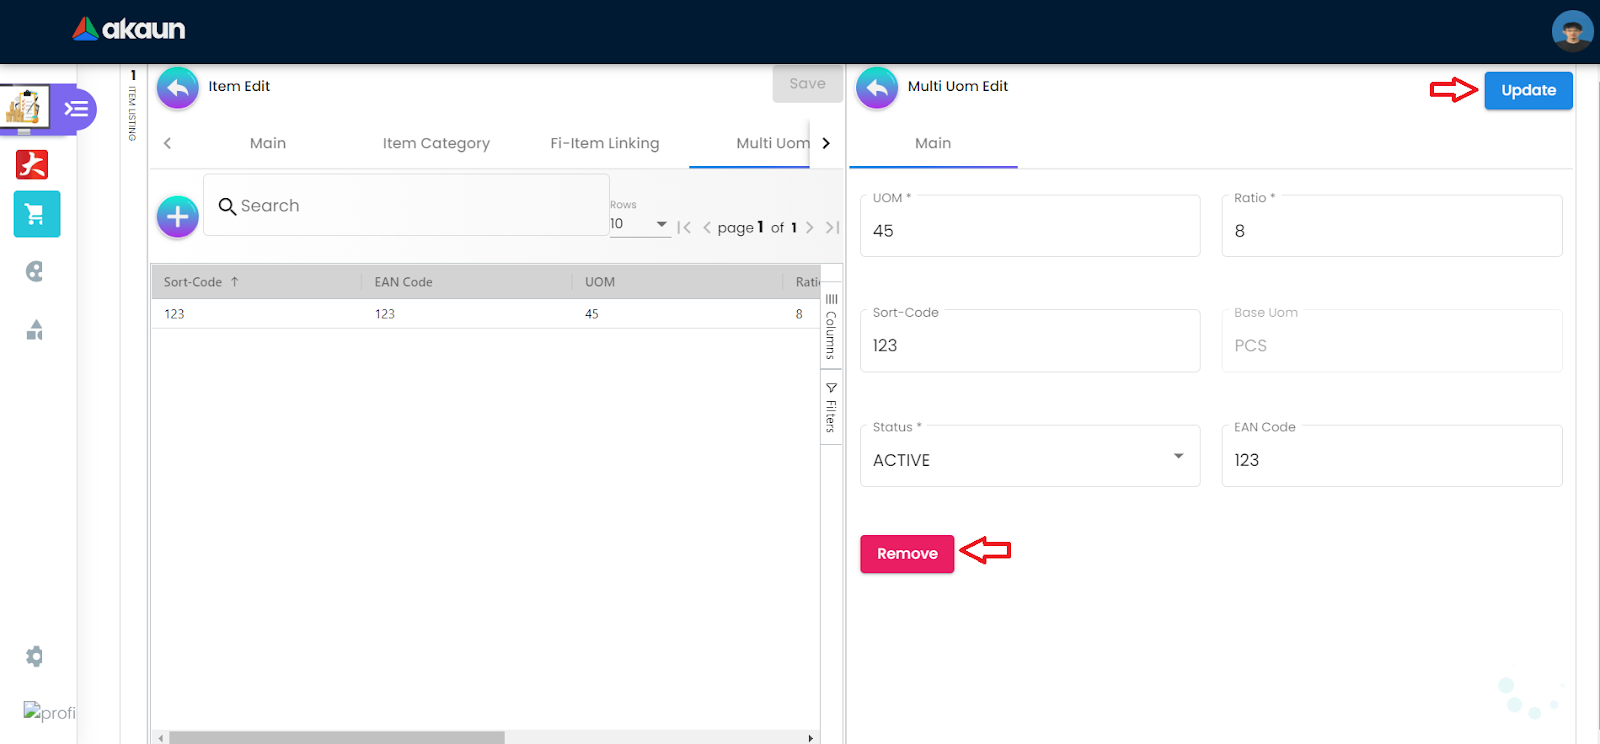
User will be able to update the values of any existing uom by clicking on the “Update” button after making any changes, or remove an existing uom by clicking on the “Remove” button
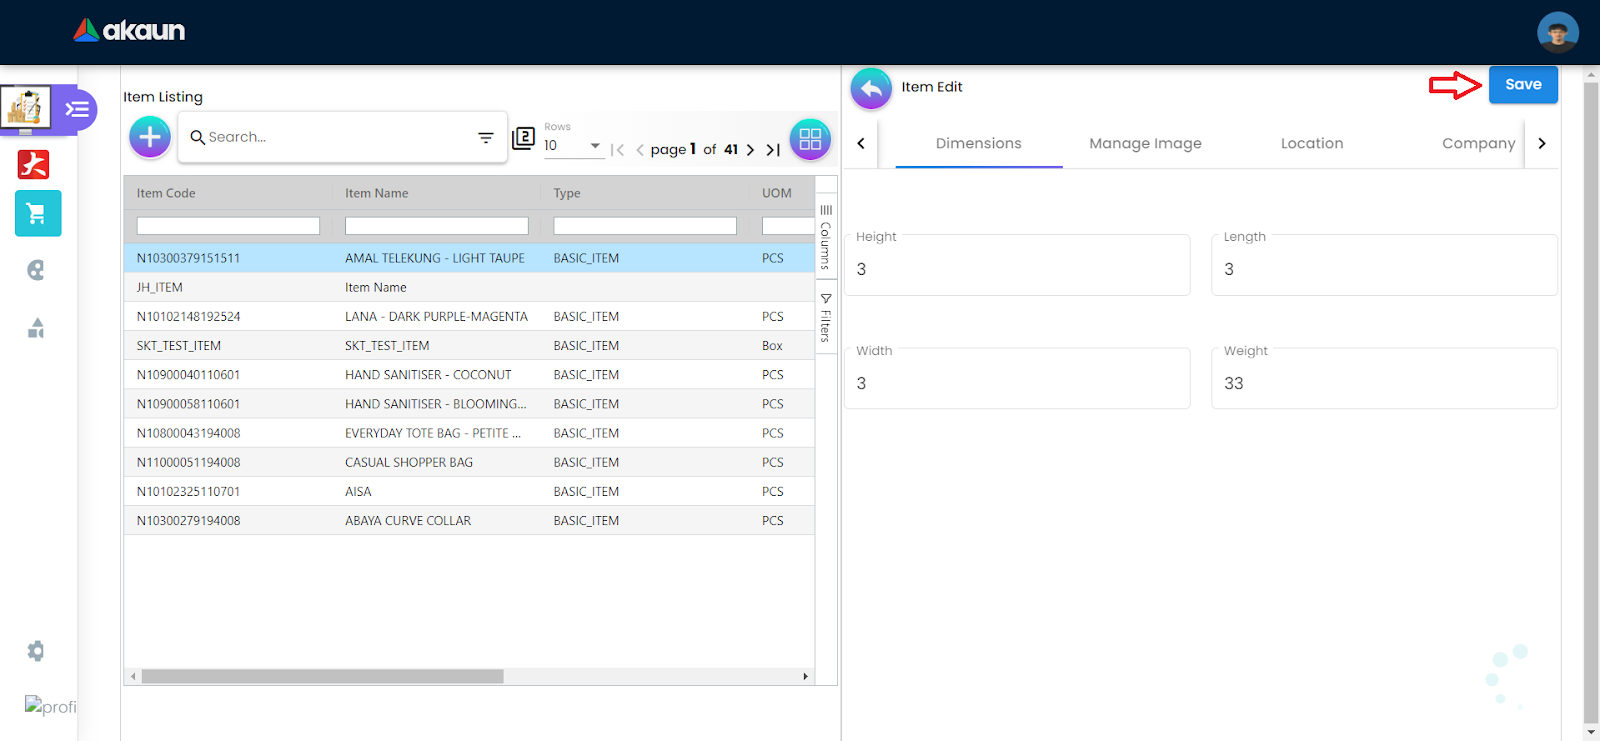
Under the “Dimensions” tab, users can simply edit the dimensions detail by changing the data in the fields, clicking on the “Save” button afterwards will record the changes made.
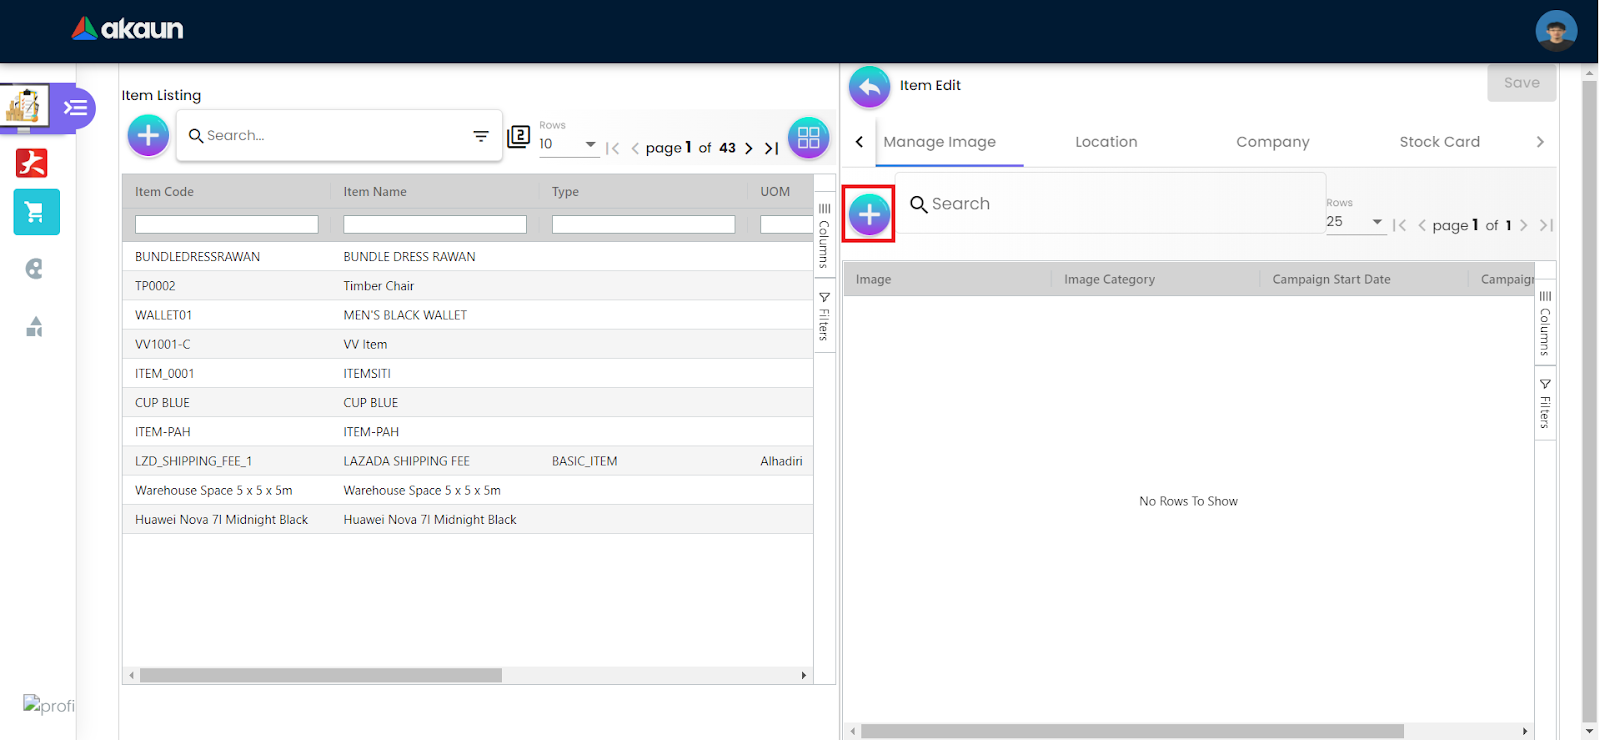
Under the “Dimensions” tab, users can simply edit the image’s detail by selecting any existing image rows, or, add a new image by clicking on the “+” button.
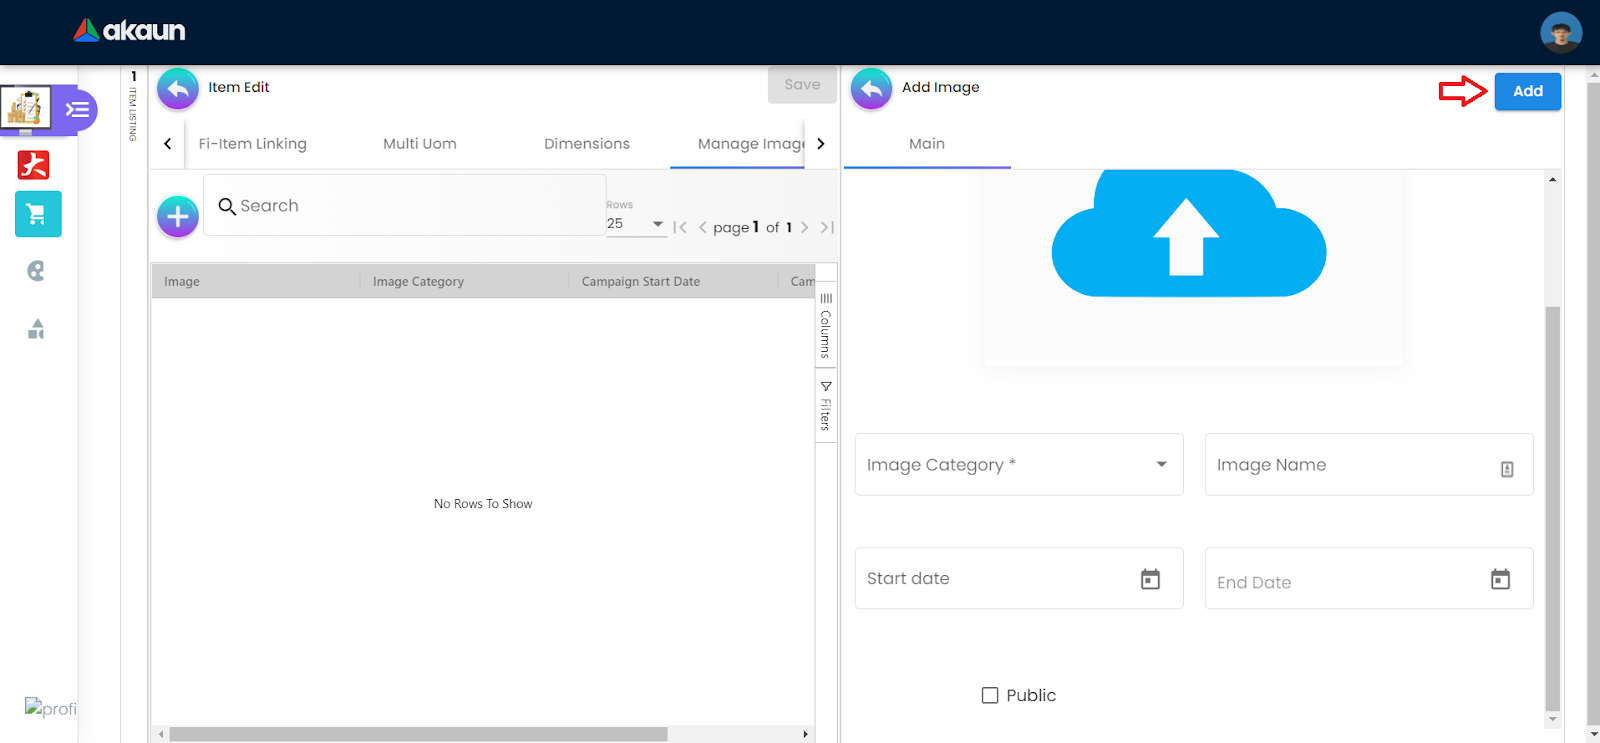
To add an image, the user will need to upload the image file first, then the user needs to select the corresponding image category, and (if any) the details of the image under the fields below.
The user can then finish the image adding process by clicking on the “Add” button.
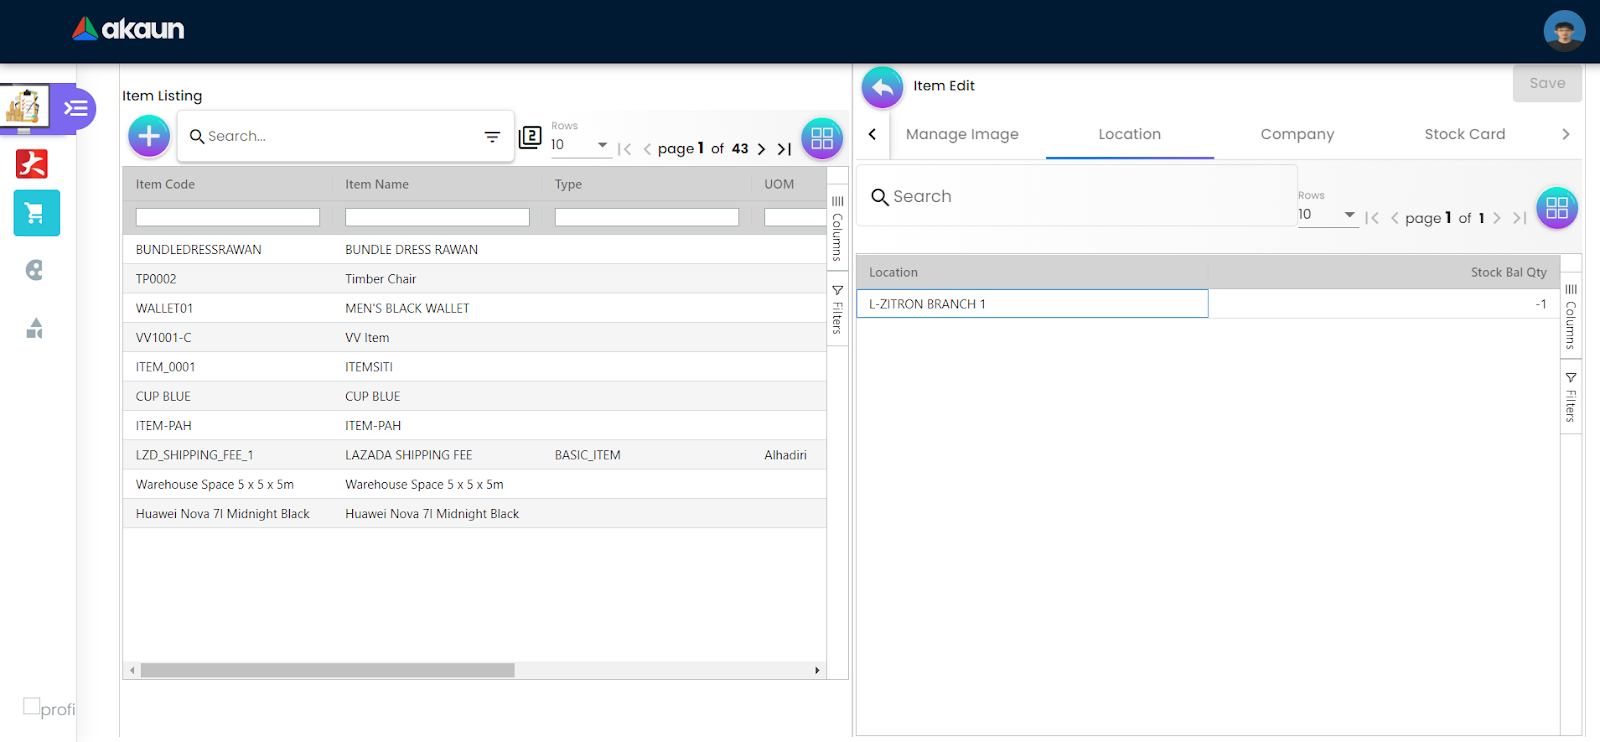
Here, the user can view the related locations for the Inventory Items, as well as its stock balance
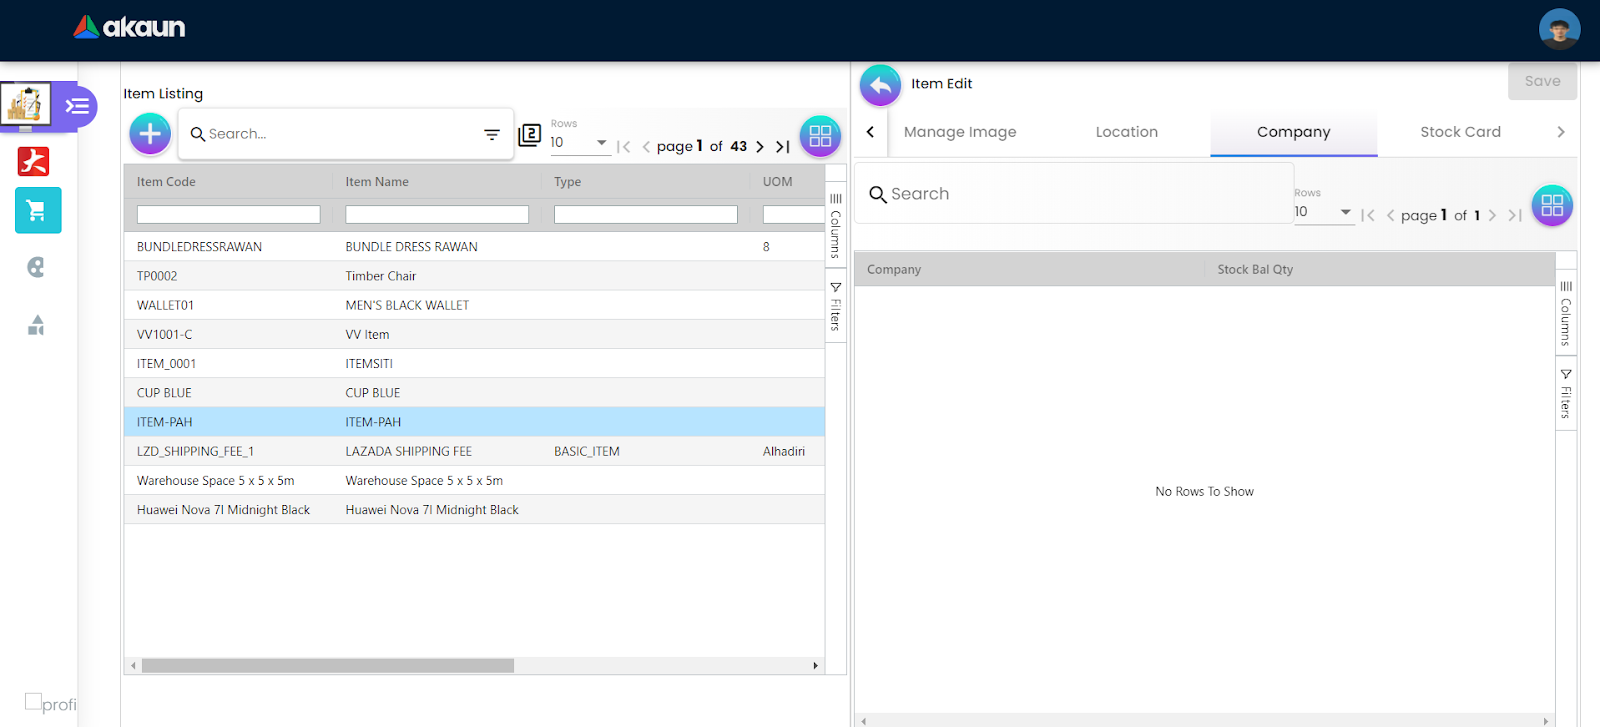
Here, the user can view the company handling the inventory items.

In the stock card tab, the user can filter for the desired stock card through location and date range, the corresponding filtered data will be displayed in the table.