2.2 Creating a Purchase Debit Note
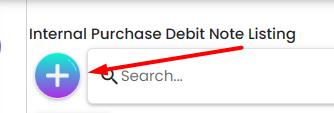
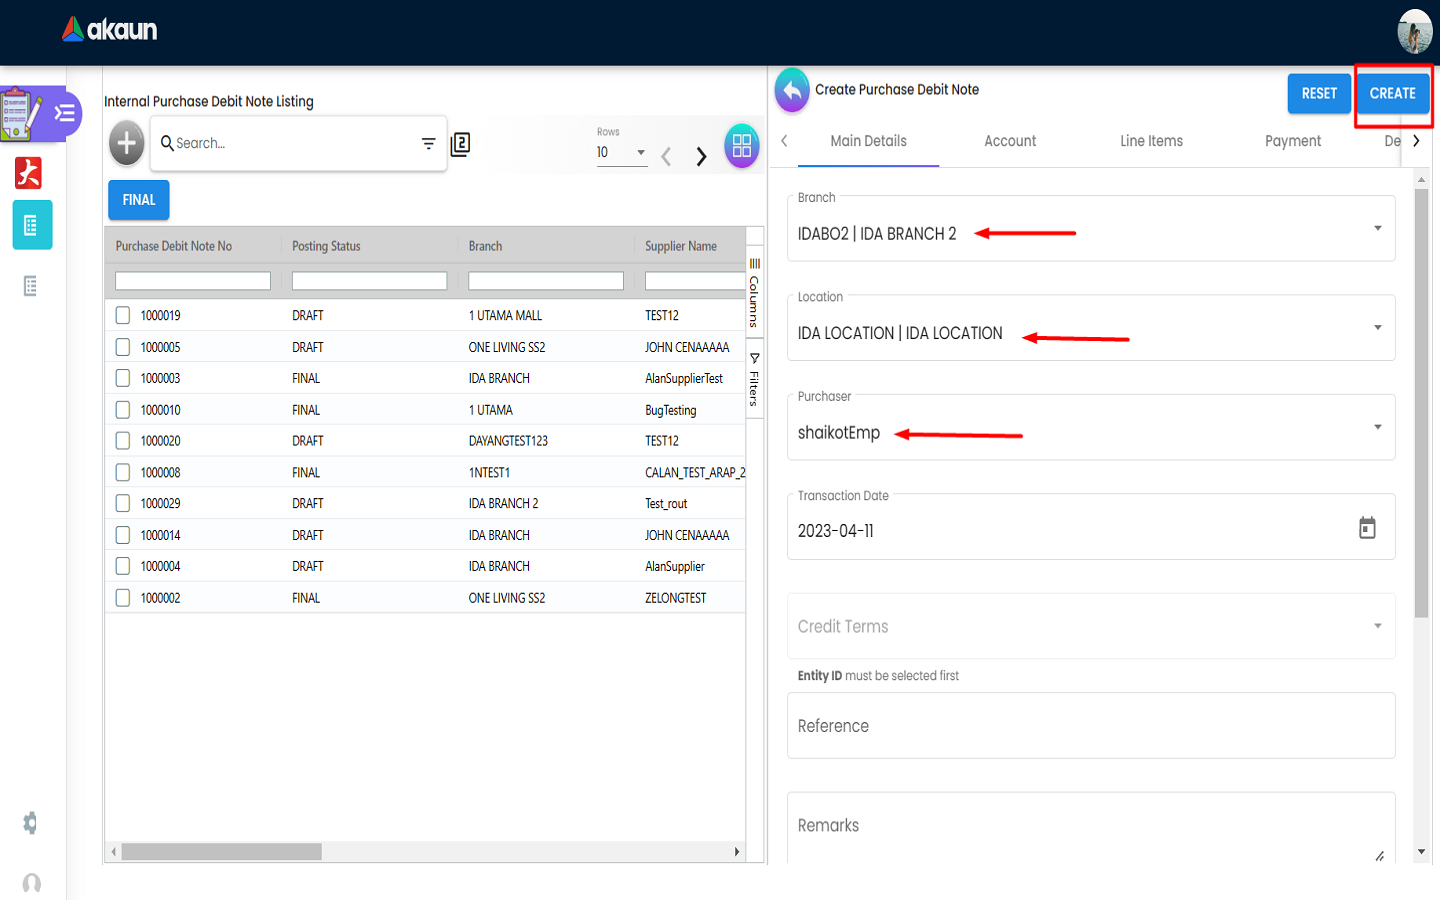
2.2.2 Main Details Tab
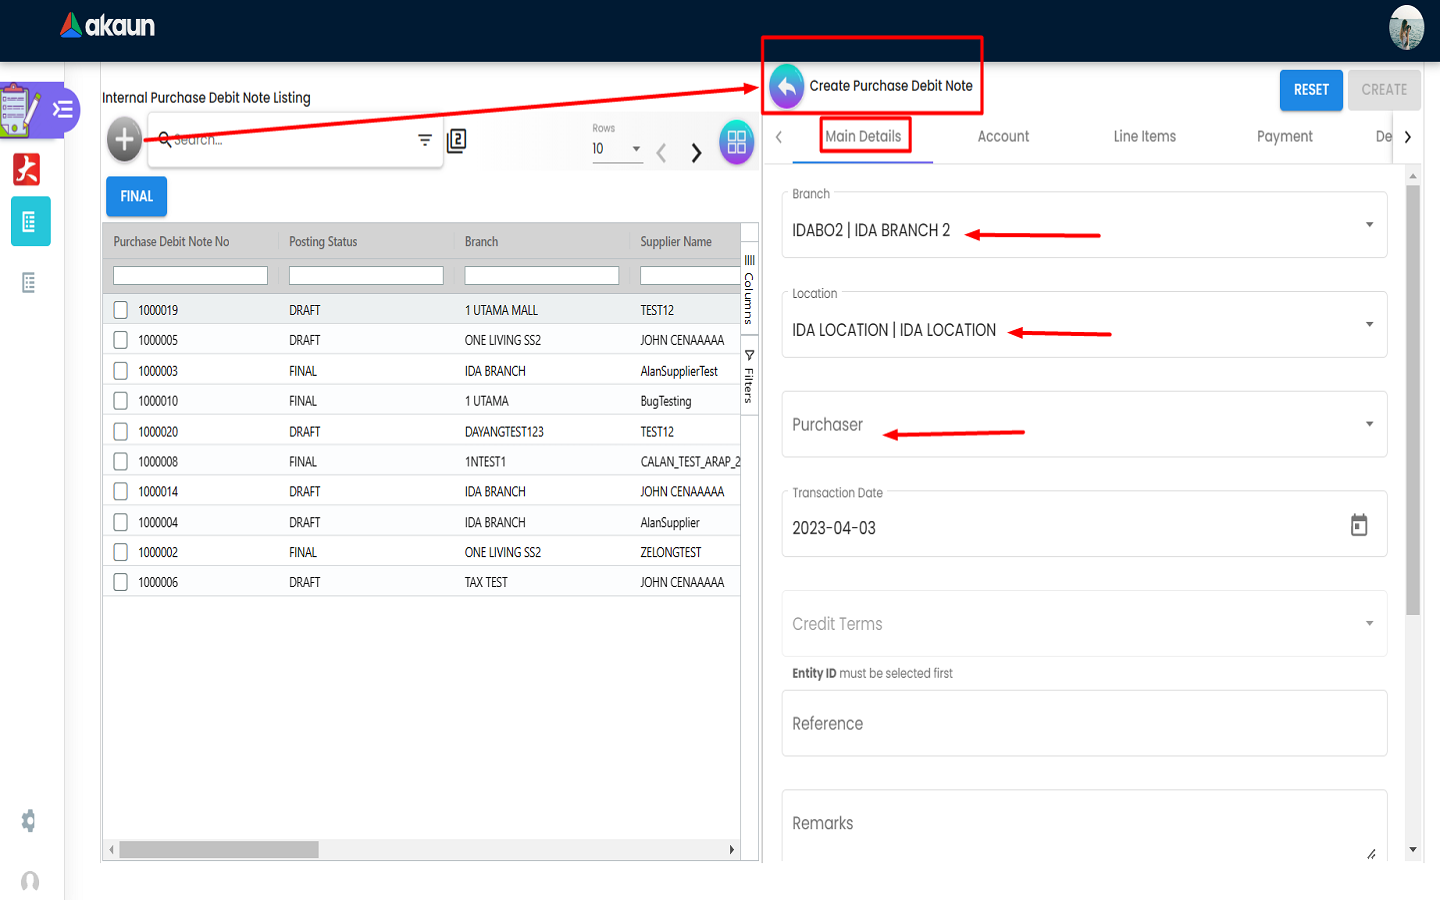
Fill in the form in the “Main Details” tab. Please note that the following fields are compulsory to fill in:
-
Location
-
Branch
-
Purchaser
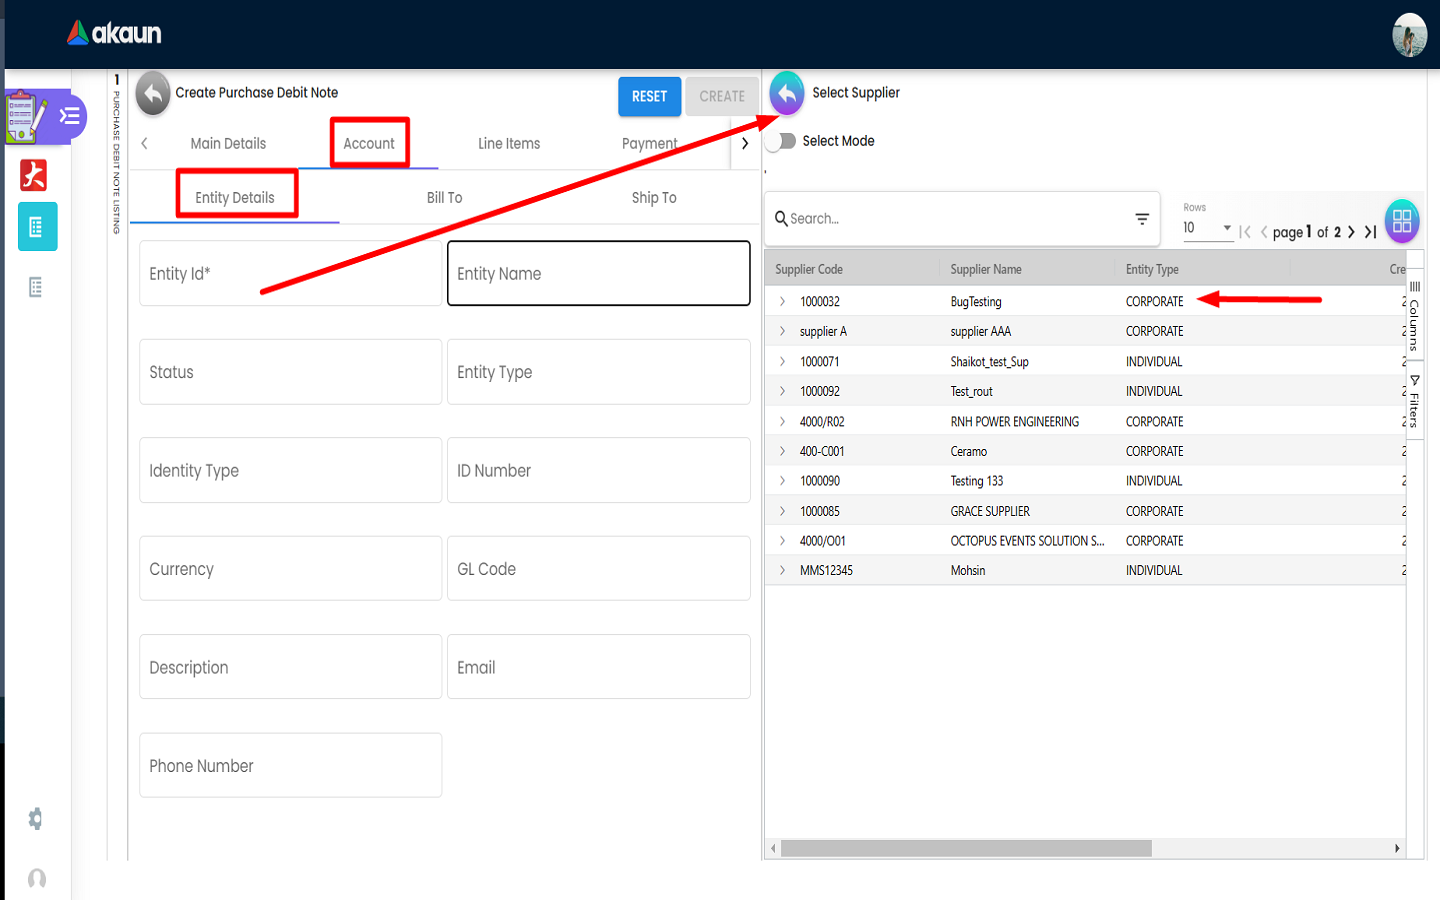
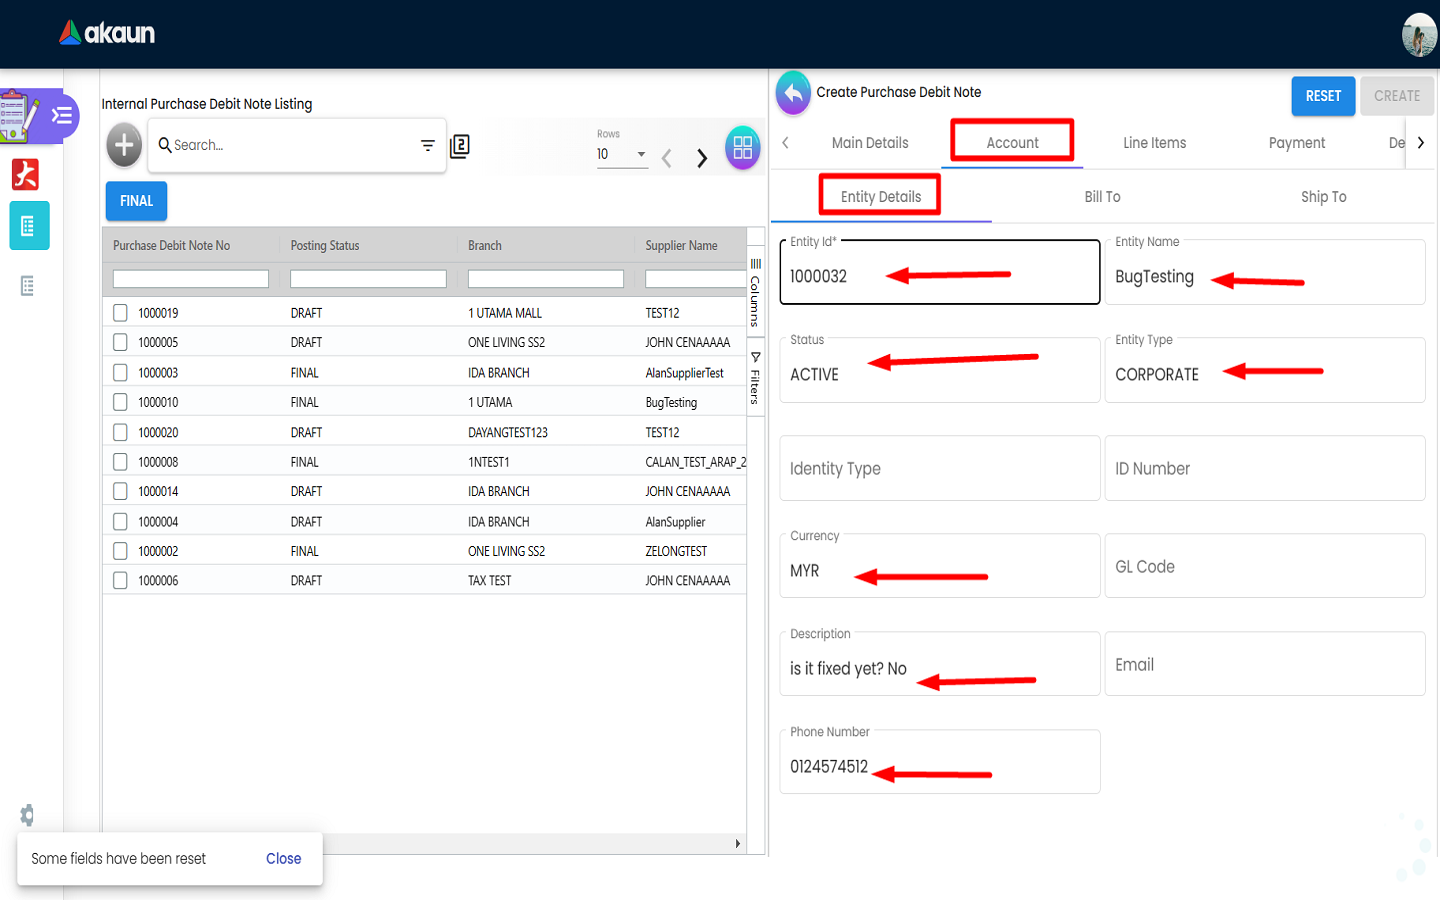
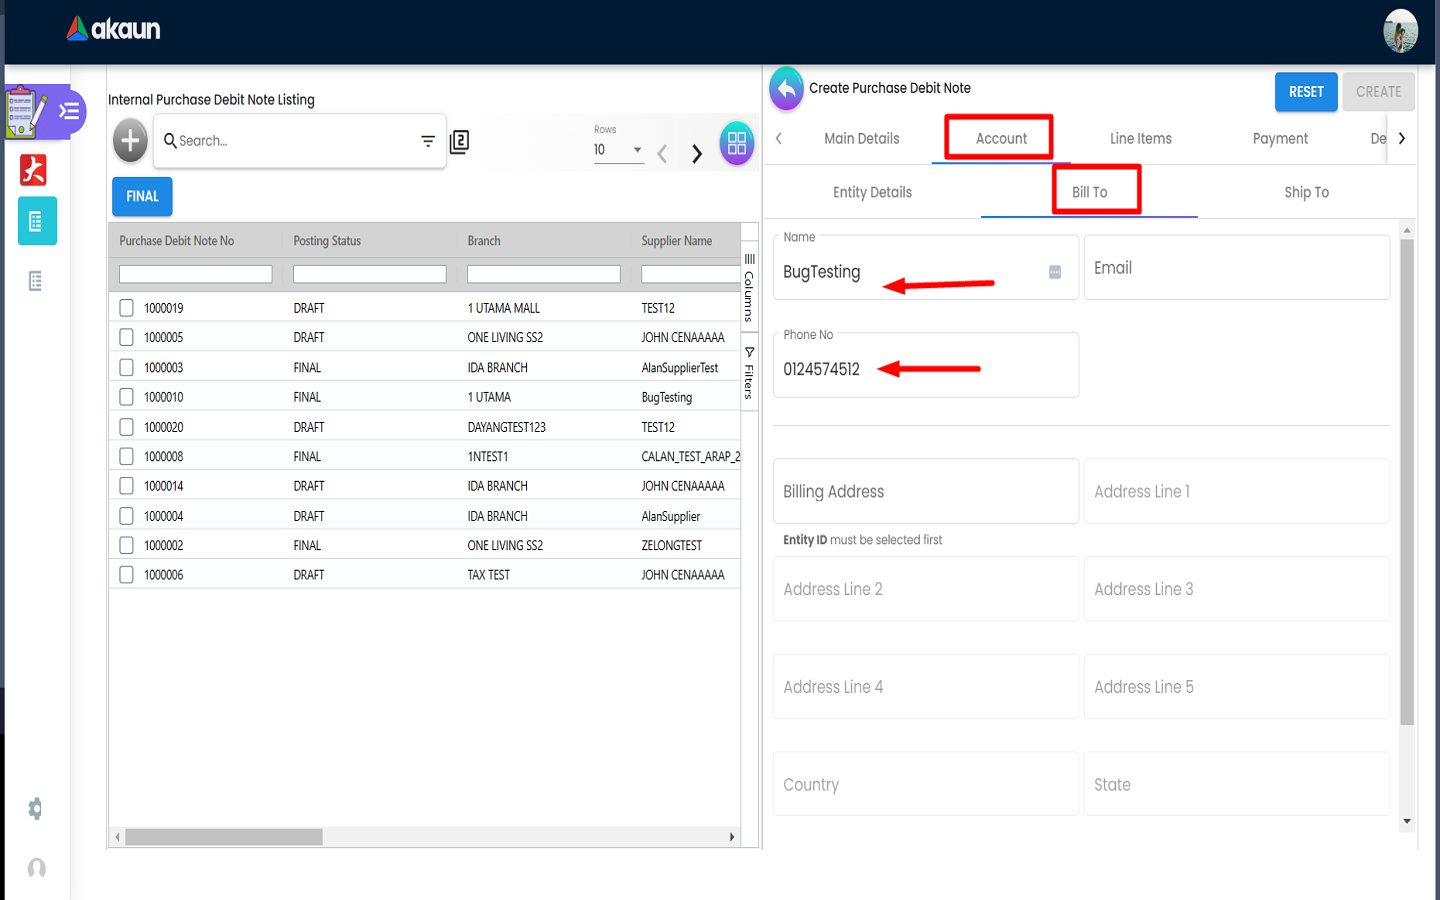
2.2.3 Entity Details
-
Next click on the “Account” tab and then click on the “Entity Id” field and choose an entity.
-
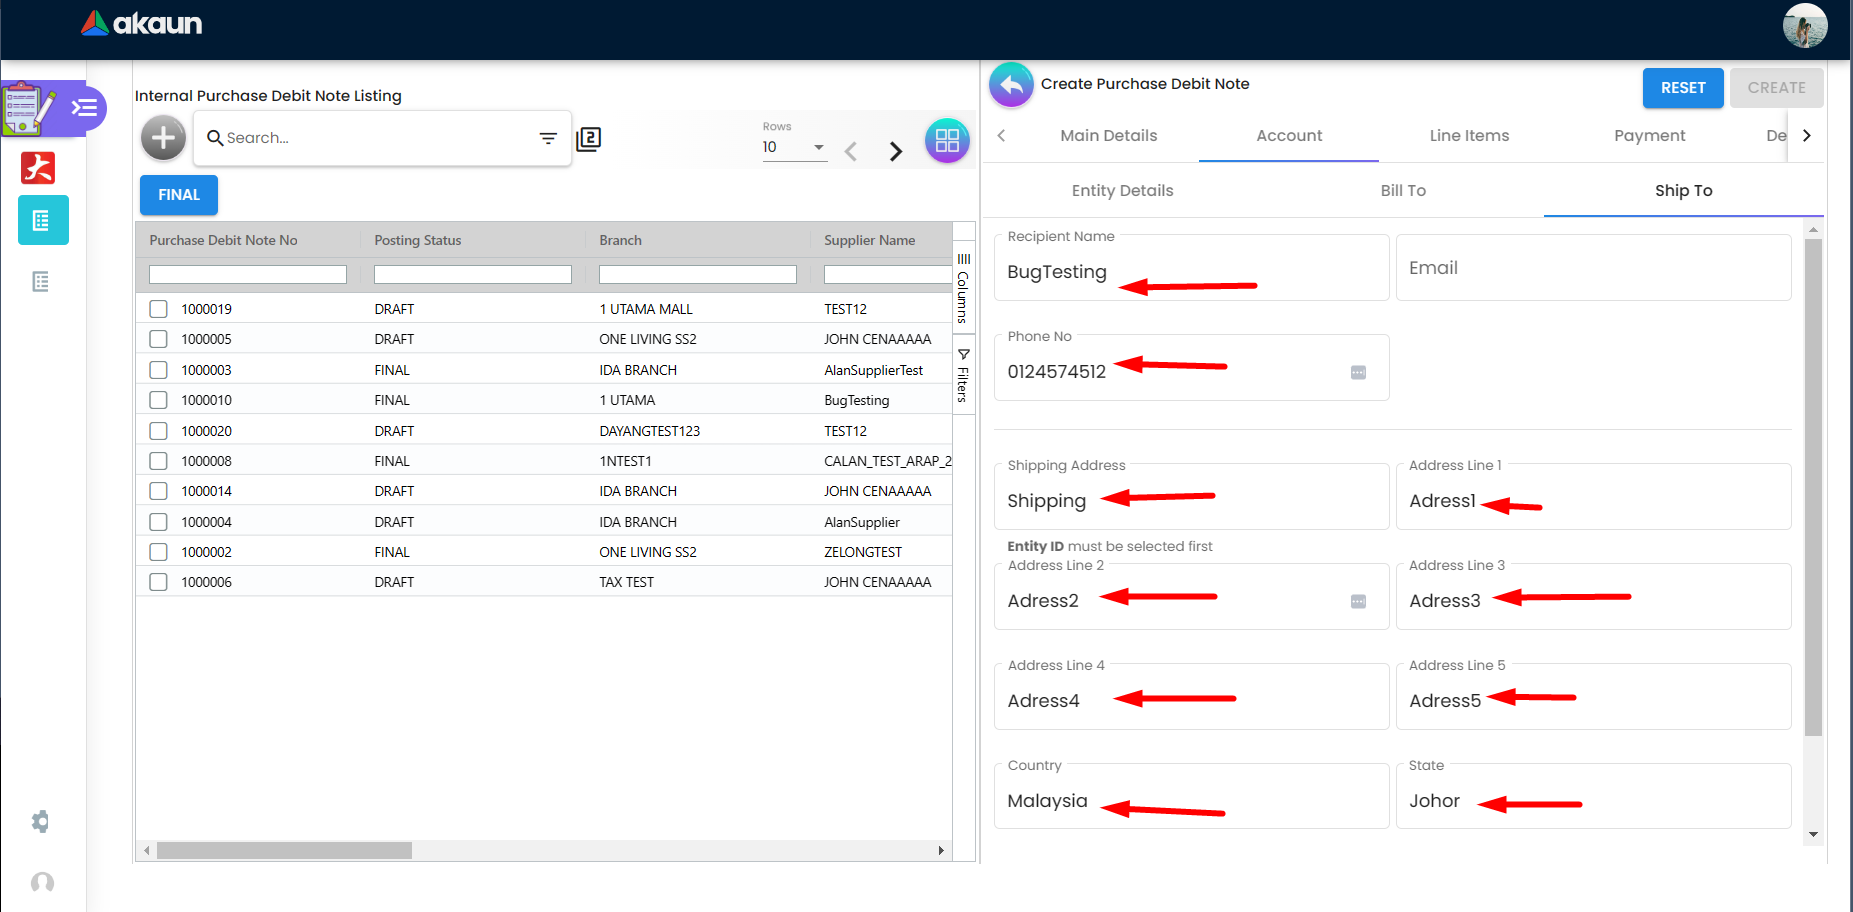
Upon selection from the listing the “Entity Details”, “Bill To” and “Ship To” will be populated
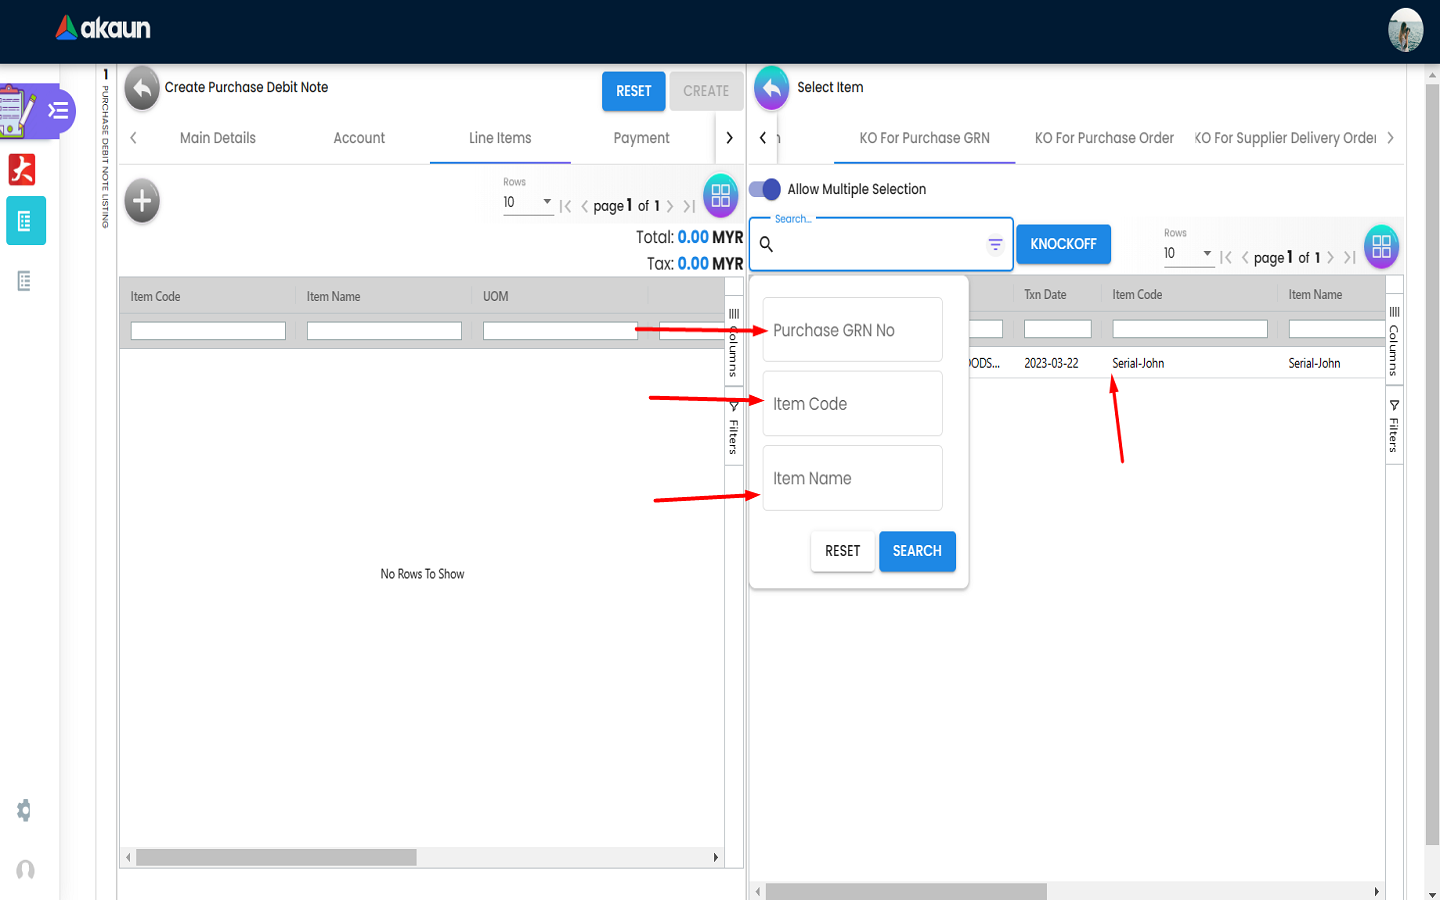
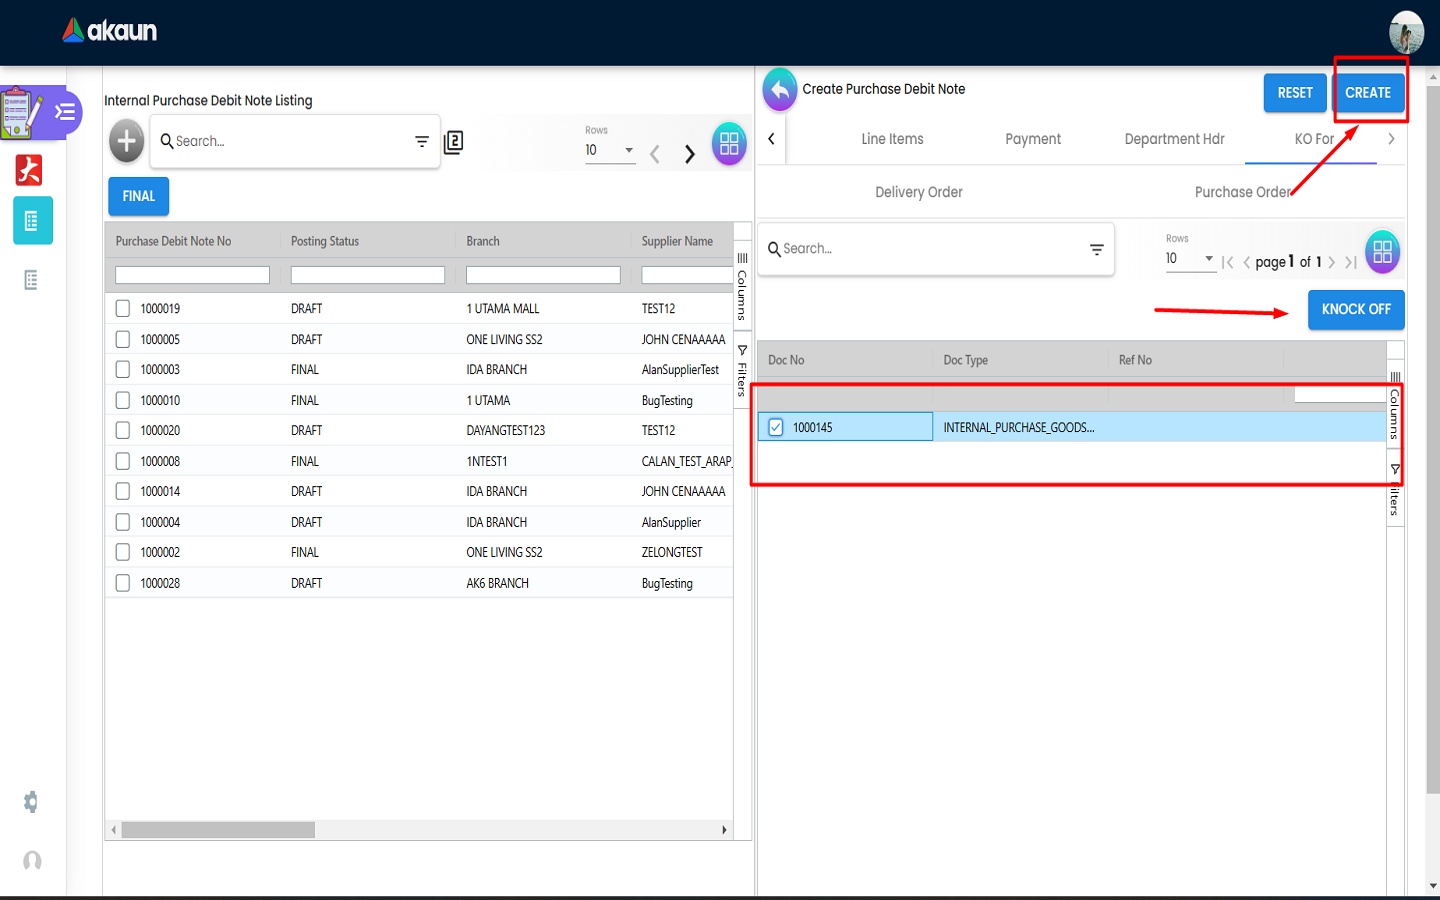
2.2.4 Add Line Item
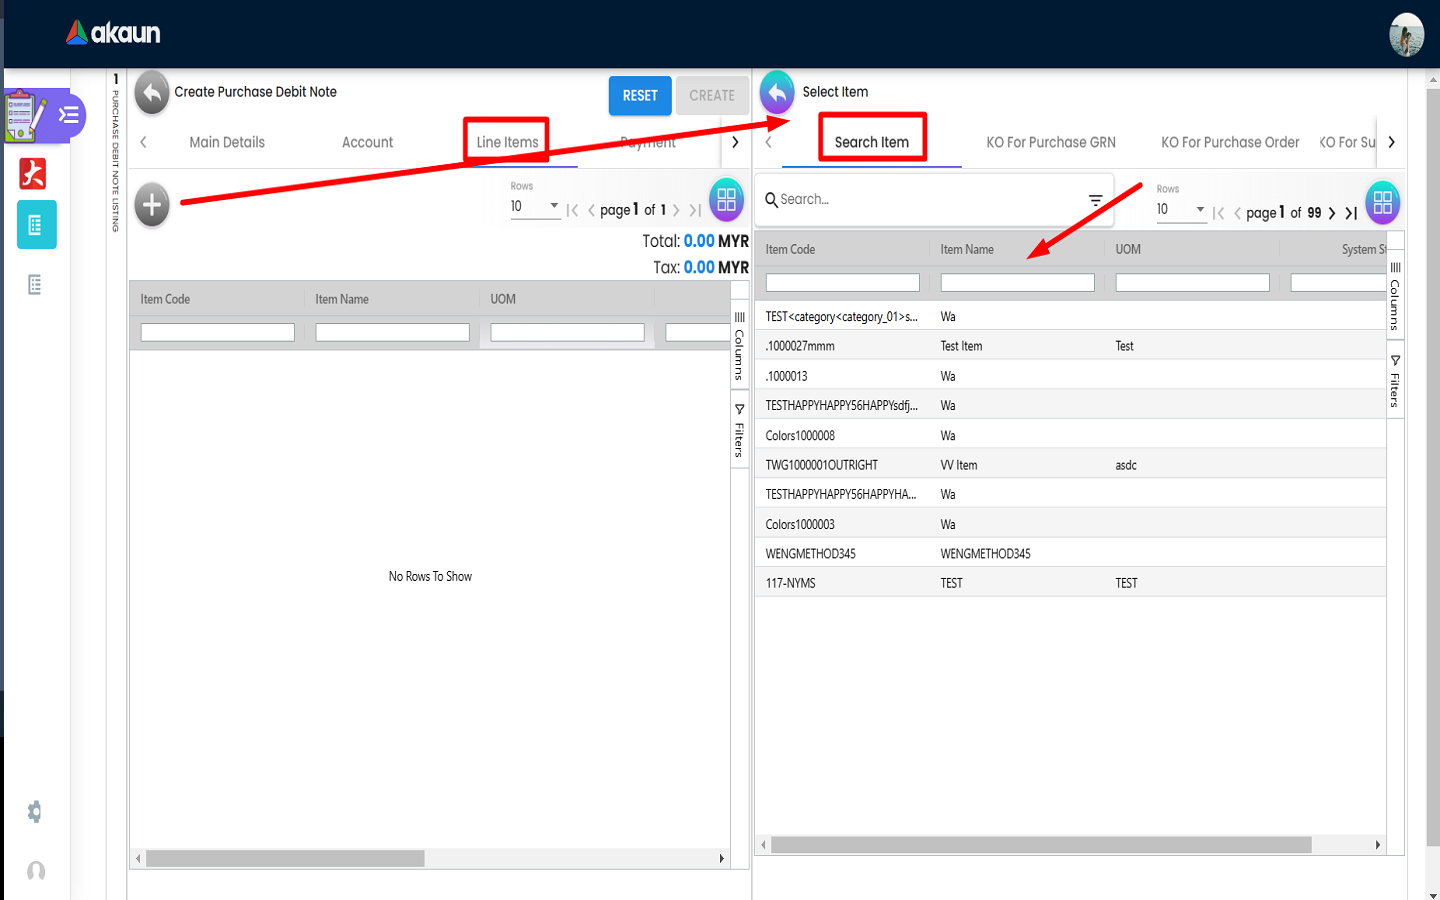
Next click on the “Lines Items” tab and then click on the “+” button.
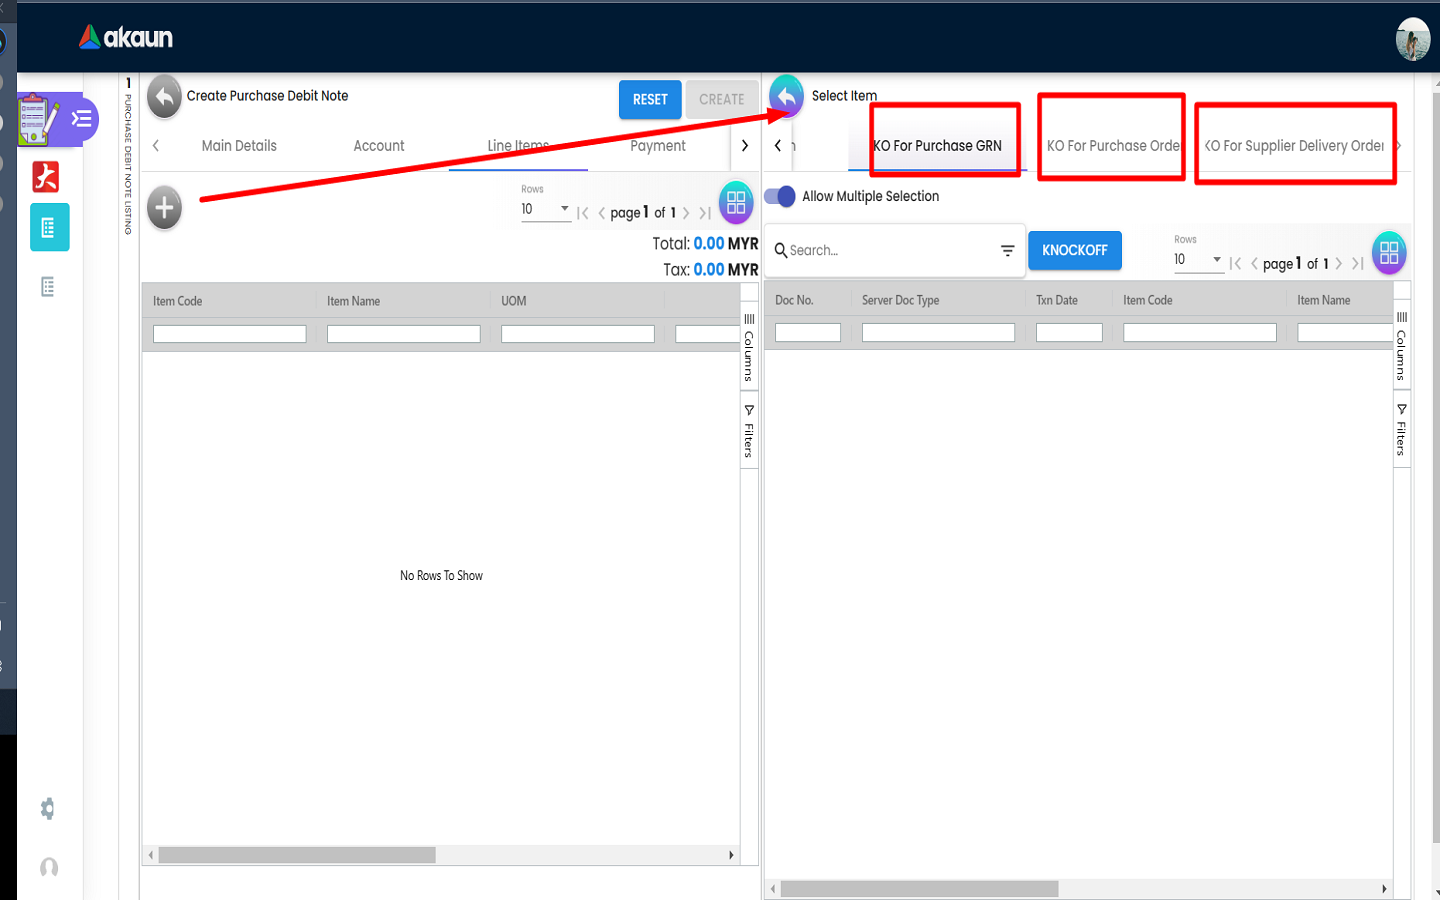
Different categories of line item listings are shown:
-
The Search Item tab will allow users to search for items.
-
The Knock Off Purchase GRN, Knock Off Purchase Order, Knock Off For Supplier Delivery Order will show the KO listings.
-
The line items under “Search Item” tab are searchable based on item serial number and includes items that have valid serial number. Advanced search can be used for line items under KnockOff tabs.
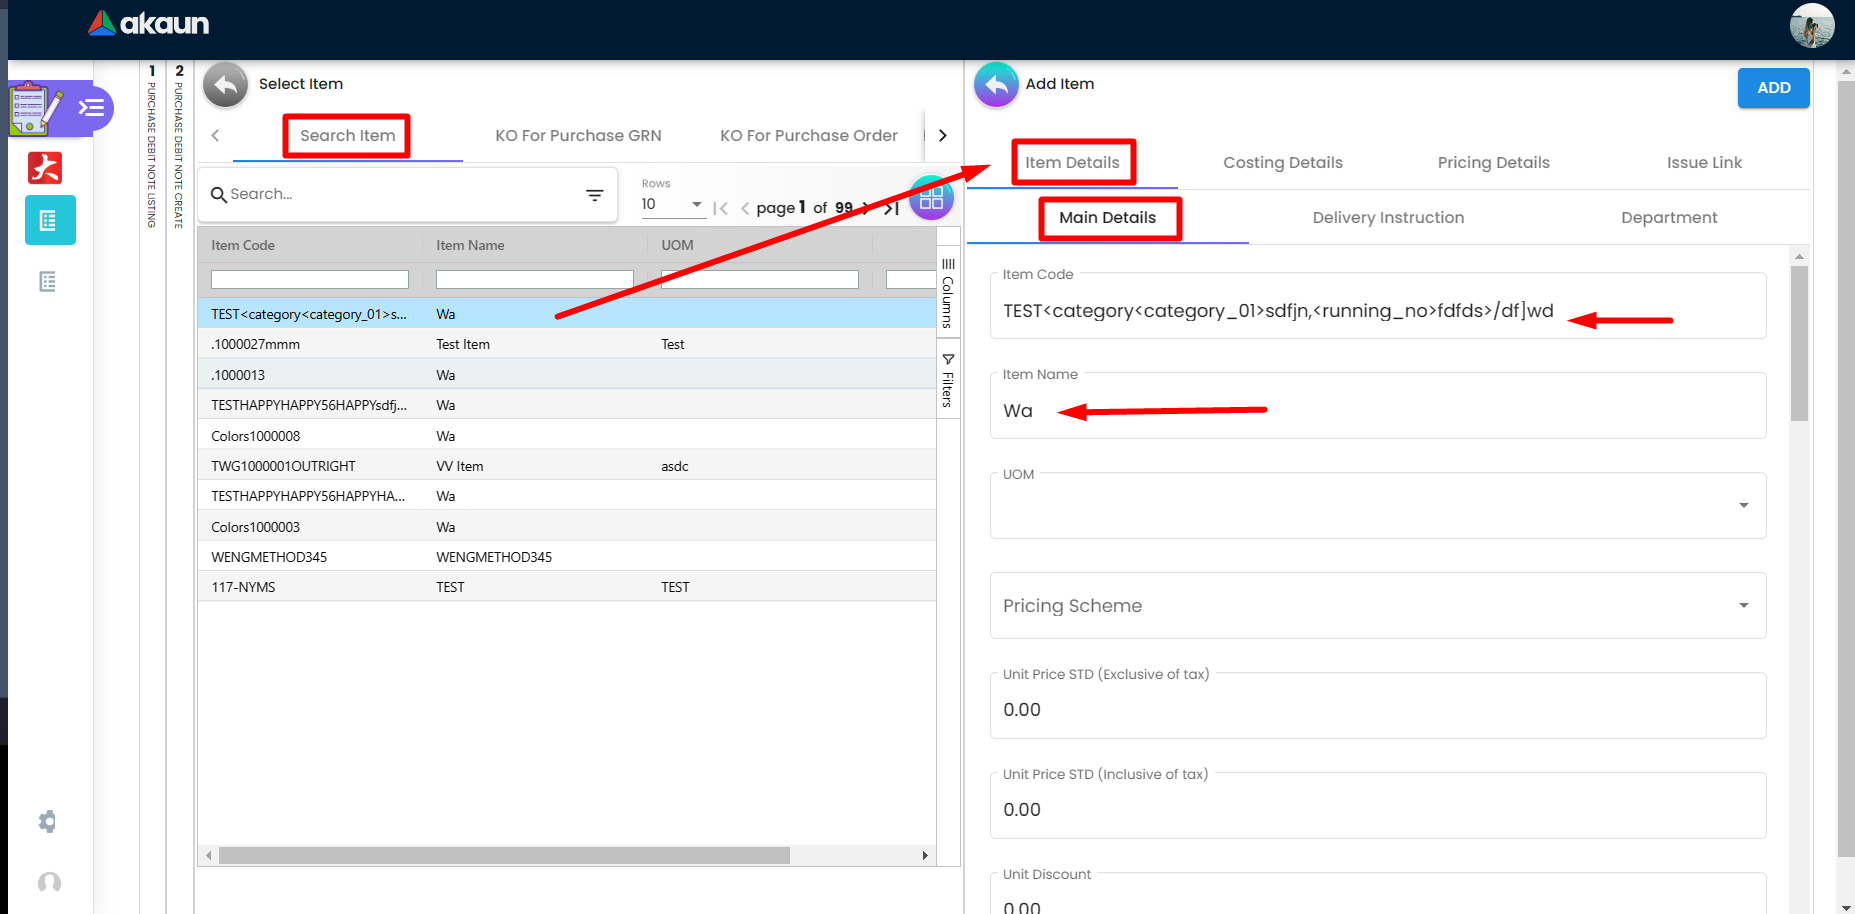
2.2.5 Line Item Listing
-
Next click on a line item from the list. Details about the item will be displayed under the “Main Details” tab under the “Item Details” tab as shown above.
2.2.6 Line Item Details
The form under the “Item Details” tab will be filled with the details of the selected item. Users fill in the form for: * Item Name * Item Code * UOM * Pricing Scheme * Unit Price STD for both excluding and including tax * Unit Discount * Quantity Base and Quantity by UOM * UOM to Base Ratio * Unit Price STD by UOM for both excluding and including tax * Unit Discount by UOM, Unit Price Net by UOM * Unit PriceTransaction by UOM and Unit Price Net * STD Amount * Discount Amount * Amount Net * SST Code and SST/GST/VAT rate * Tax Amount * WHT Code, WHT and WHT Amount, * Unit Price Transaction and Transaction Amount and * Remarks
-
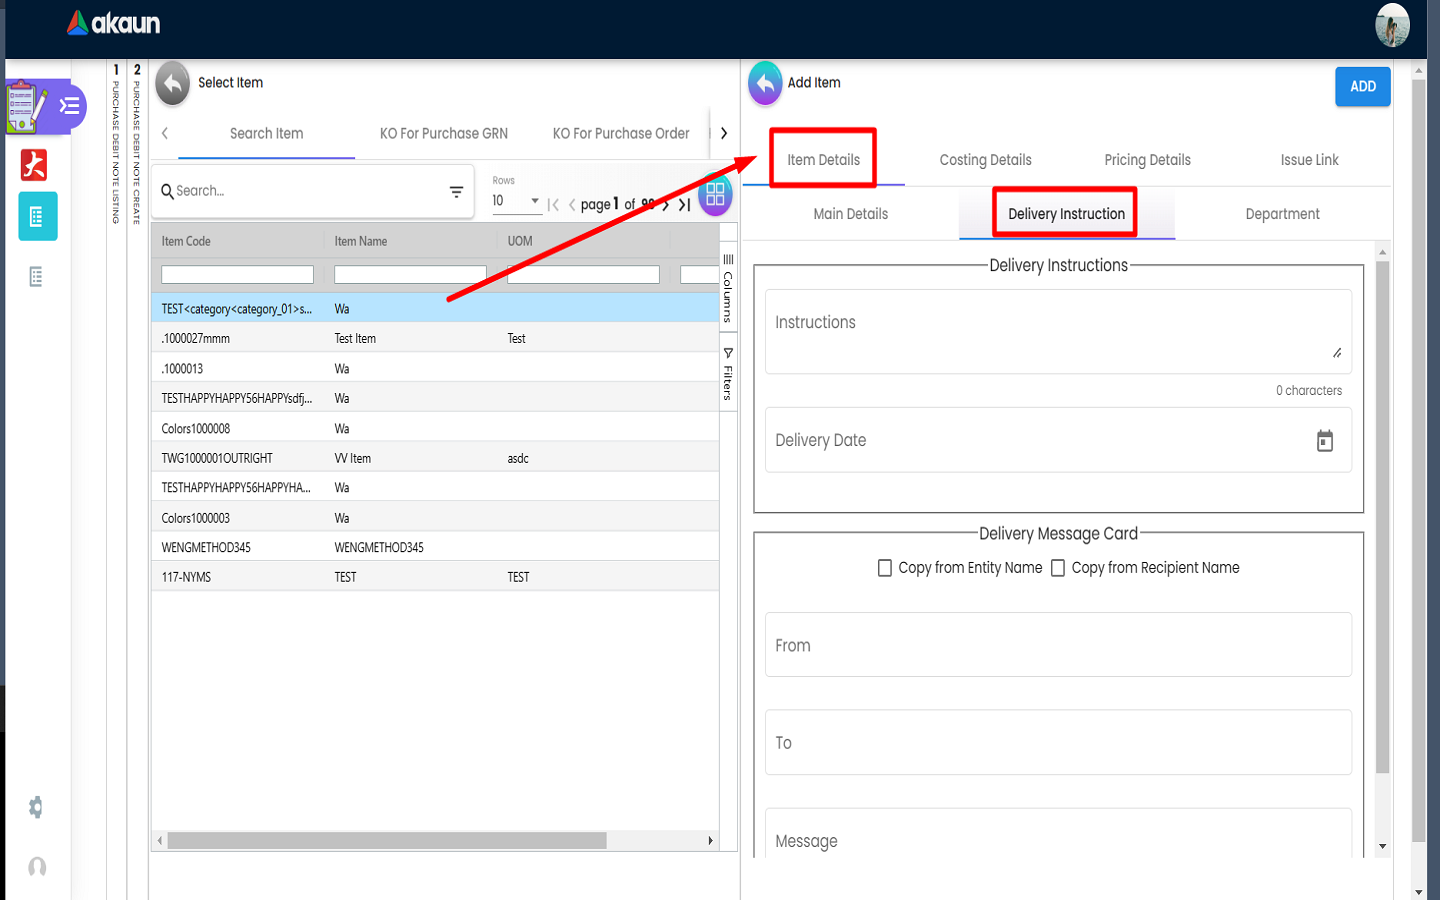
Users can specify the “Delivery Instructions” under the Item Details tab.
-
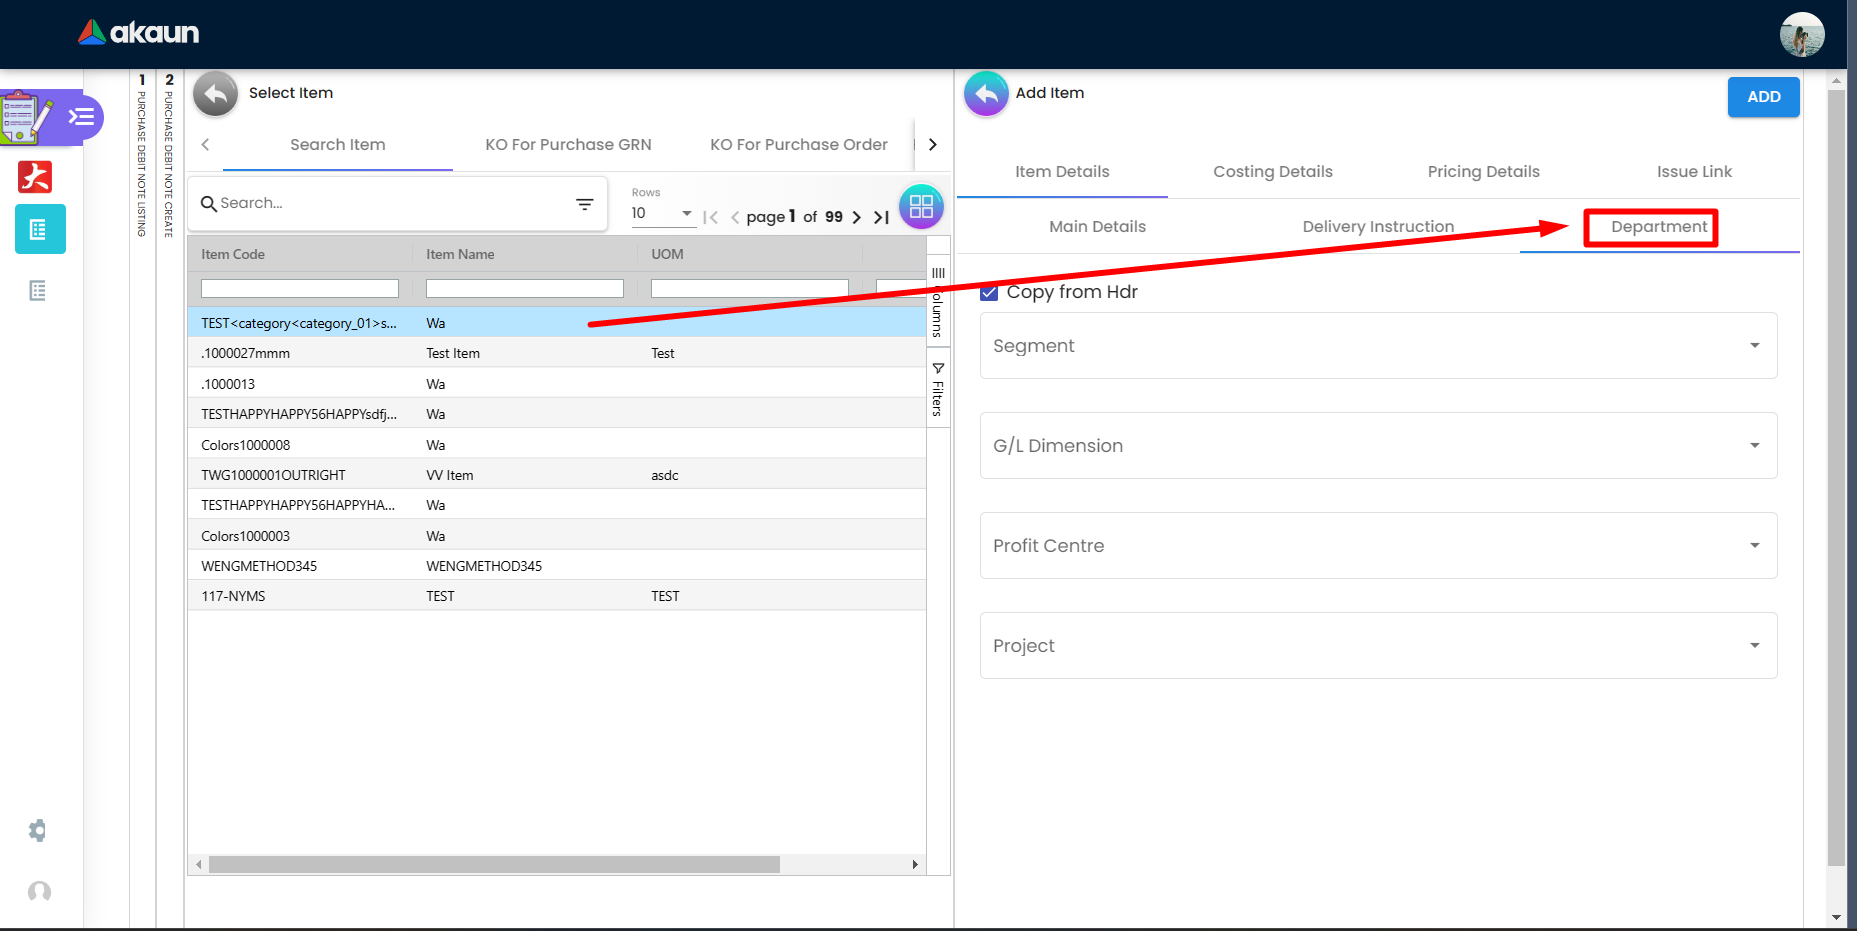
Users can specify the “Department” under the Item Details tab.
-
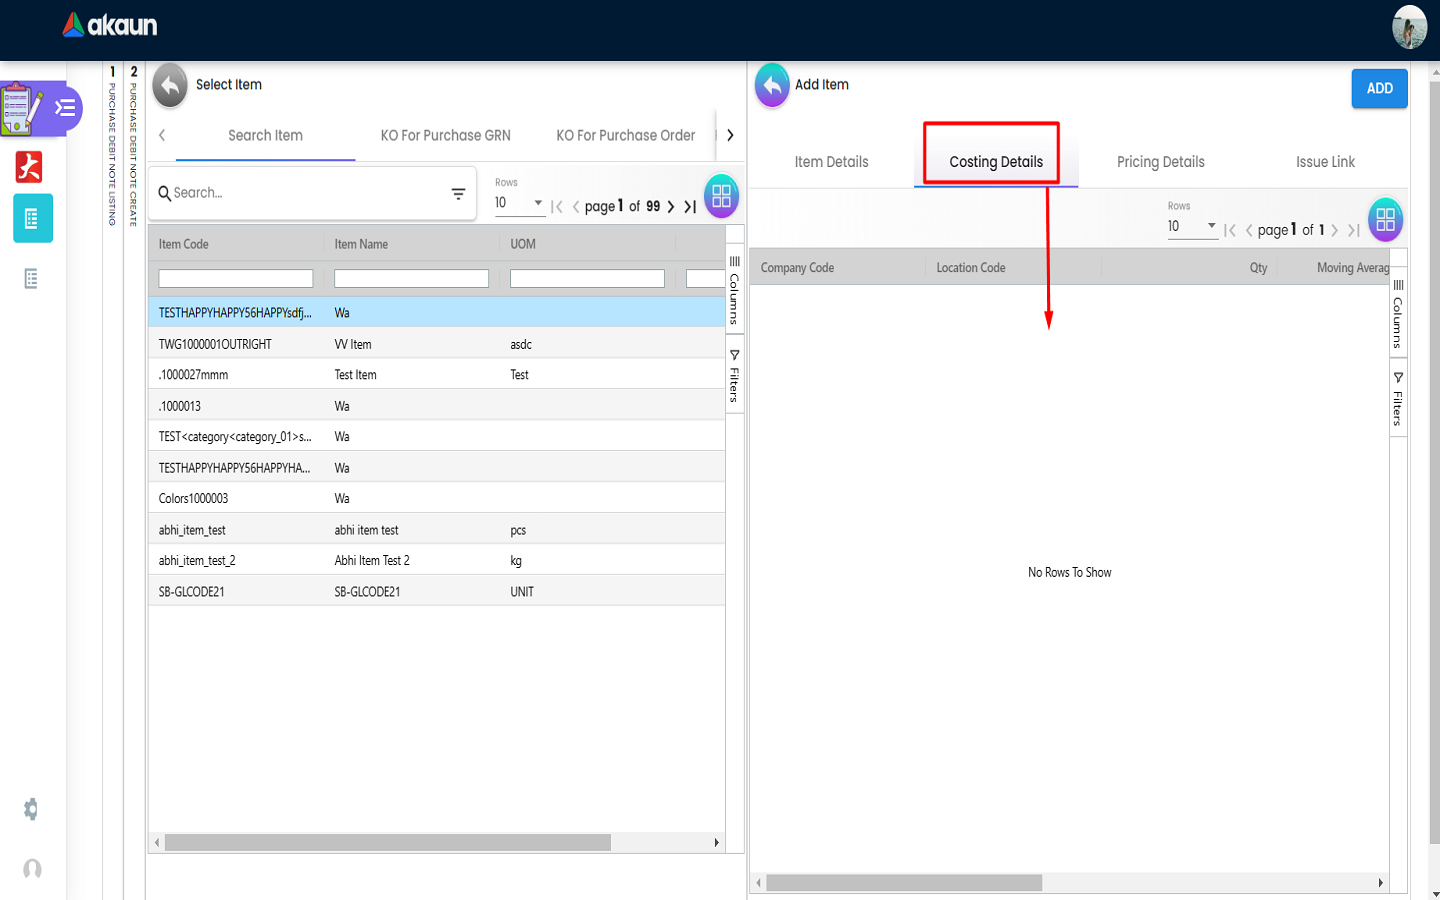
Costing Details can be viewed under the “Costing Details” tab.
-
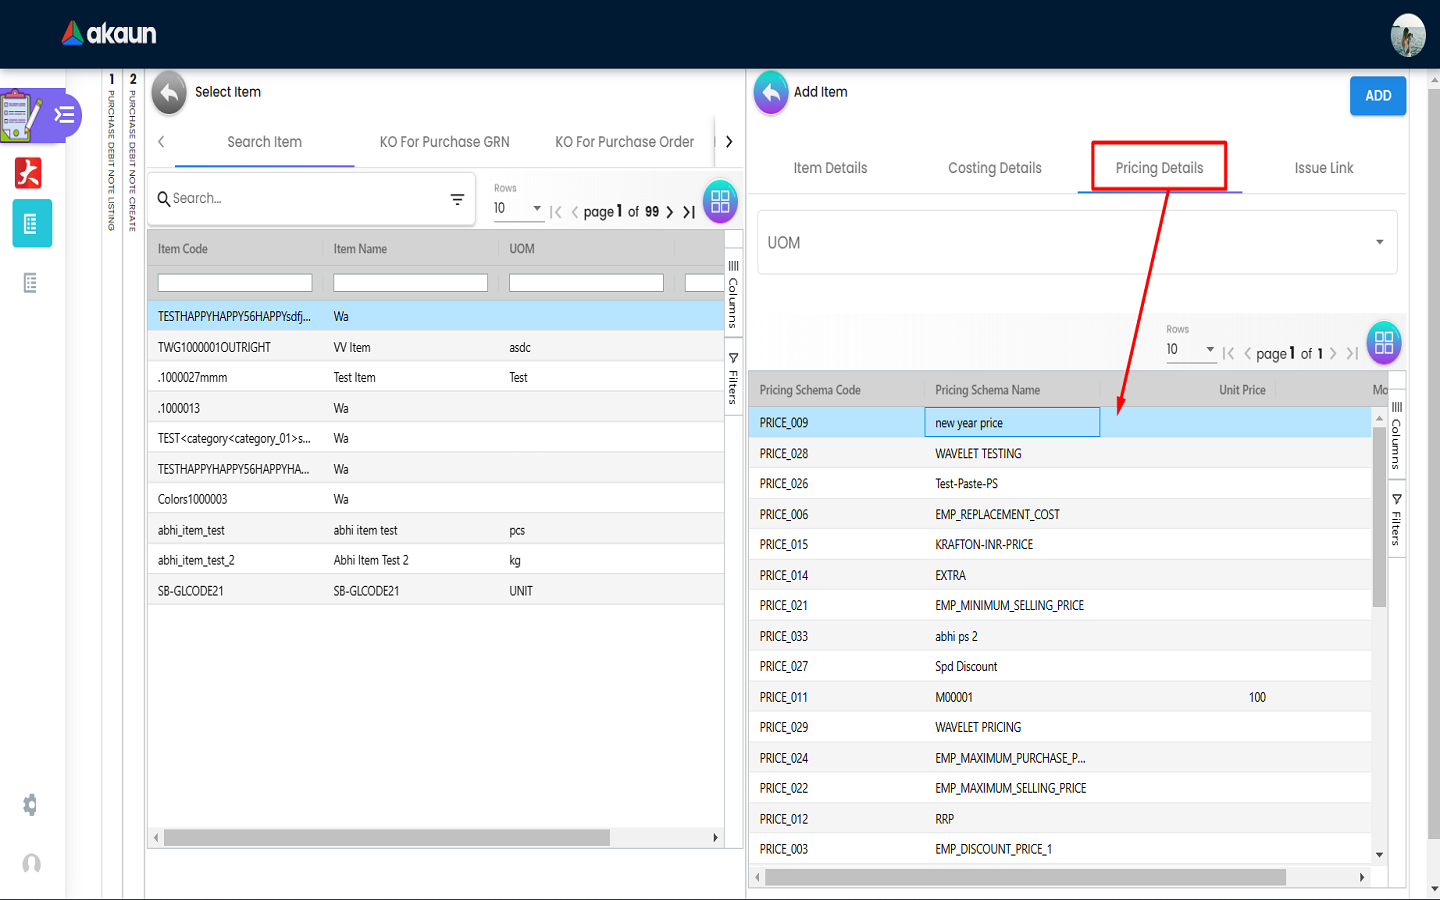
Pricing details can be viewed under the “Pricing Details” tab.
-
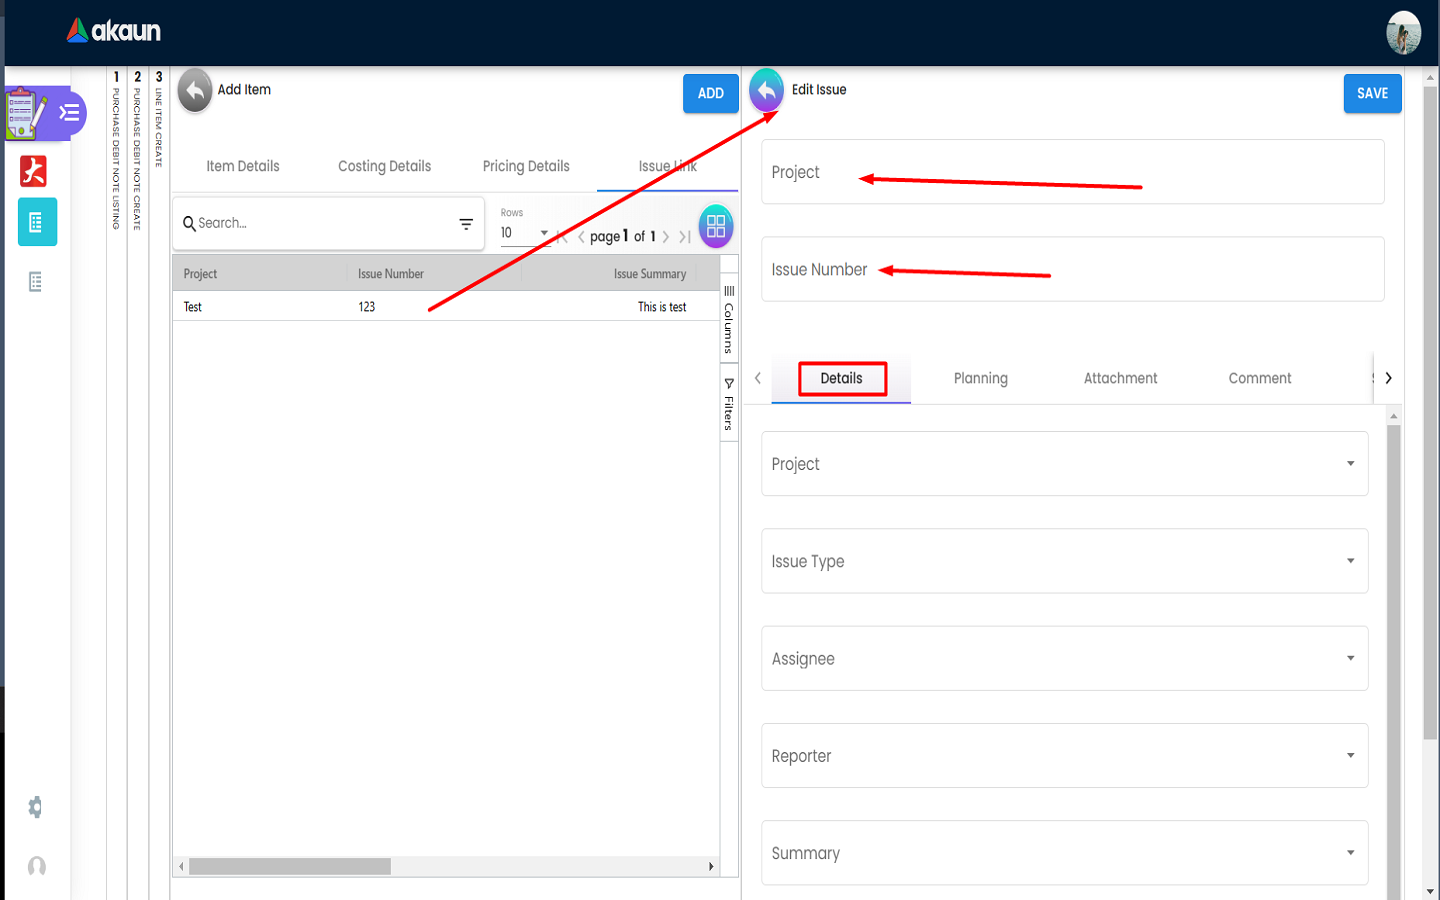
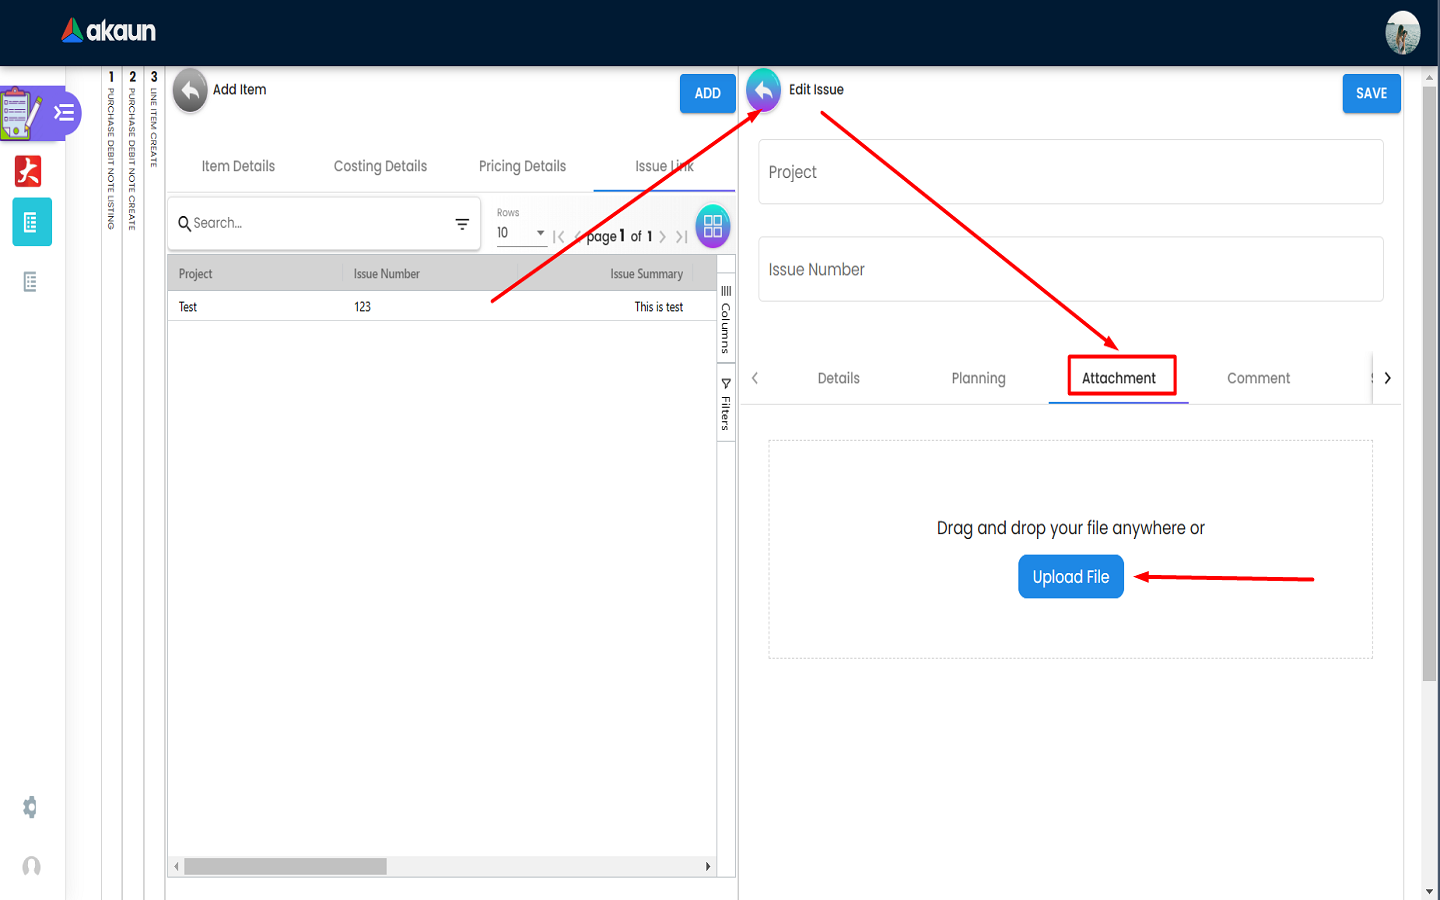
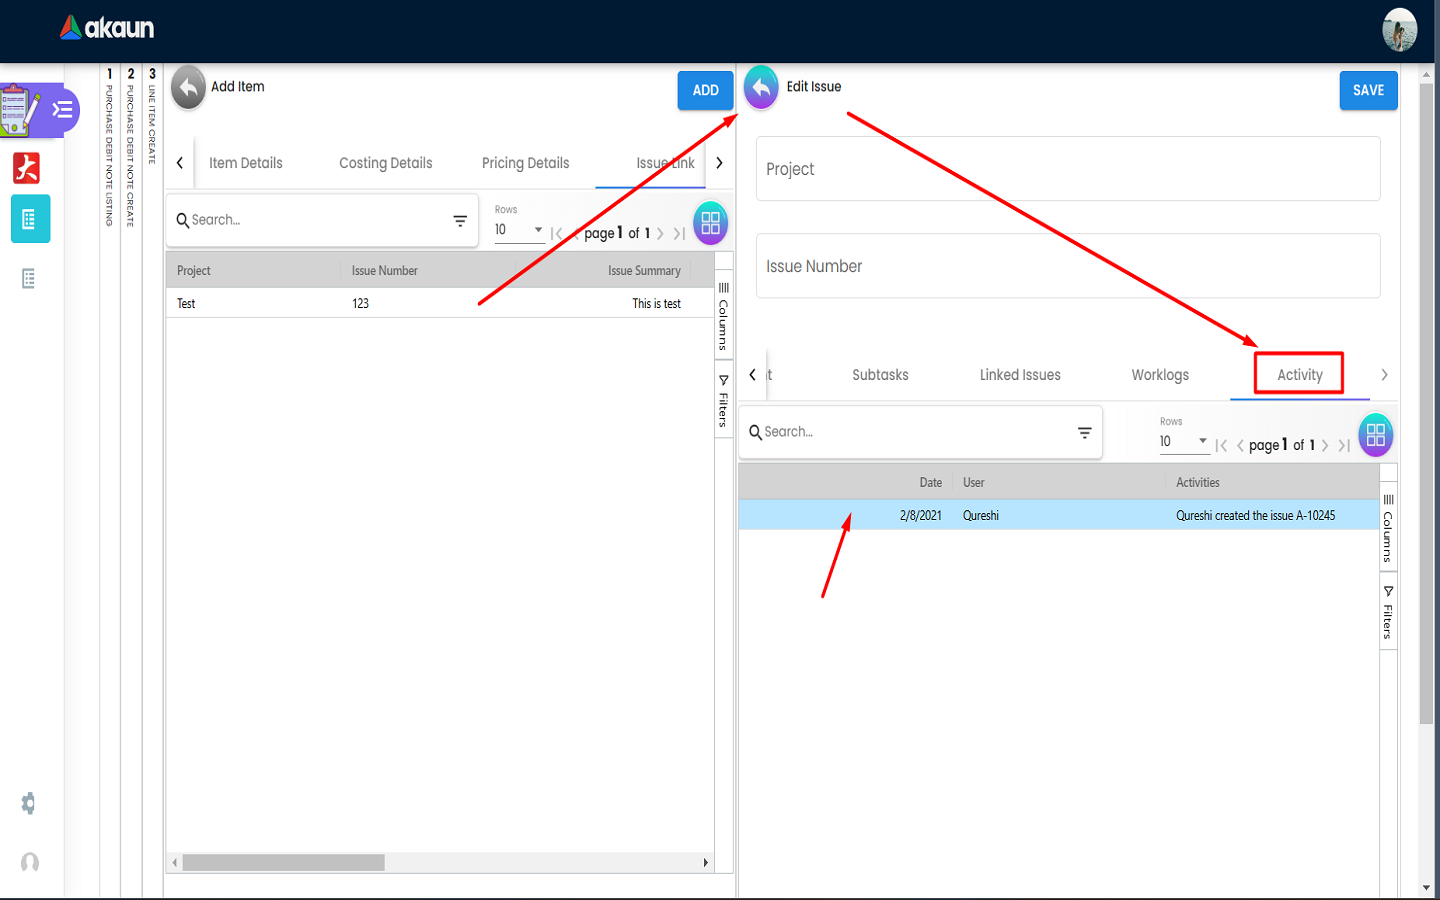
Under the “Issue Link” tab, users can select a link and edit the issue. They can add issue details using the “Details” tab.
-
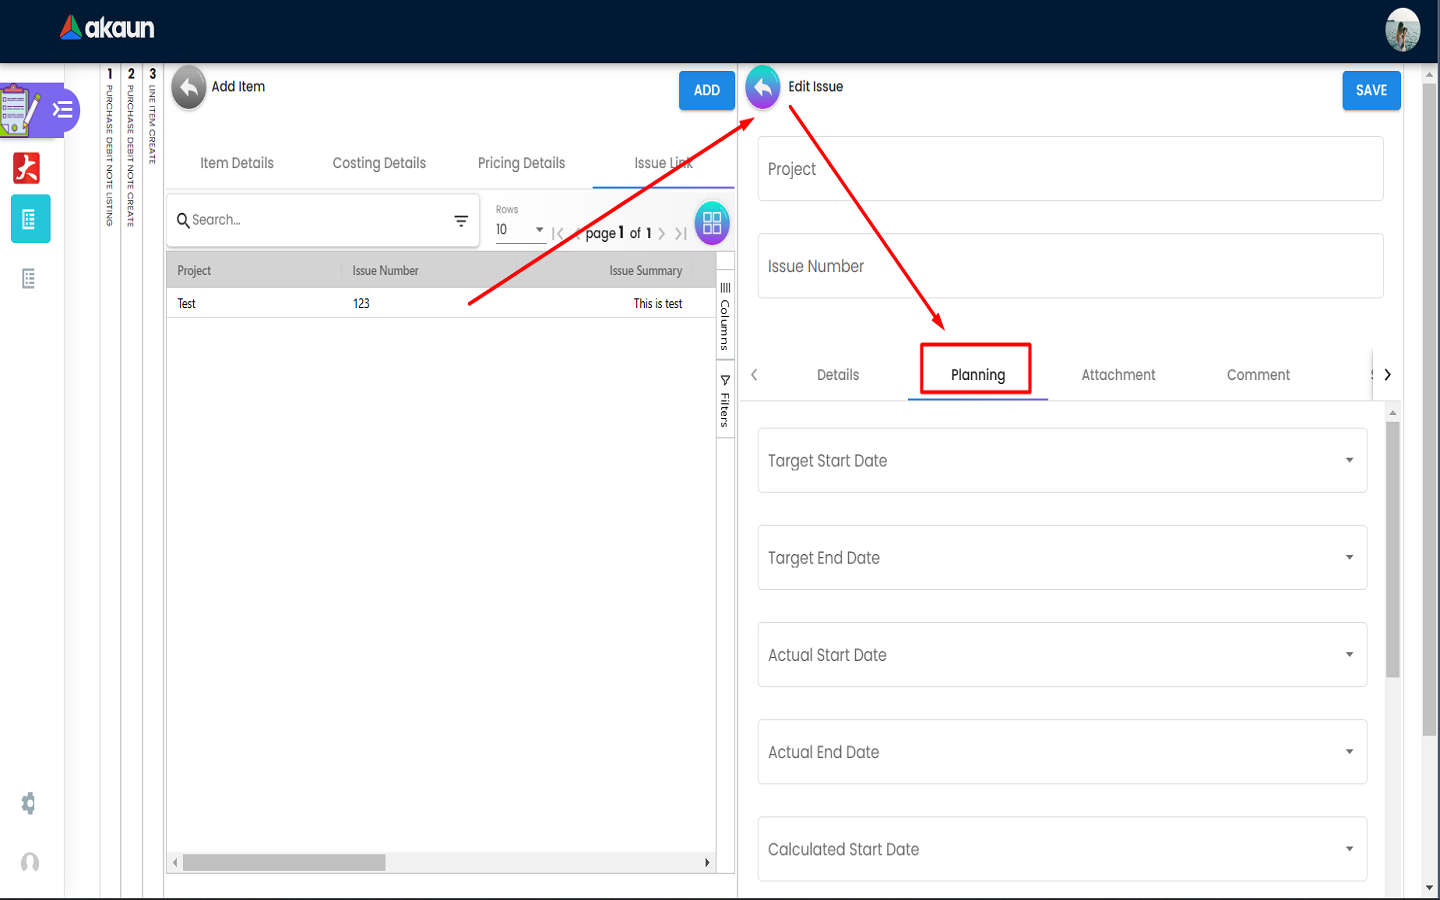
They can plan the issue details using the “Planning” tab.
-
They can add attachments to the issue details using the “Attachment” tab.
-
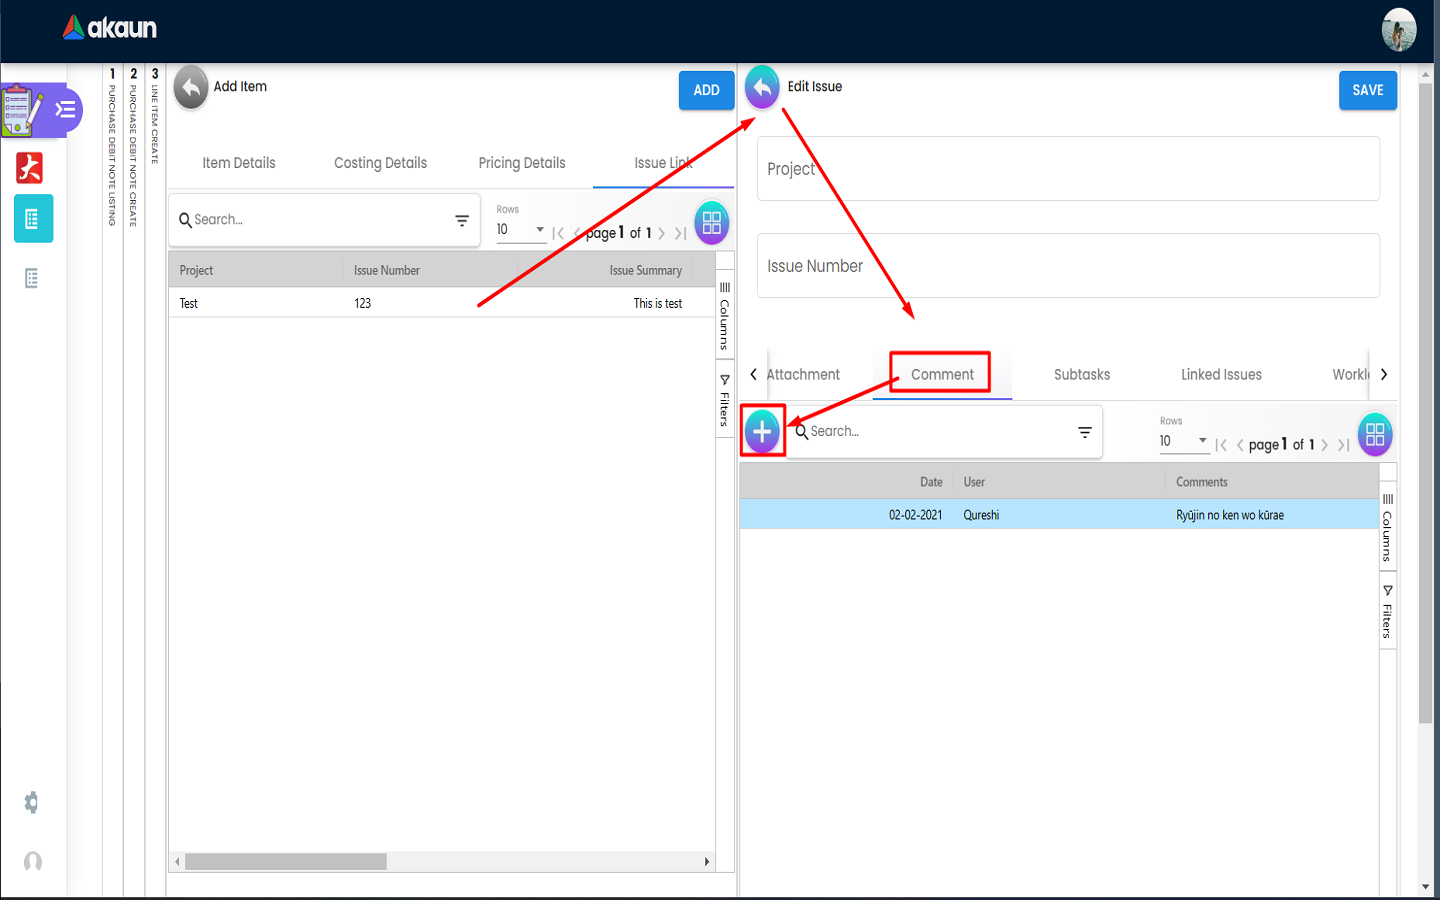
They can add comments to the issue details using the “Comment” tab.
-
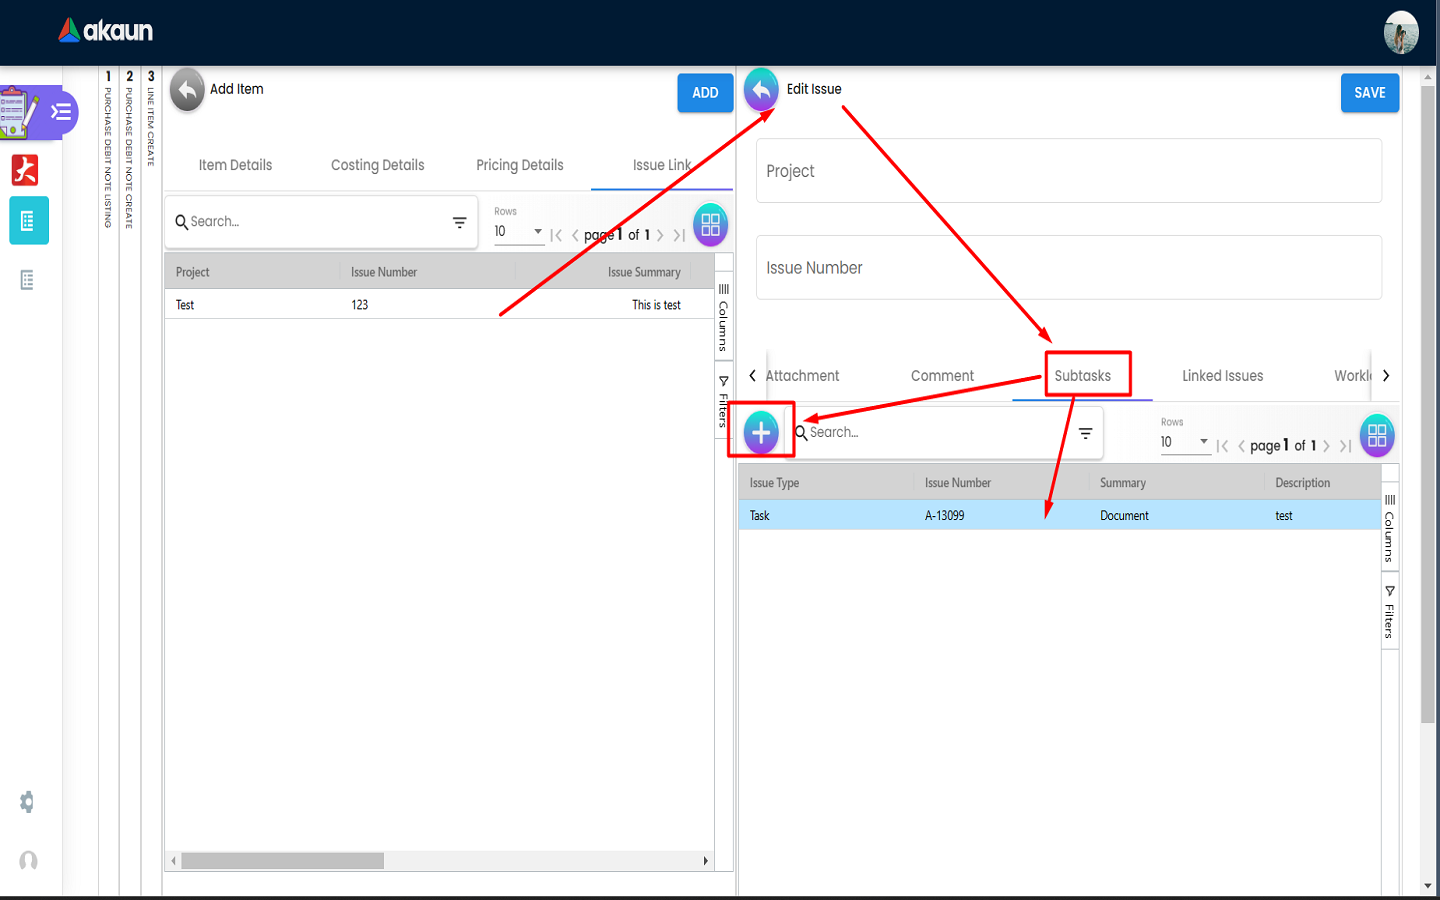
They can add and view “Subtasks” to the issue details using the “Subtasks” tab.
-
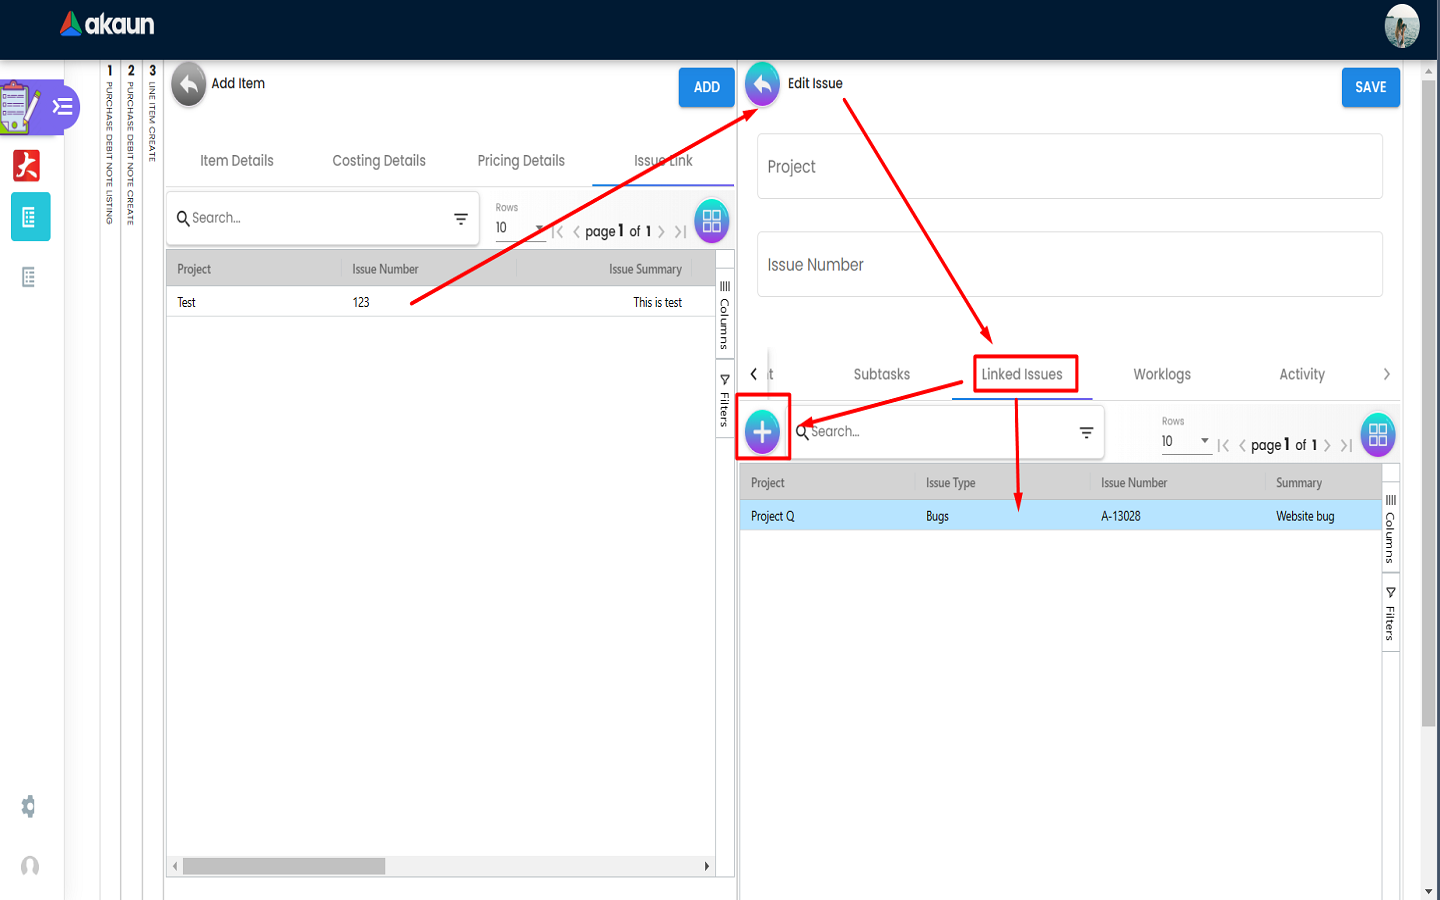
They can add and view “Linked Issues” to the issue details using the “Linked Issues” tab.
-
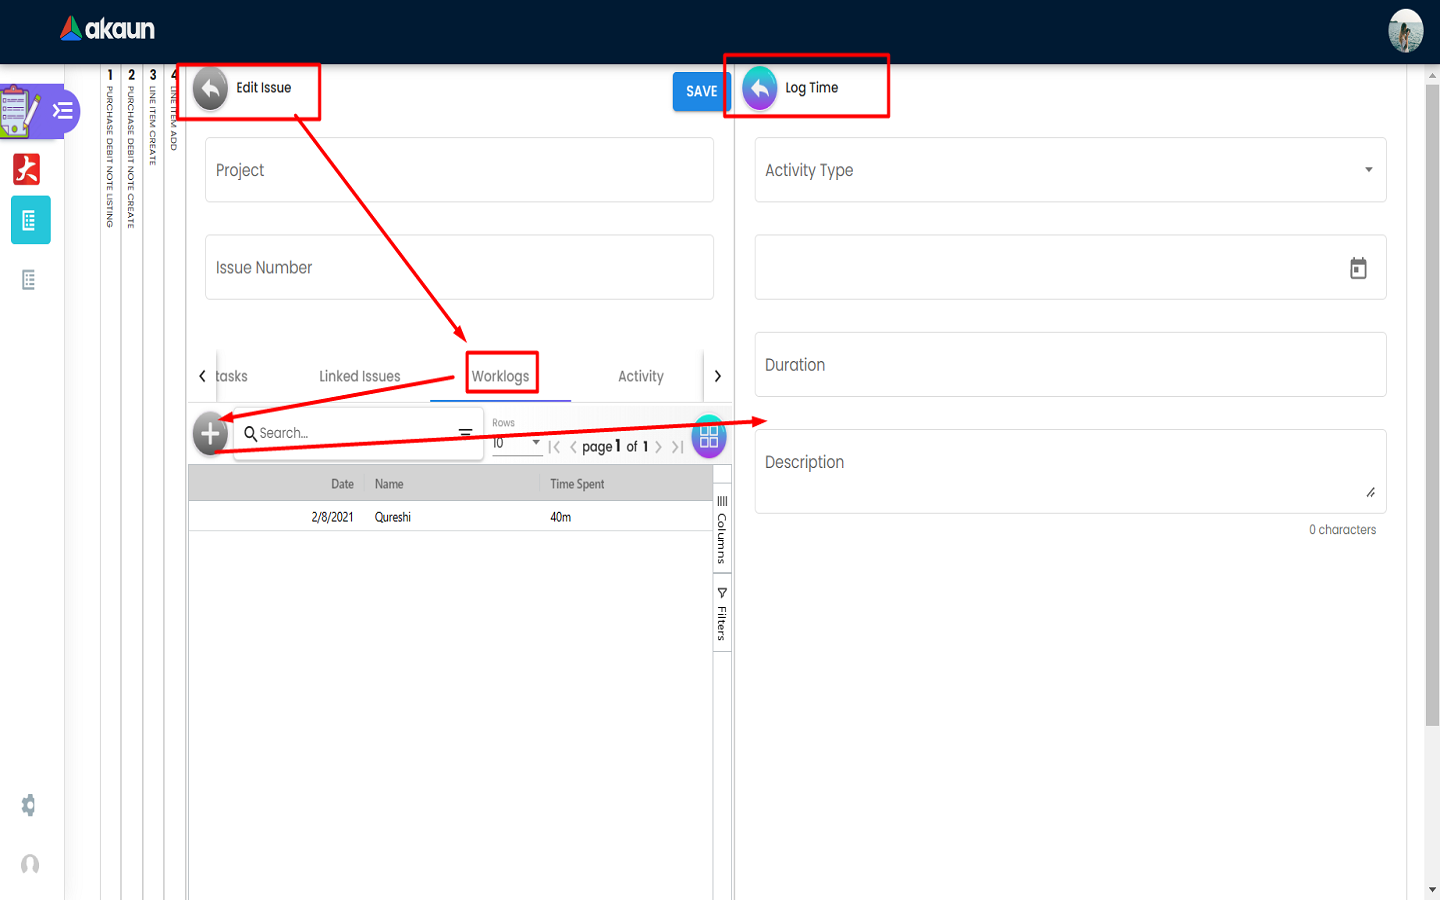
They can add and view their worklogs for the issue details using the “Worklogs” tab.
-
They can and view the activity for an issue using the “Activity” tab.
-
Lastly the “ADD” button on “Add Item” screen can be clicked to add the item to the transaction.
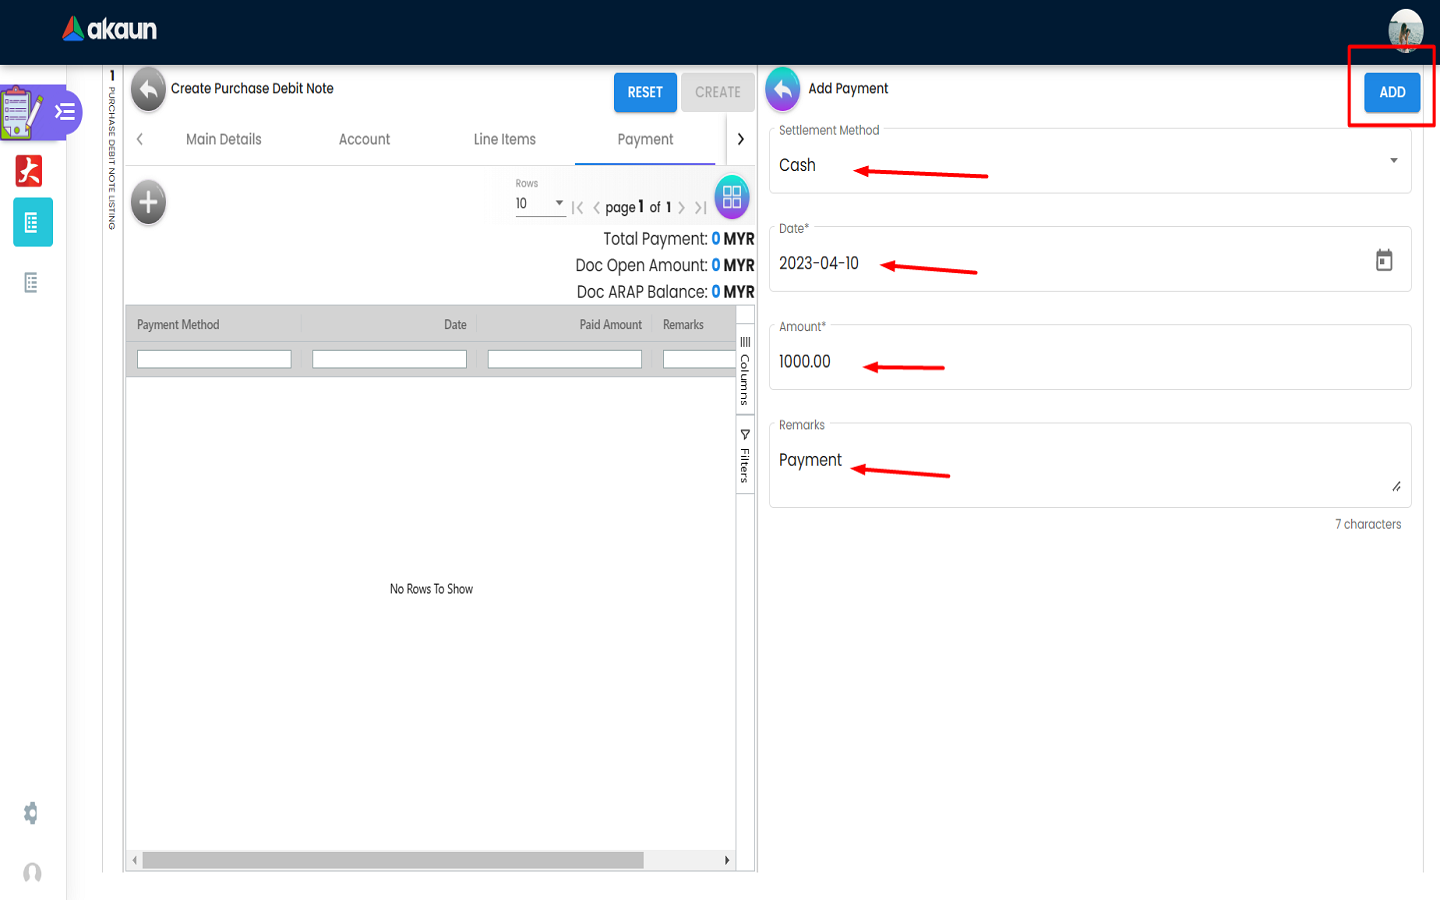
2.2.7 Payment
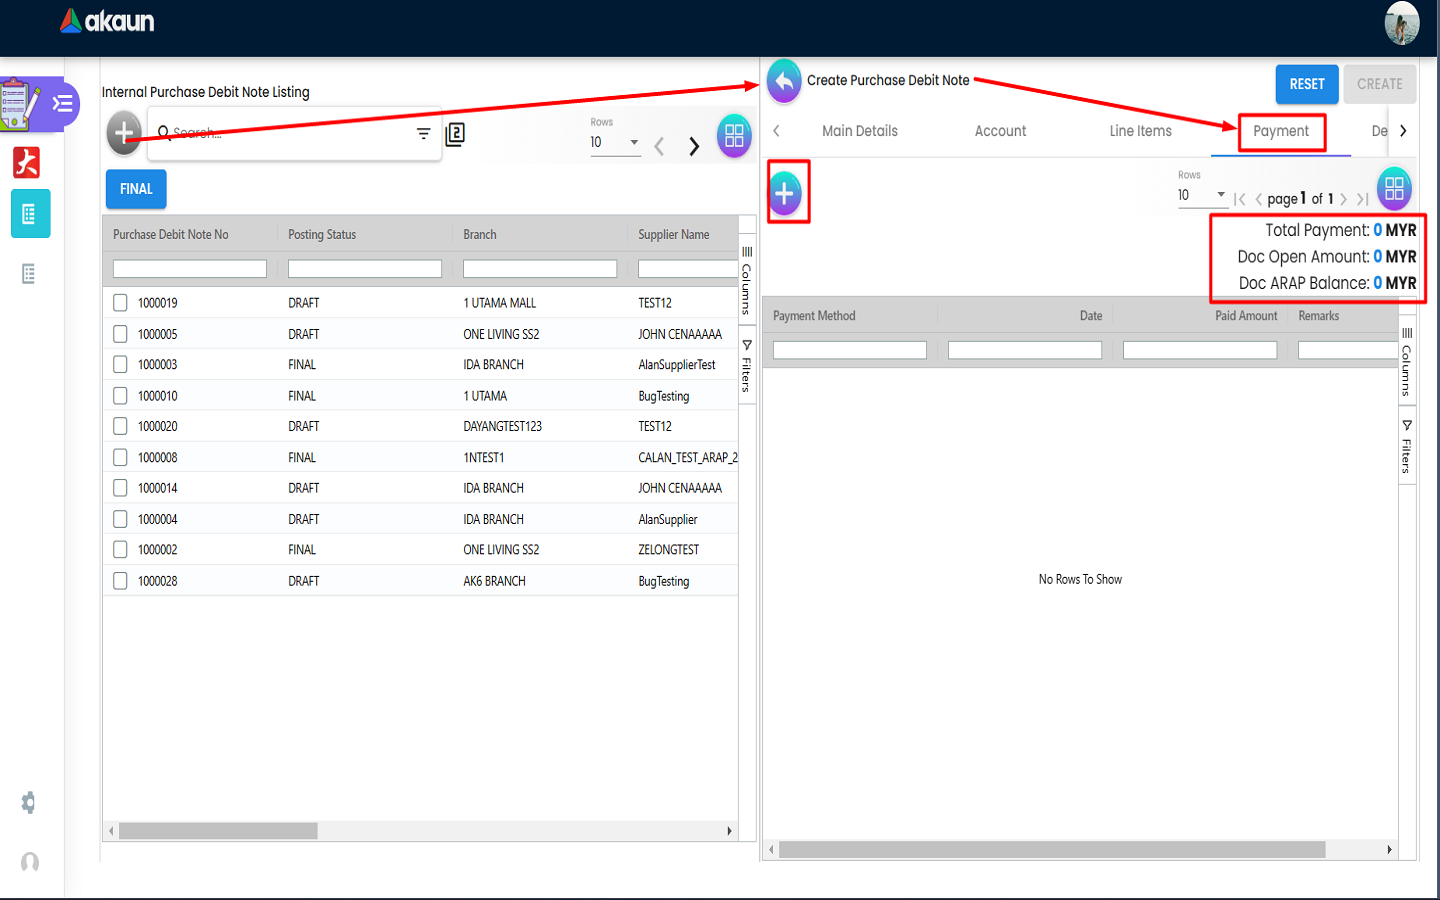
-
Users can make a payment for outstanding fees/amount.
-
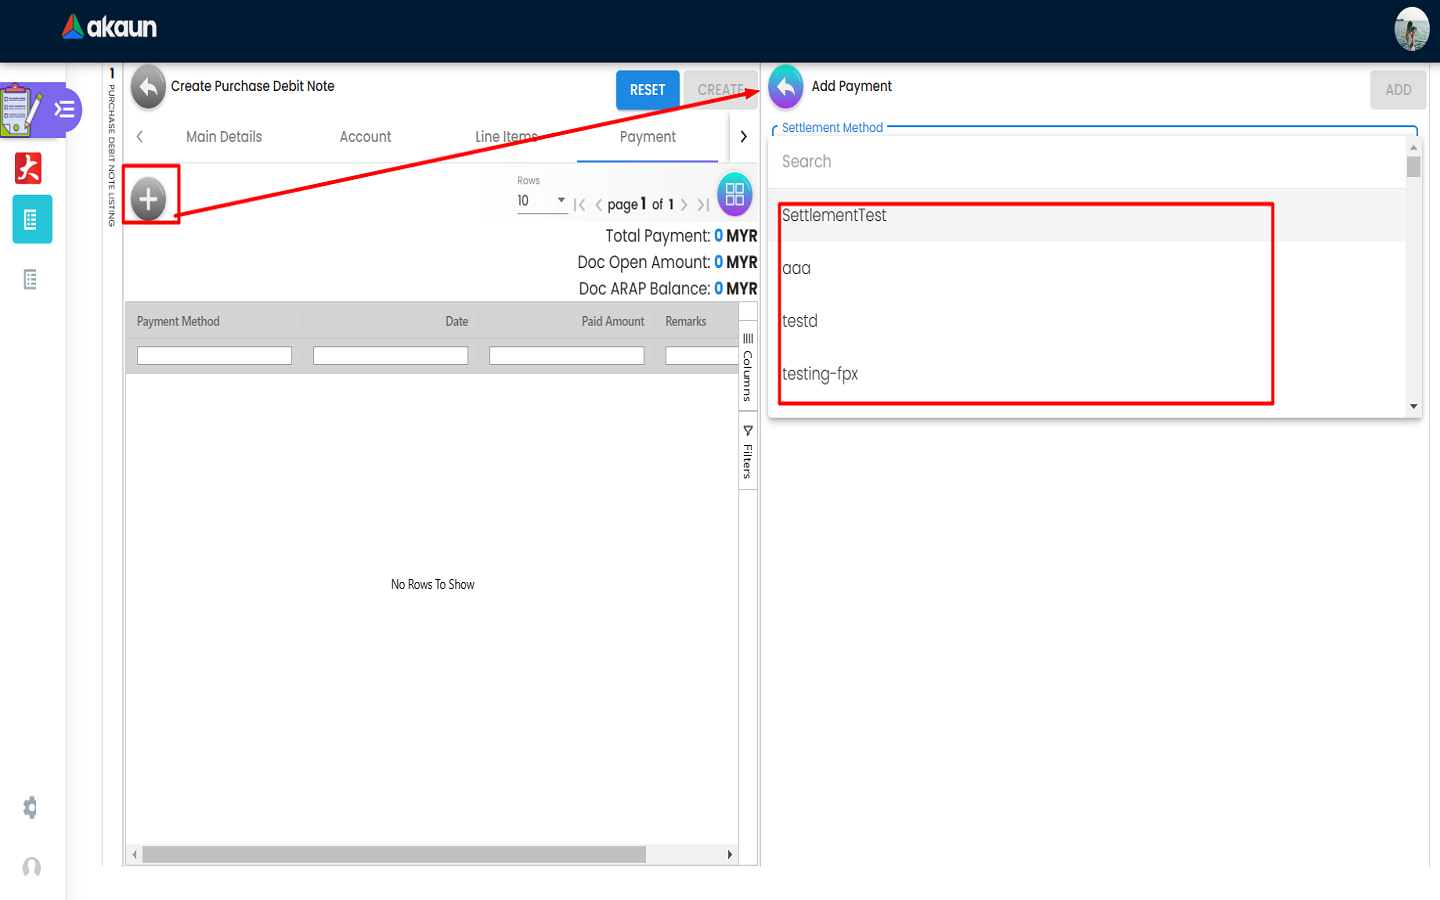
They can select a payment method from the dropdown.
-
The payment details will be shown based on the payment methods.
-
Clicking the “ADD” button will add a payment for the exceeding amount.
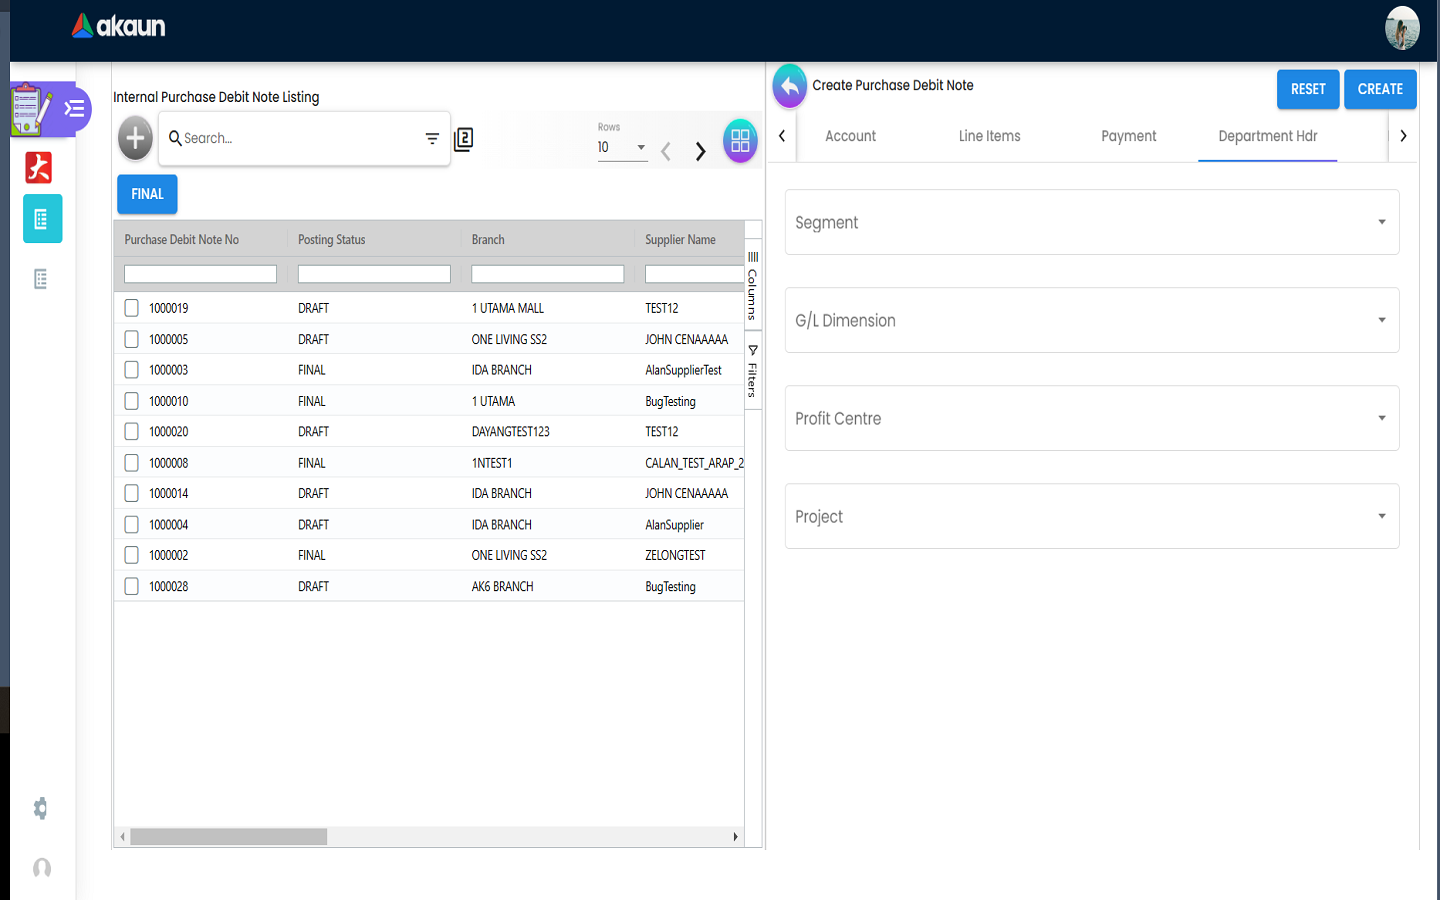
2.2.8 Department Hdr
-
Users can set the “Department Hdr” by selecting Segment, G/L DImension, Profit Centre and Project from the given dropdowns.
2.2.10 Finalize Purchase Debit Note
-
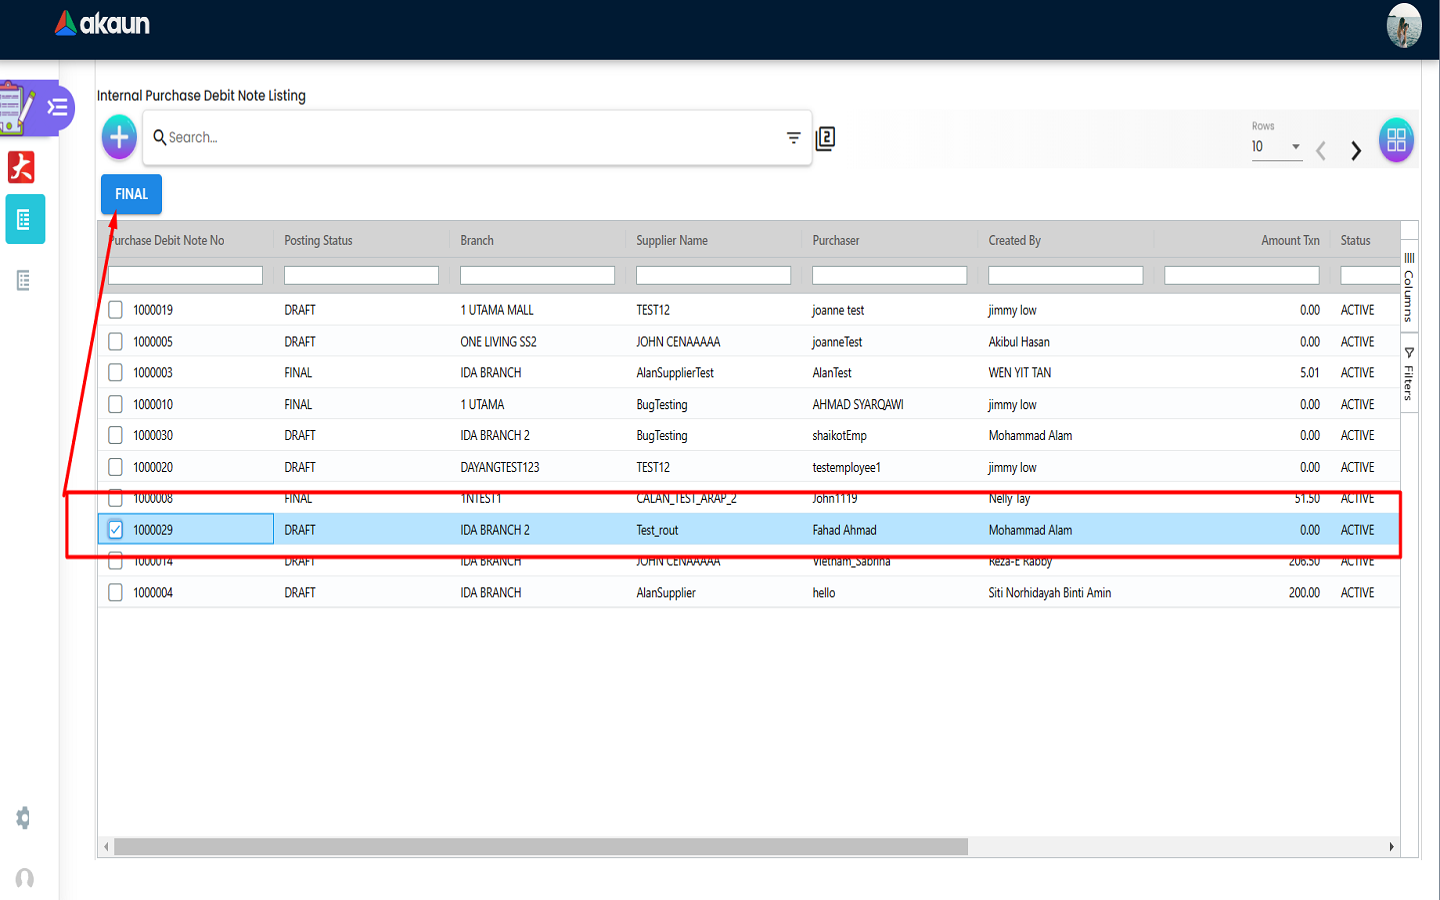
Lastly users can click on “CREATE” button to create a purchase debit note. The created debit note will appear in the main listing.
-
The new Purchase Debit note entry will appear in the listing as a Draft. Users can select the entry and click on “FINAL” button to finalize the entry.